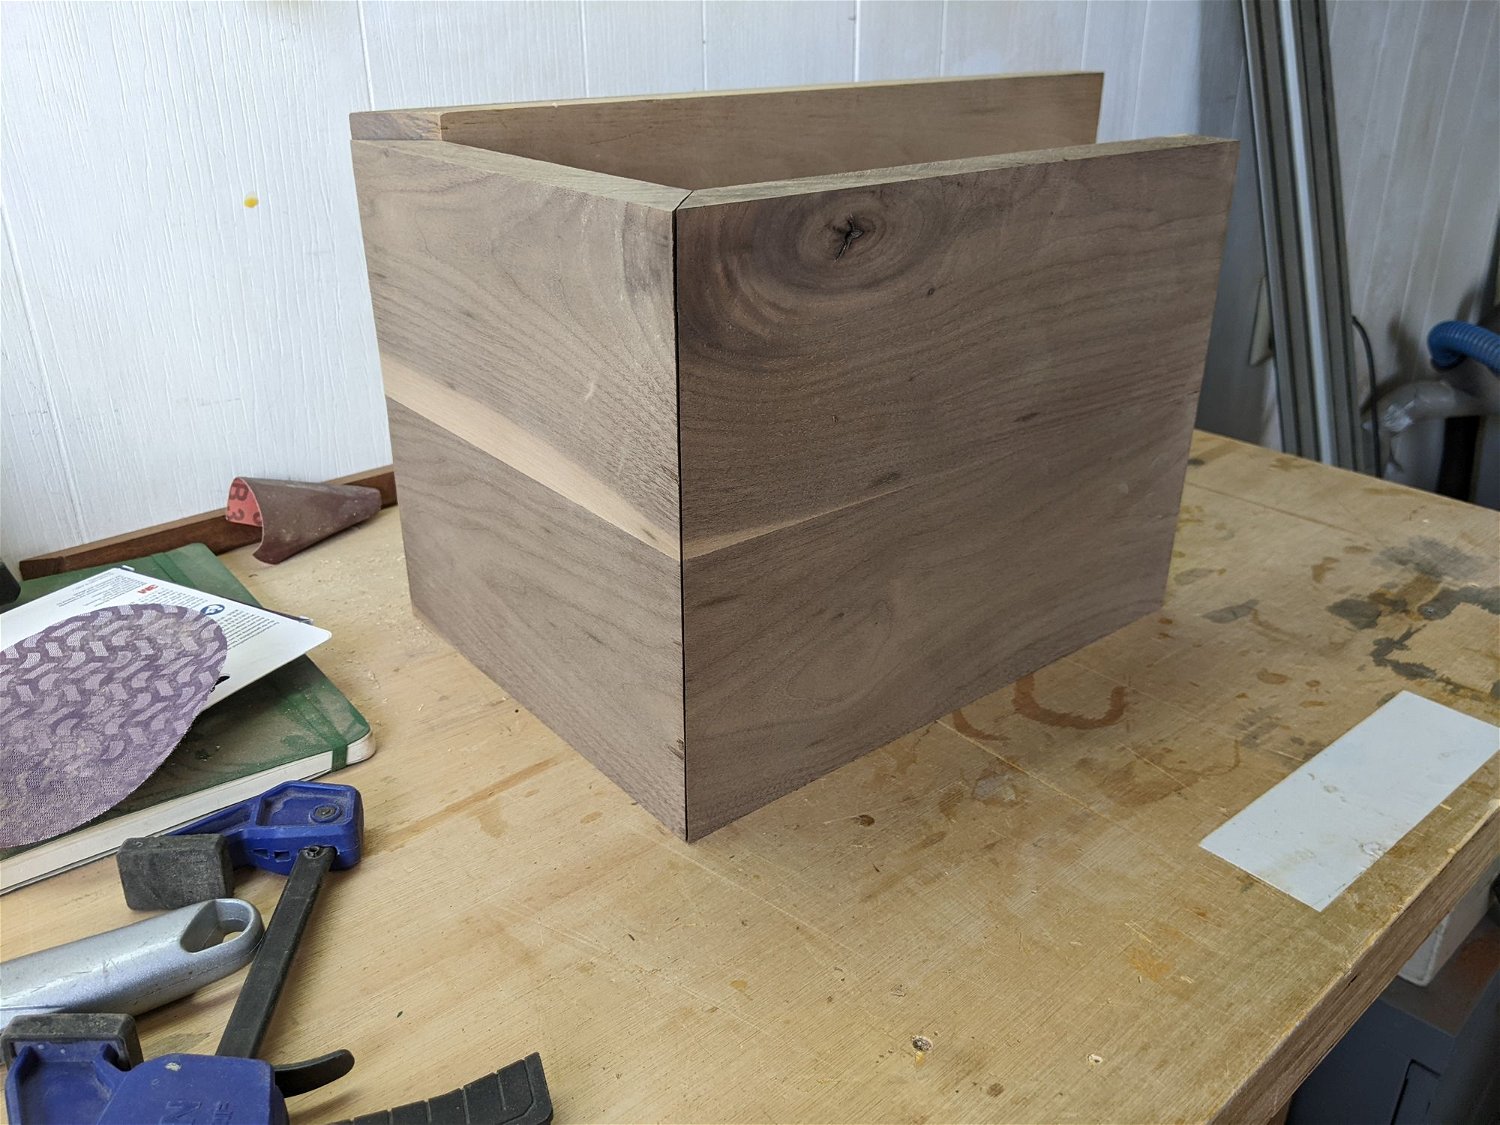
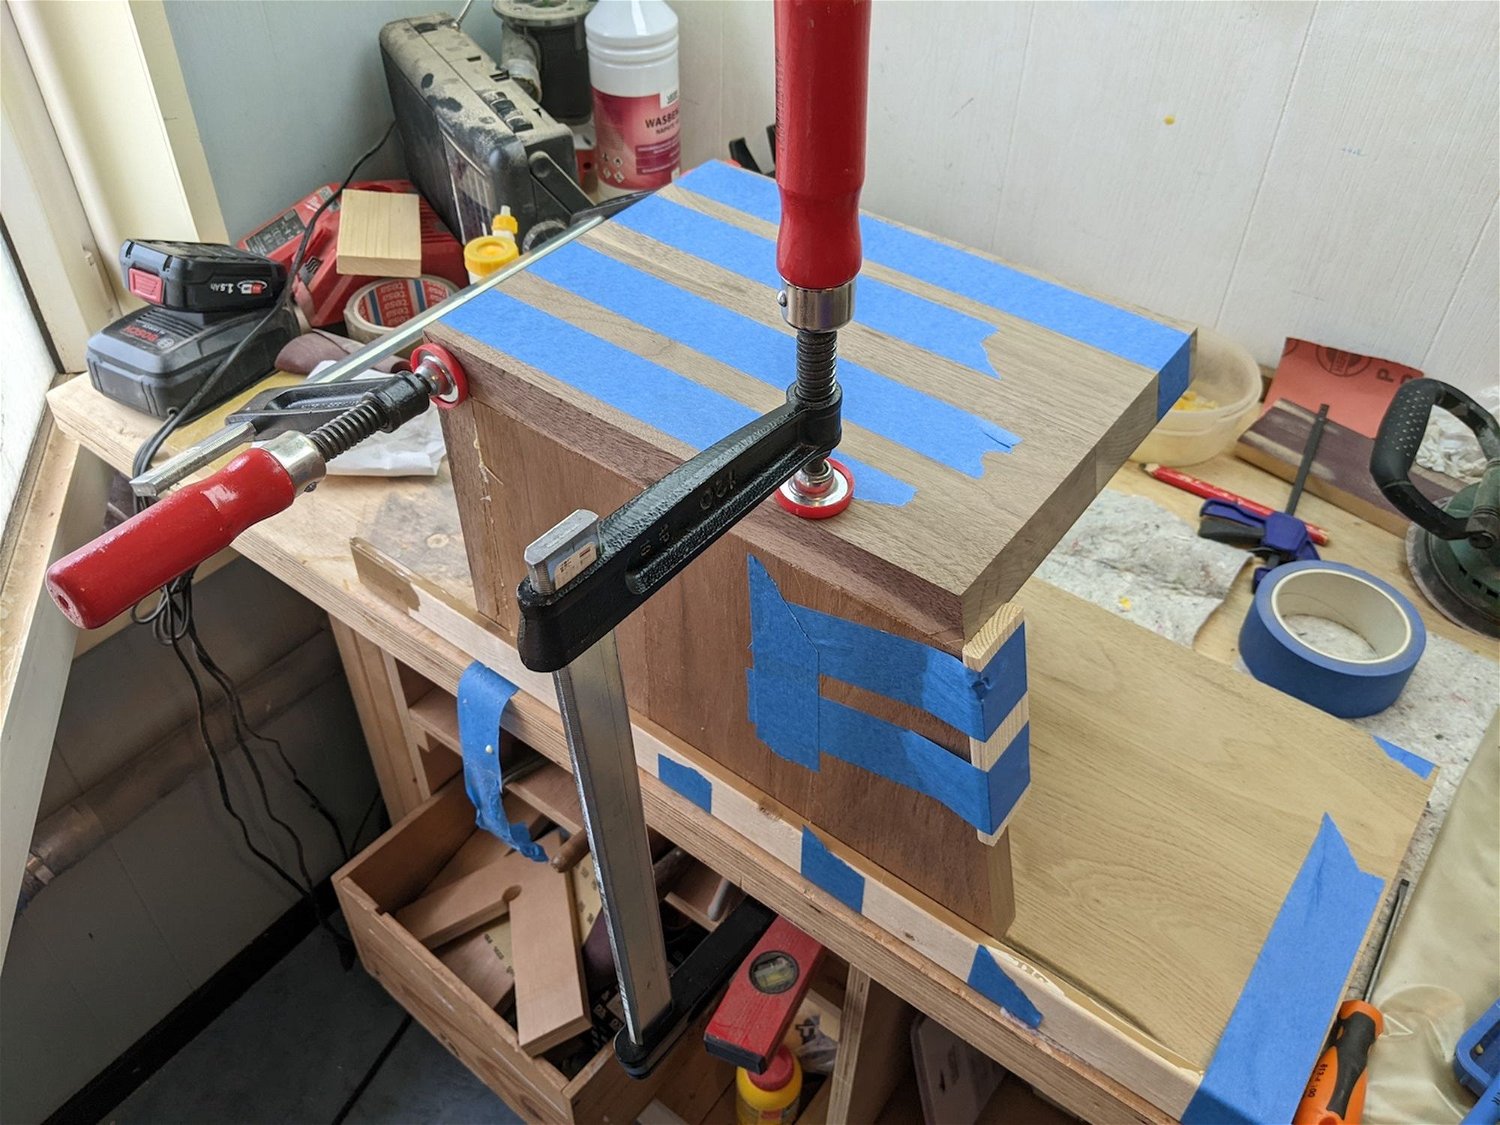
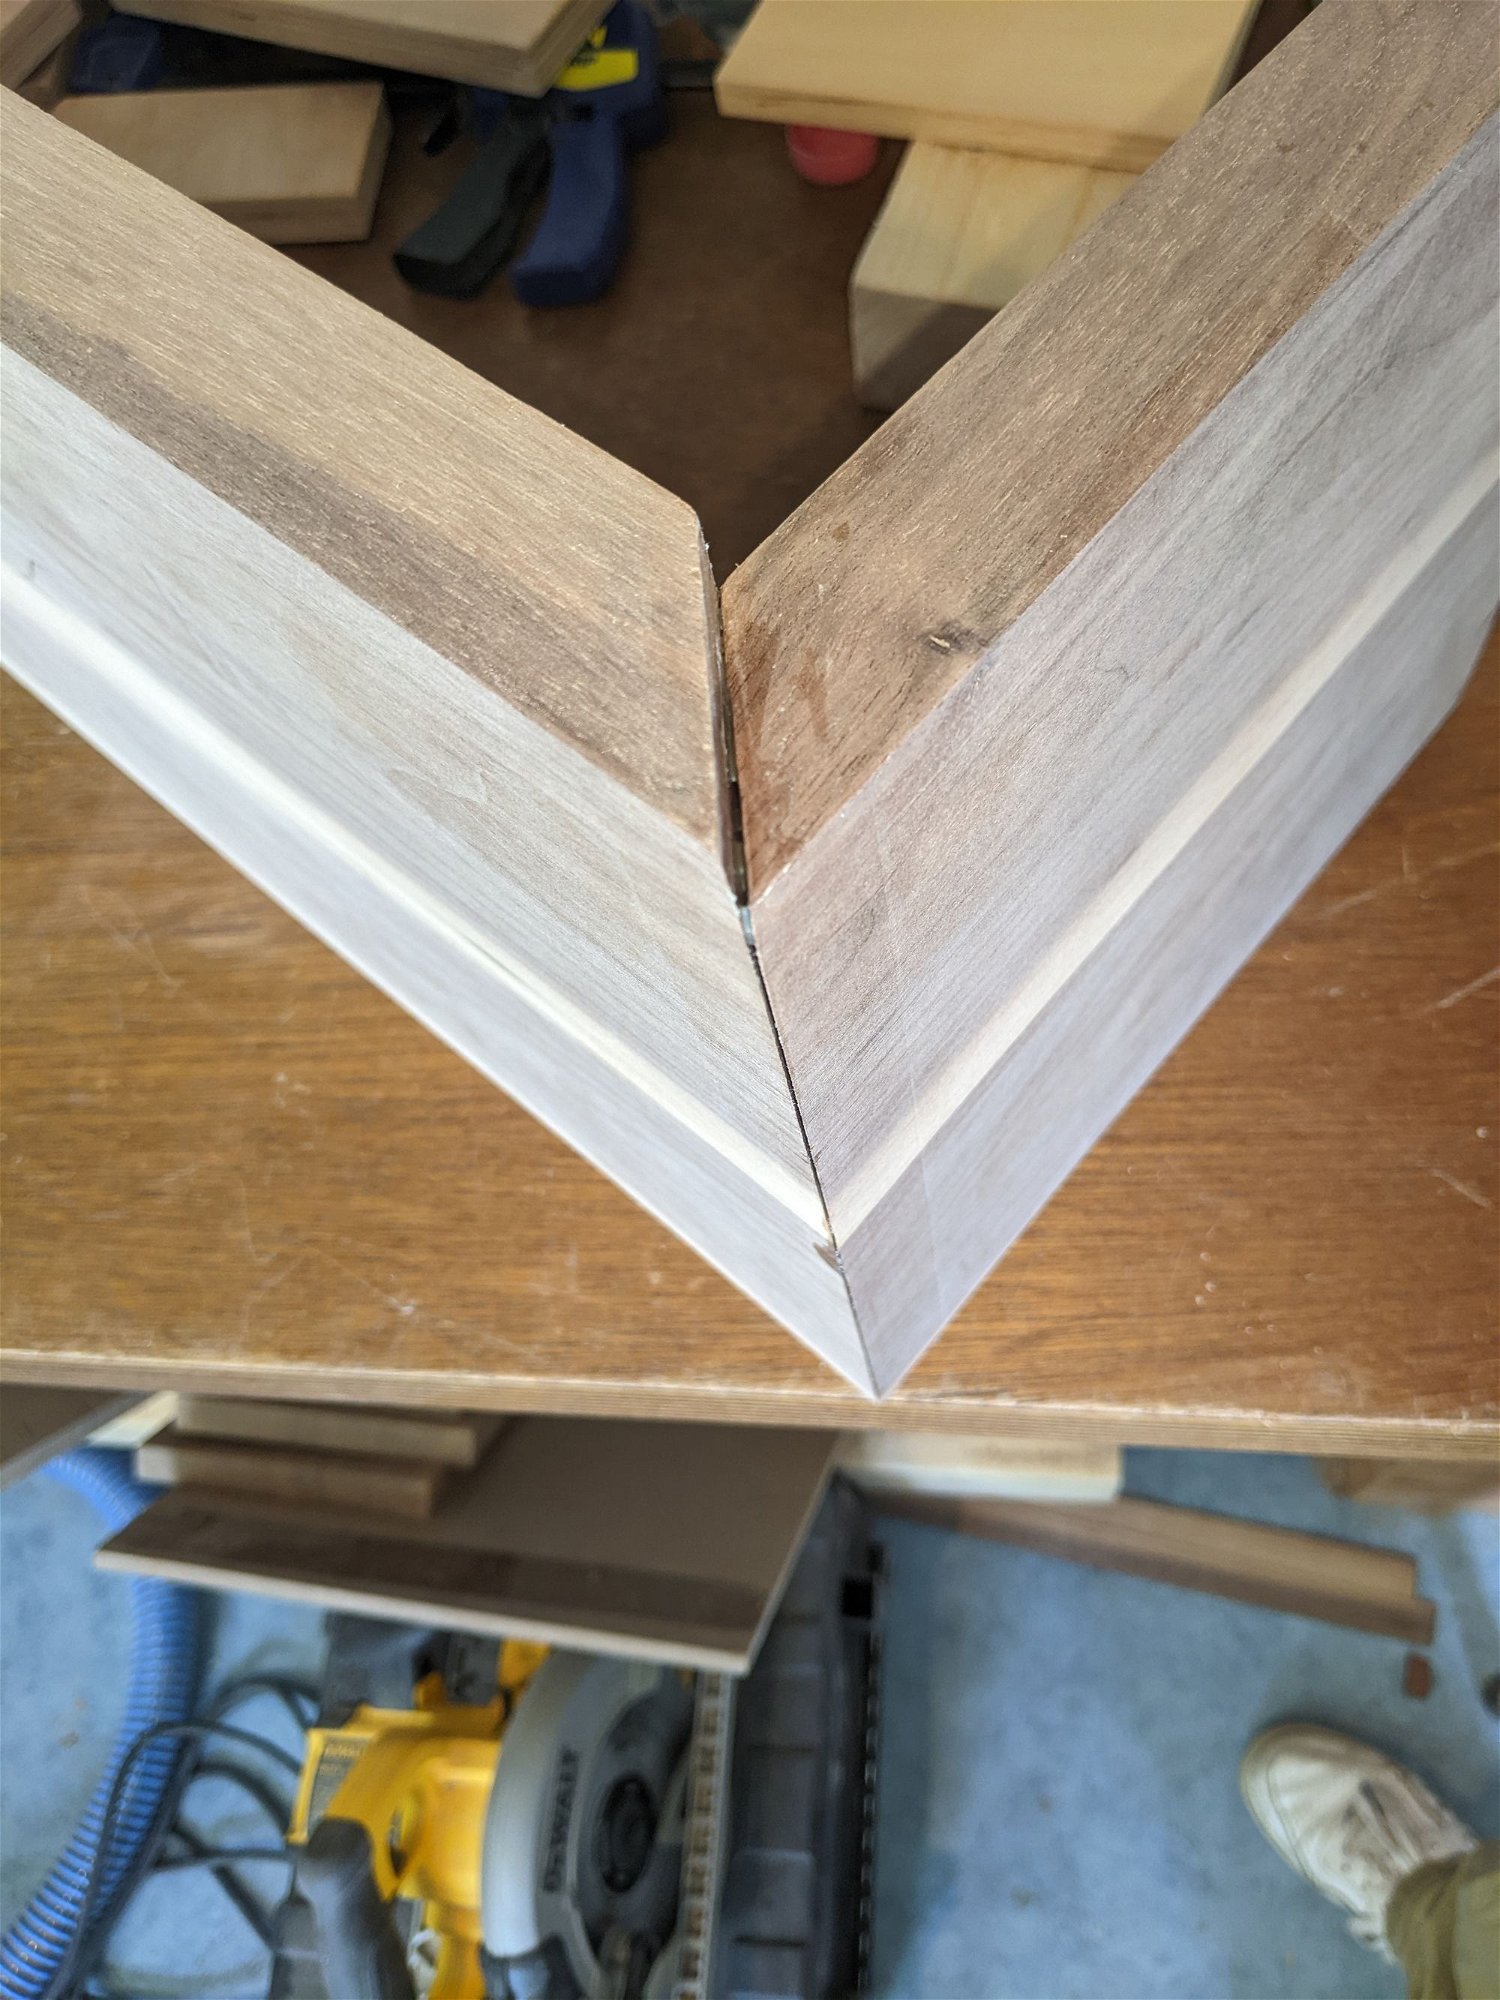
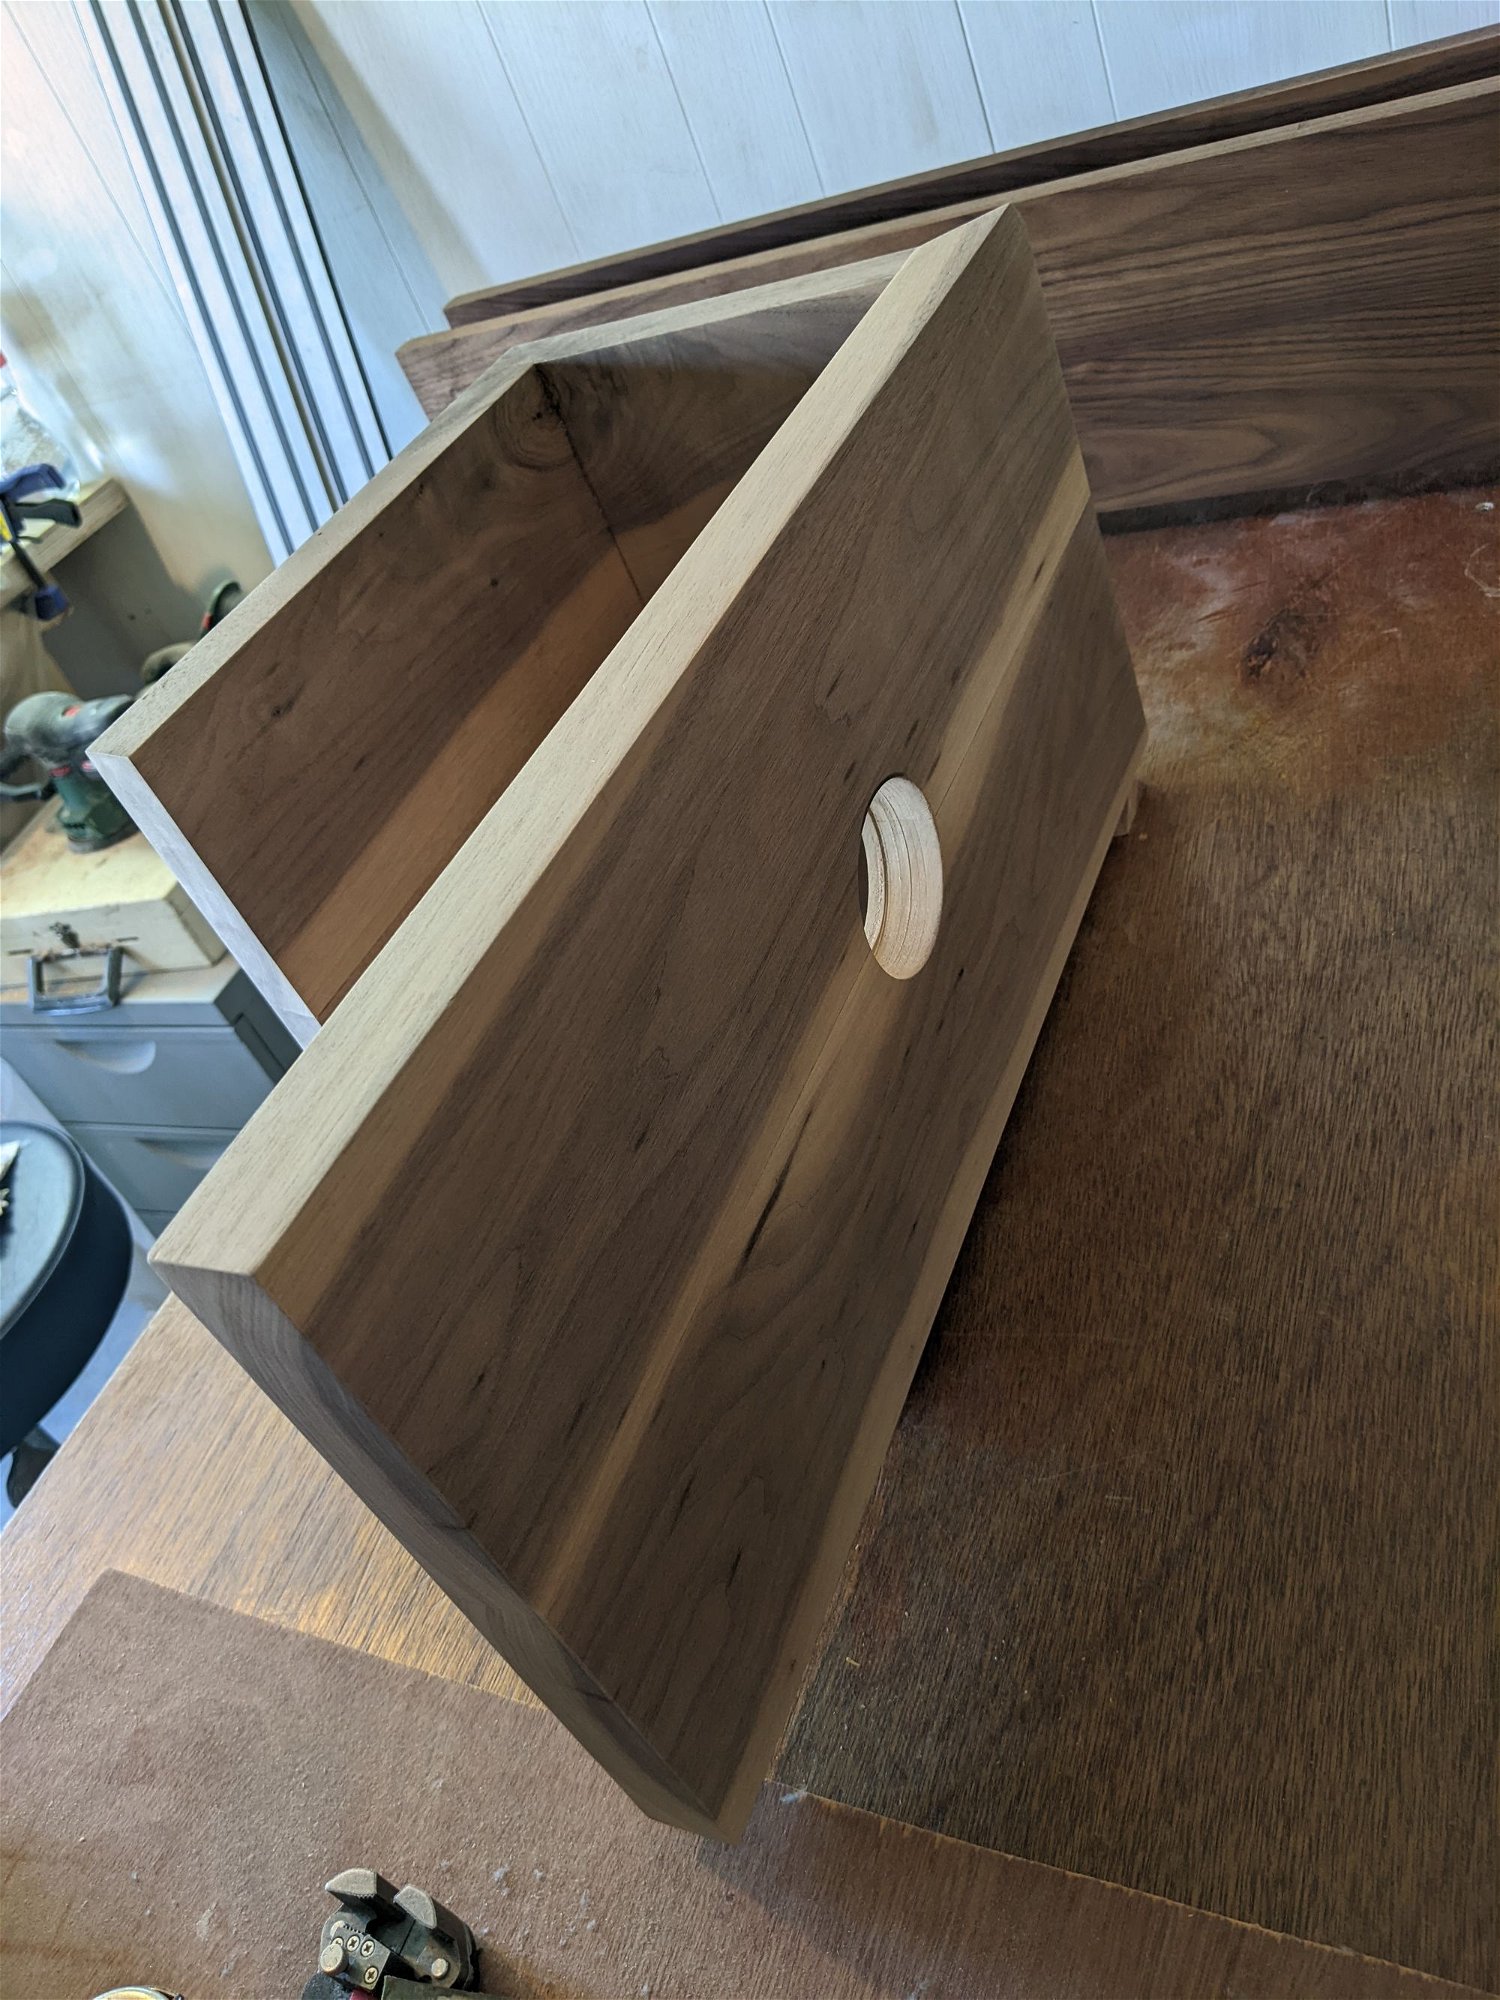
Glued 2 walnut boards together and cut them to size. Just mitred edges, nothing fancy,.
The bottom had to be slightly shorter as i have a tiny bathroom and will need that space for a toilet roll.
 
There was some sapwood and bark on 1 side of the board that was a lot worse than i anticipated when buying the wood so i sadly had to cut the side part down a bit and the grain in the middle couldn’t be aligned anymore.
I also needed to figure out what to do with the top edge as it was now sticking out due to the depth differences.
Decided to glue up and figure out the problems down the road
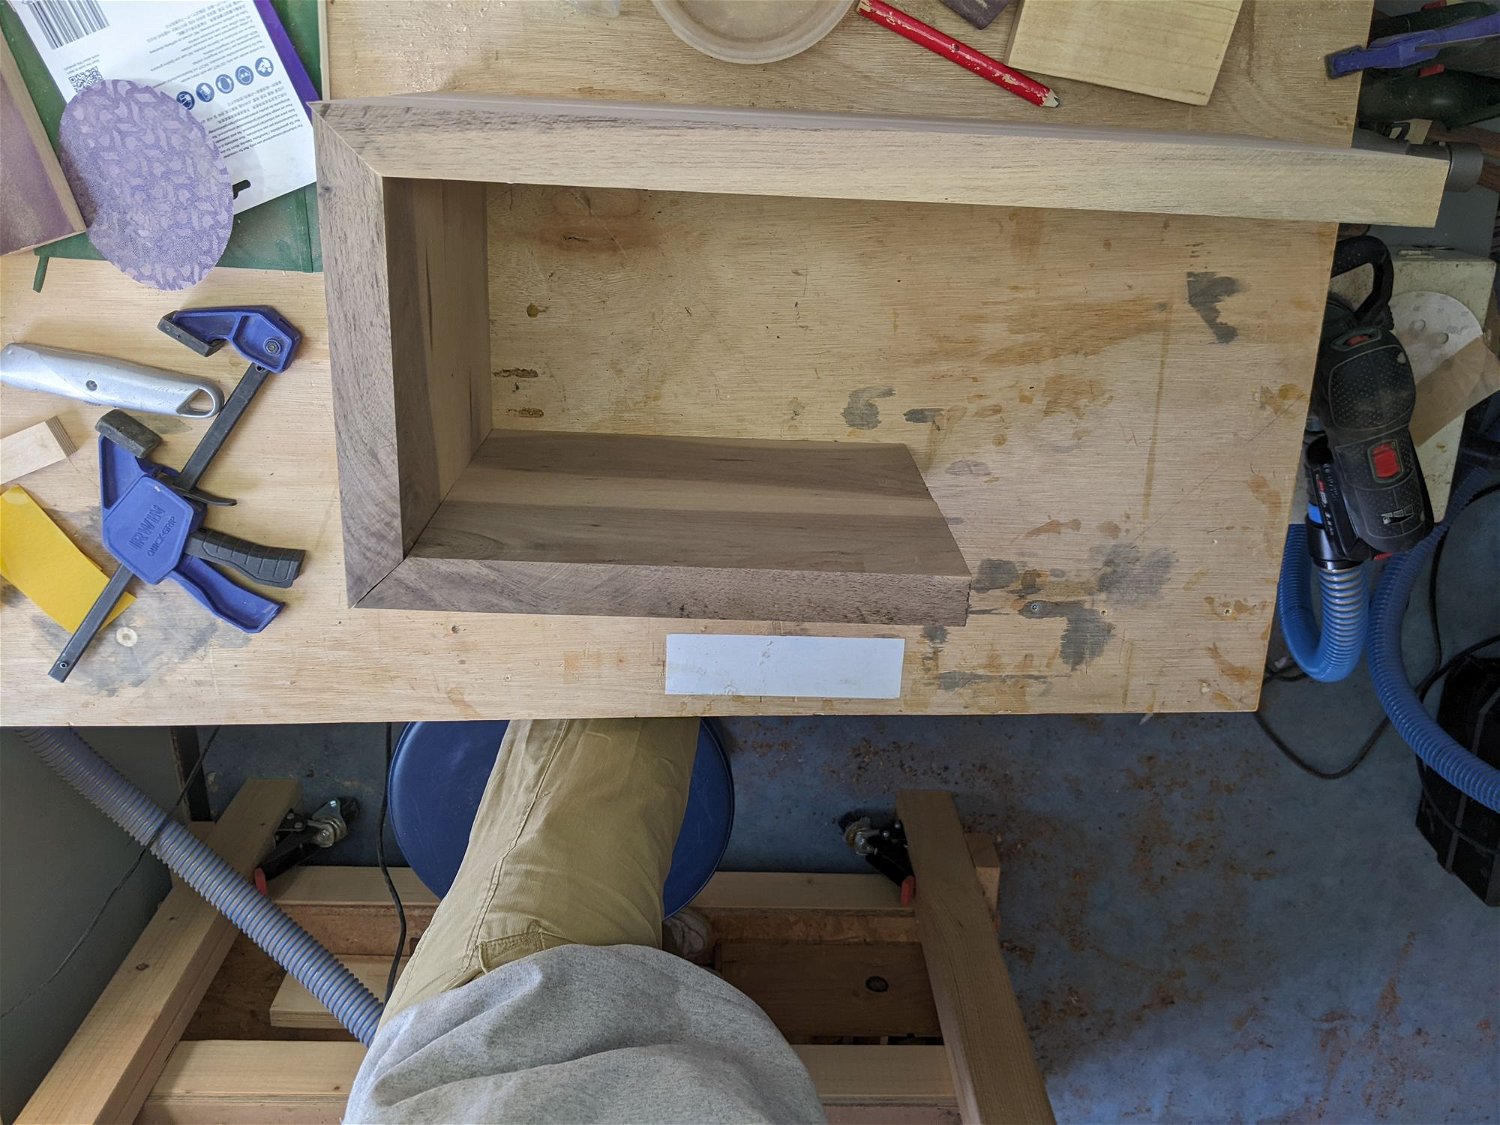
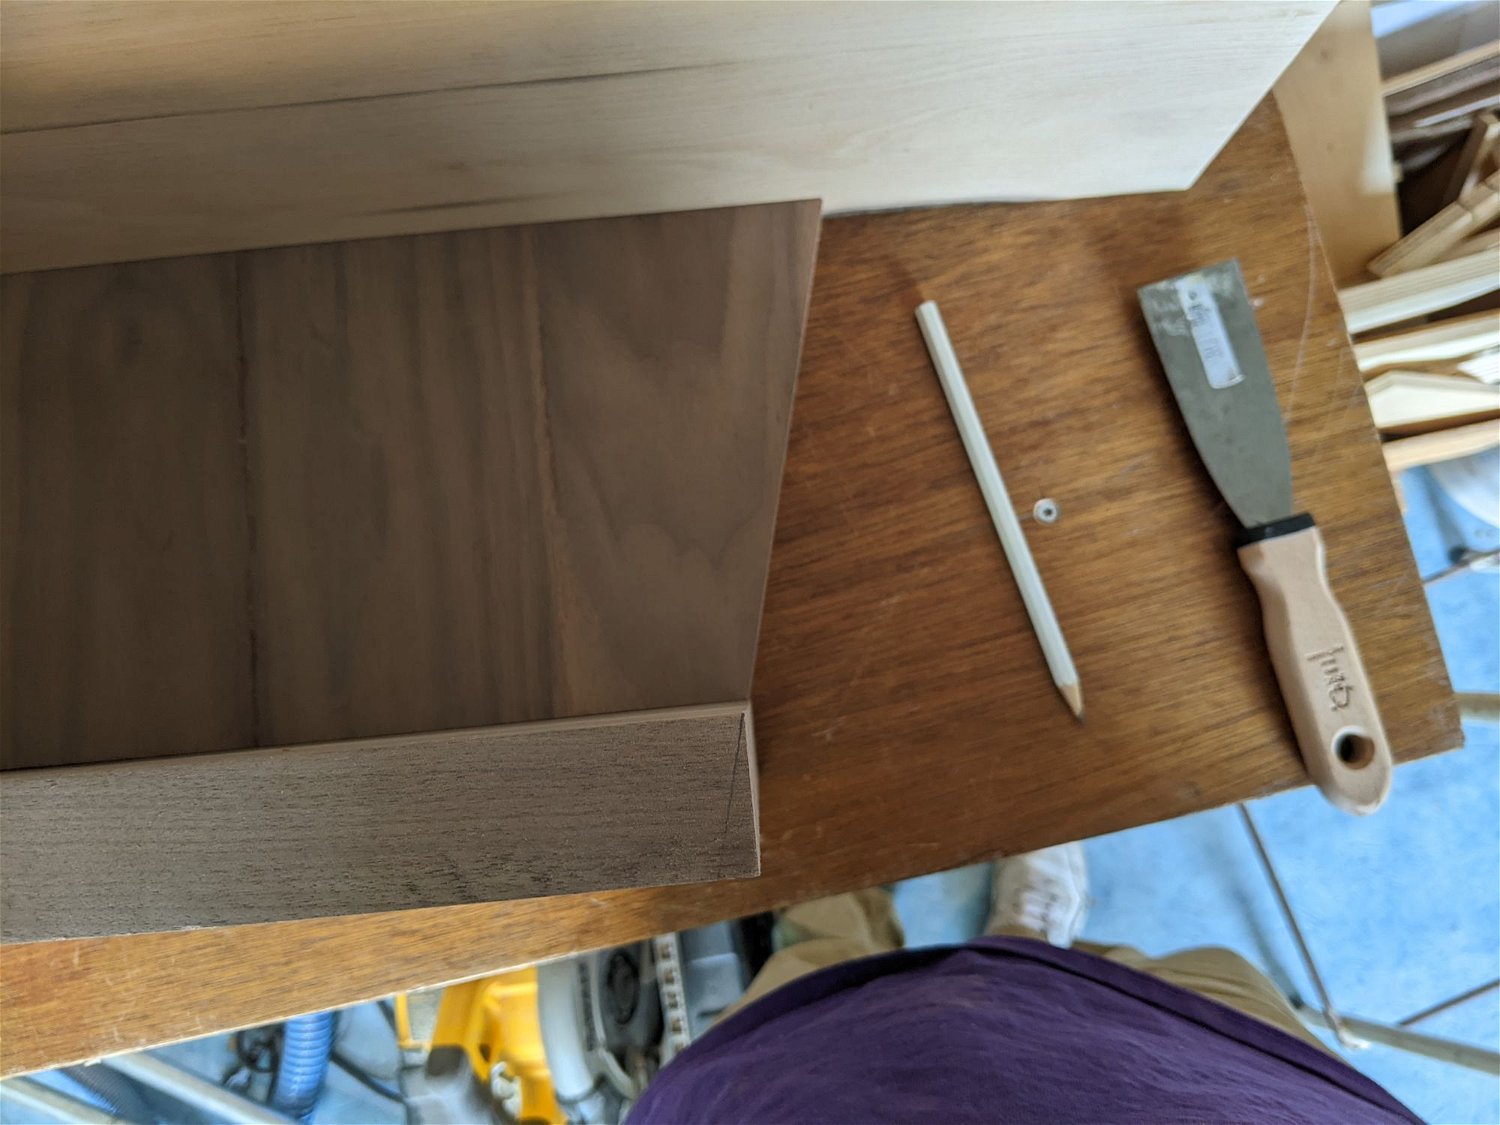
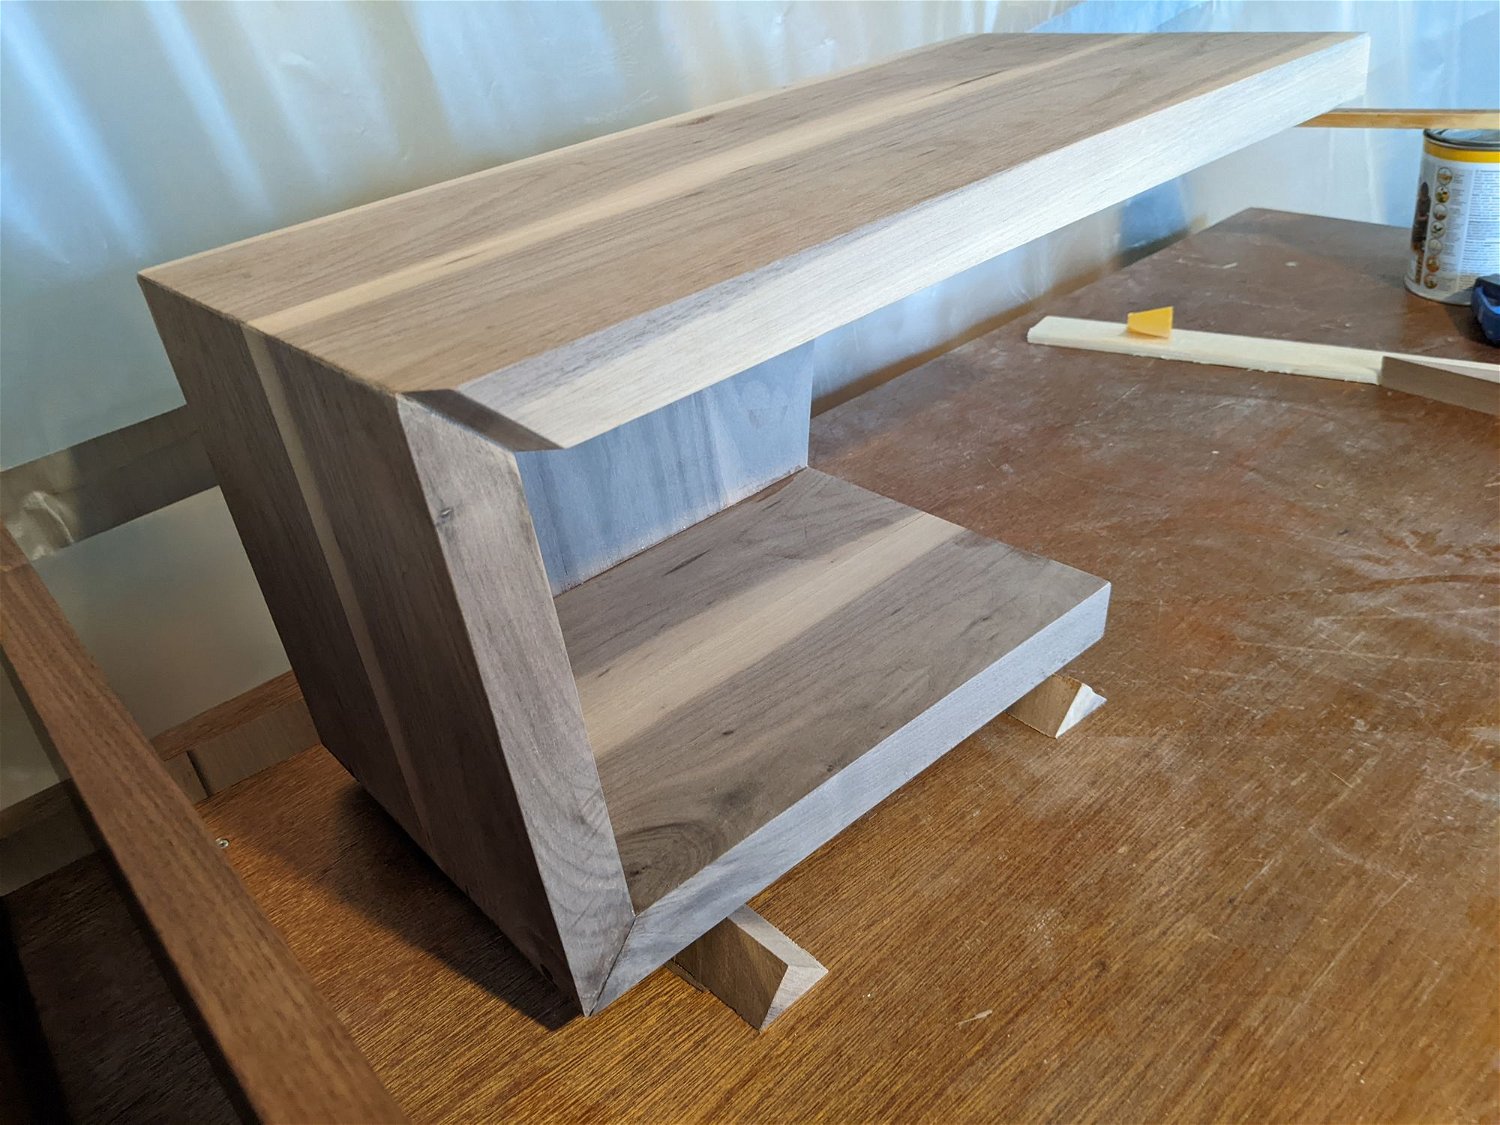
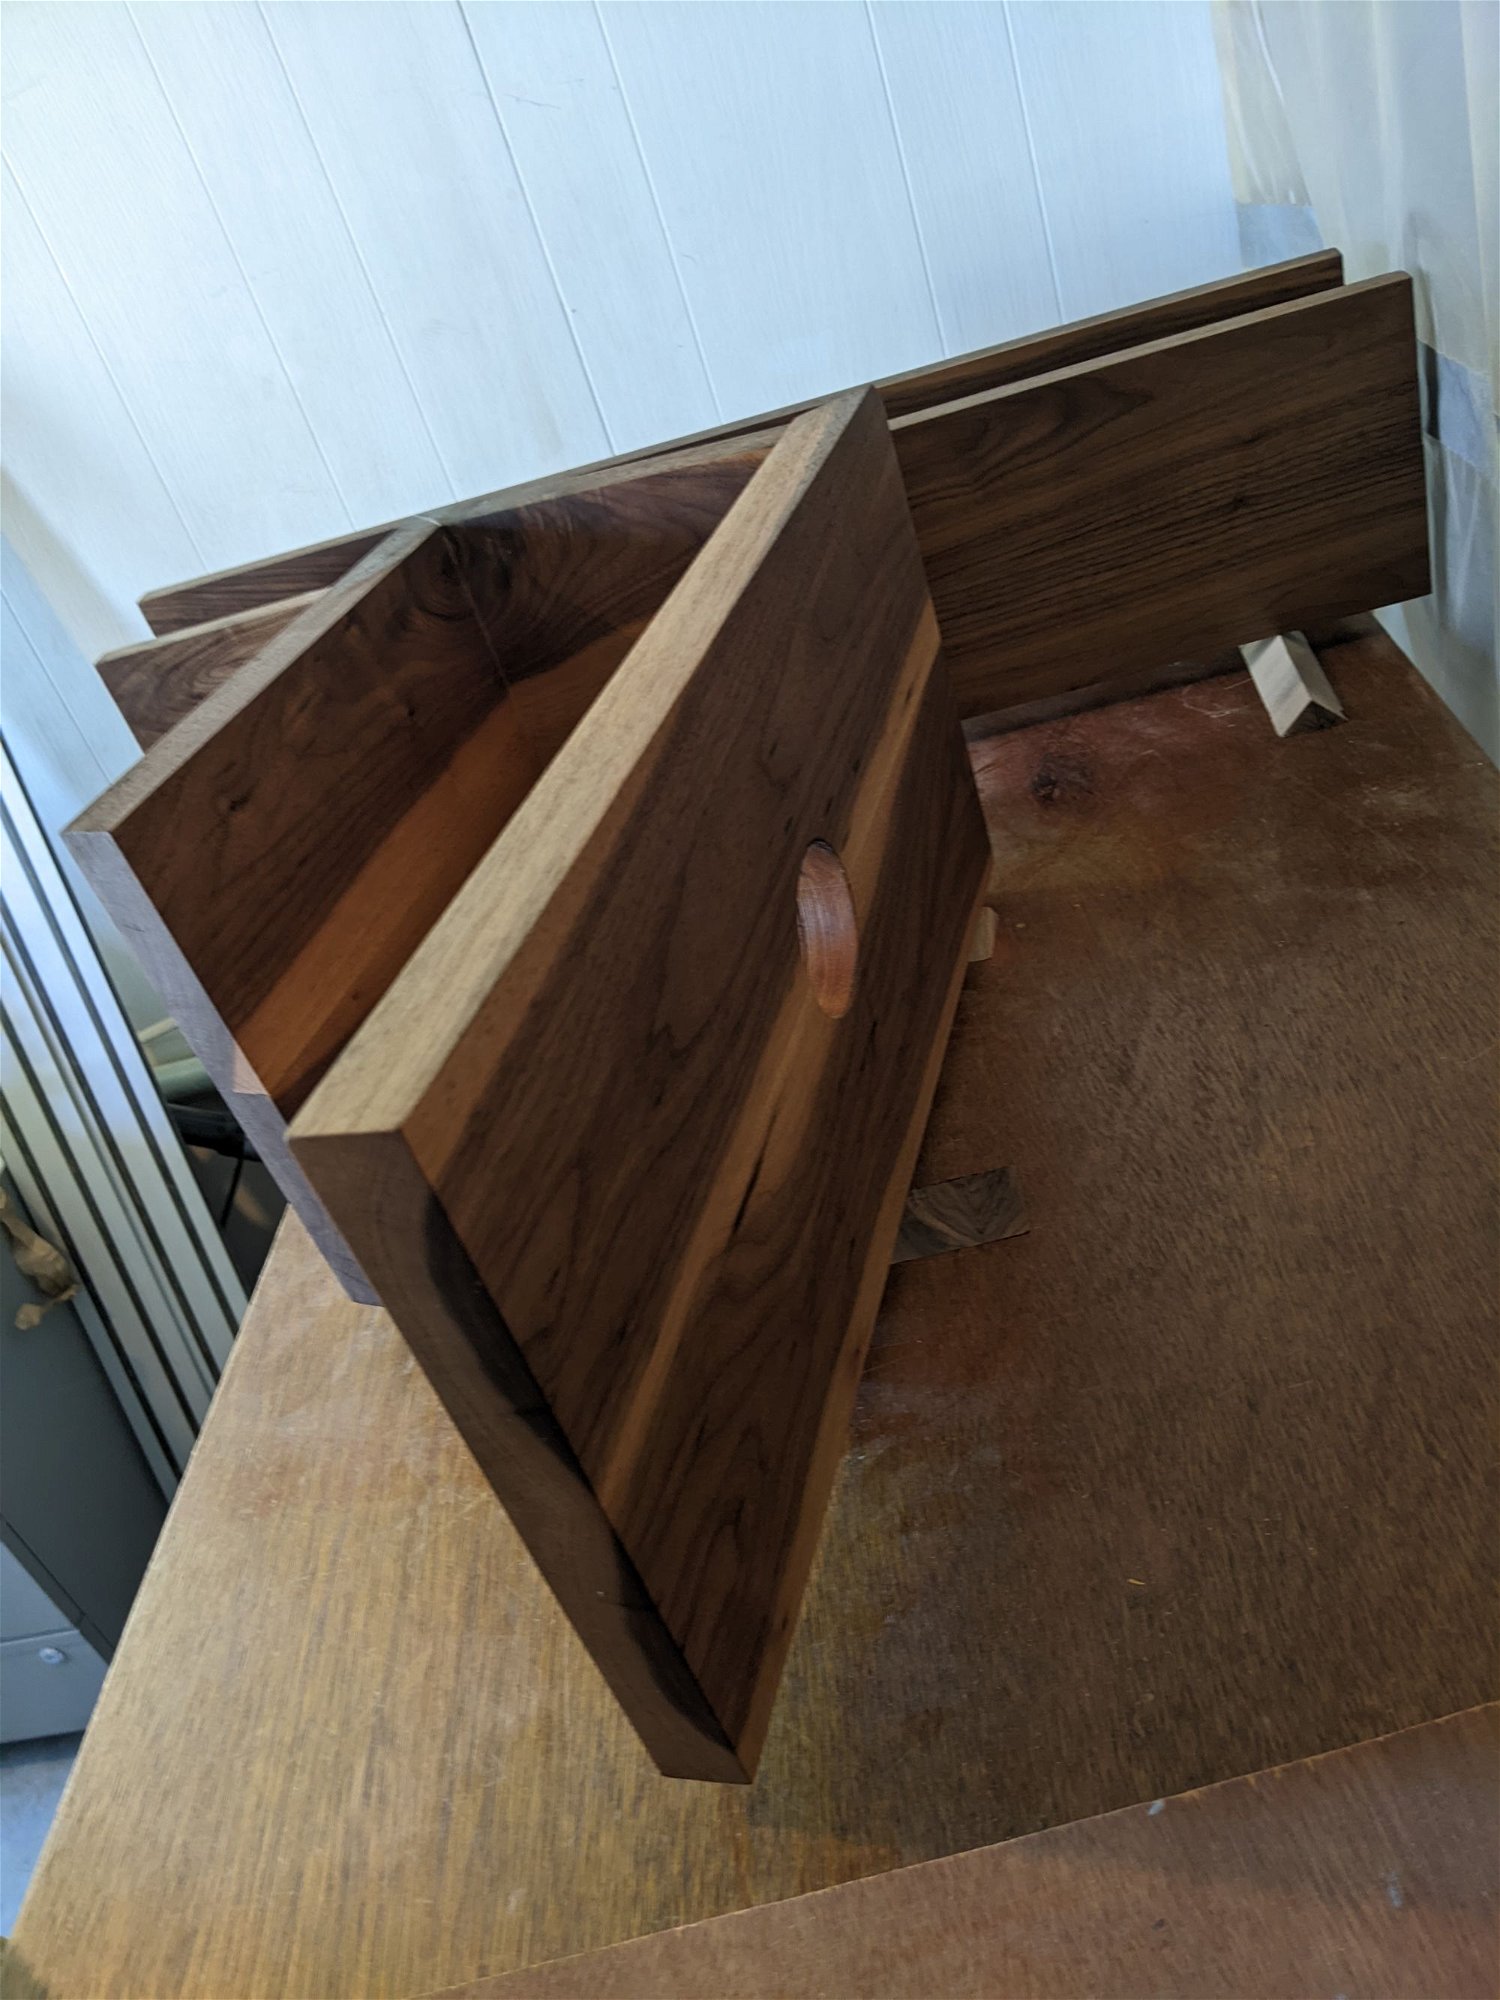
I have the the back panel on the inside a slight angle to give a little design feature and wanted to continue this line on the bottom shelf.
Used the off cut from the back panel to set the angle for the bottom shelf
Worked out perfect! Slight sanding and it was nice and even.
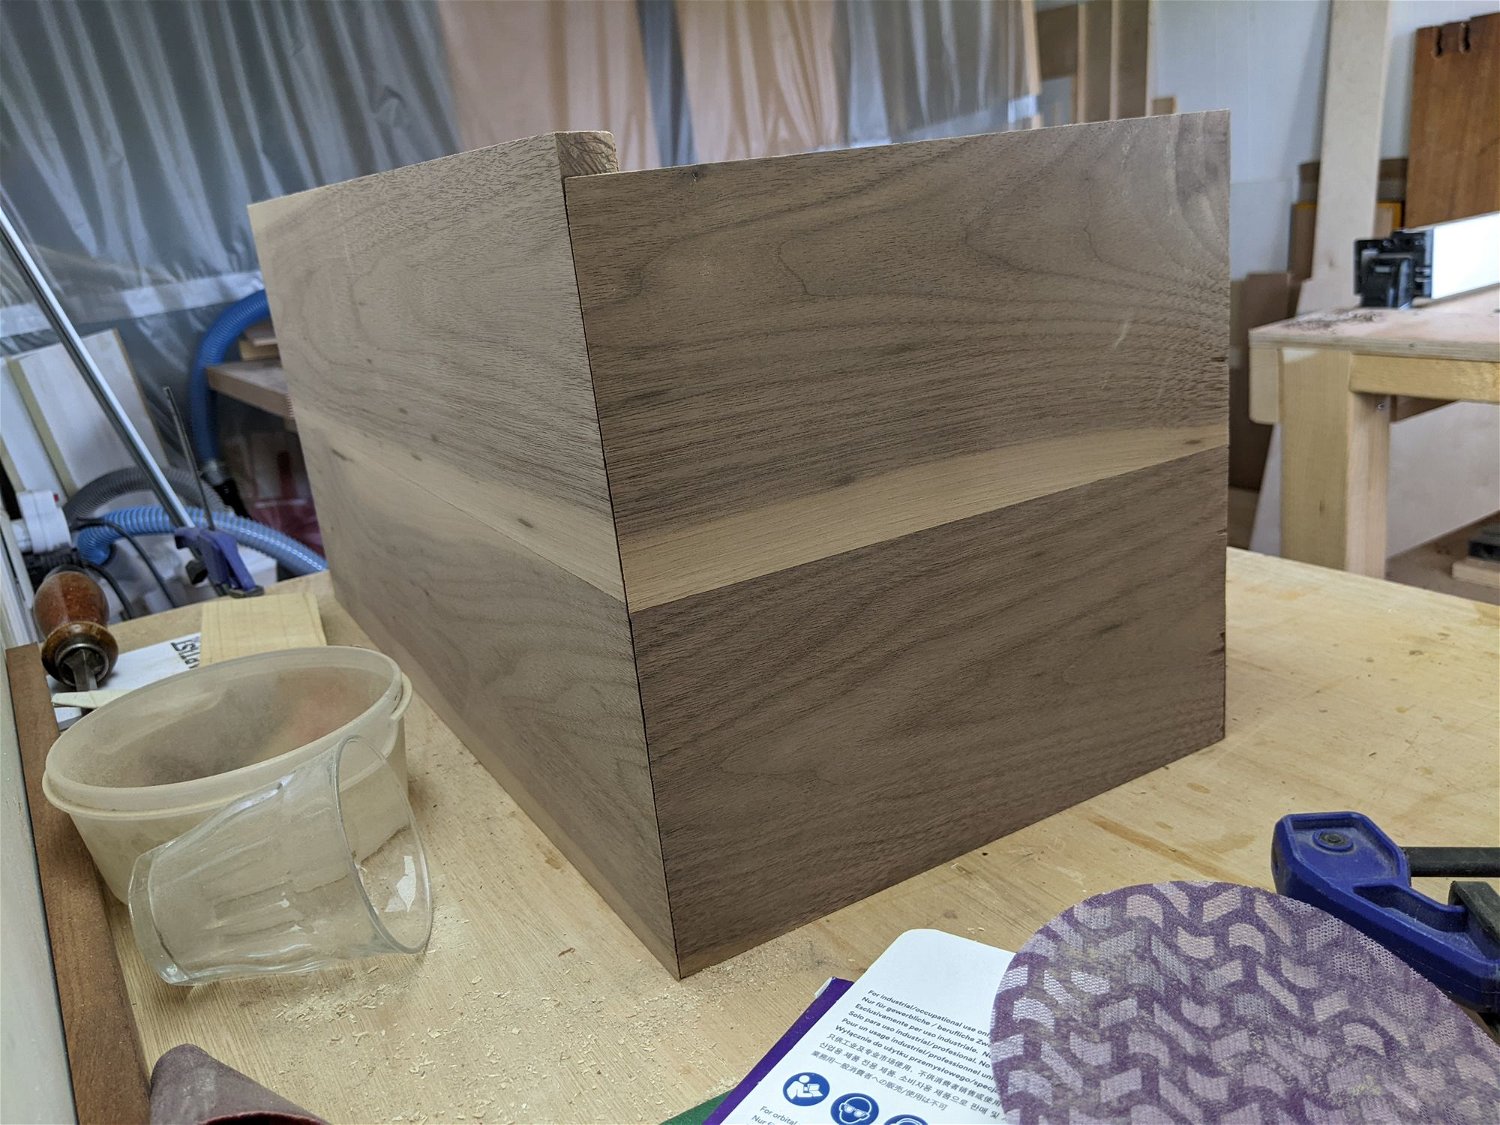
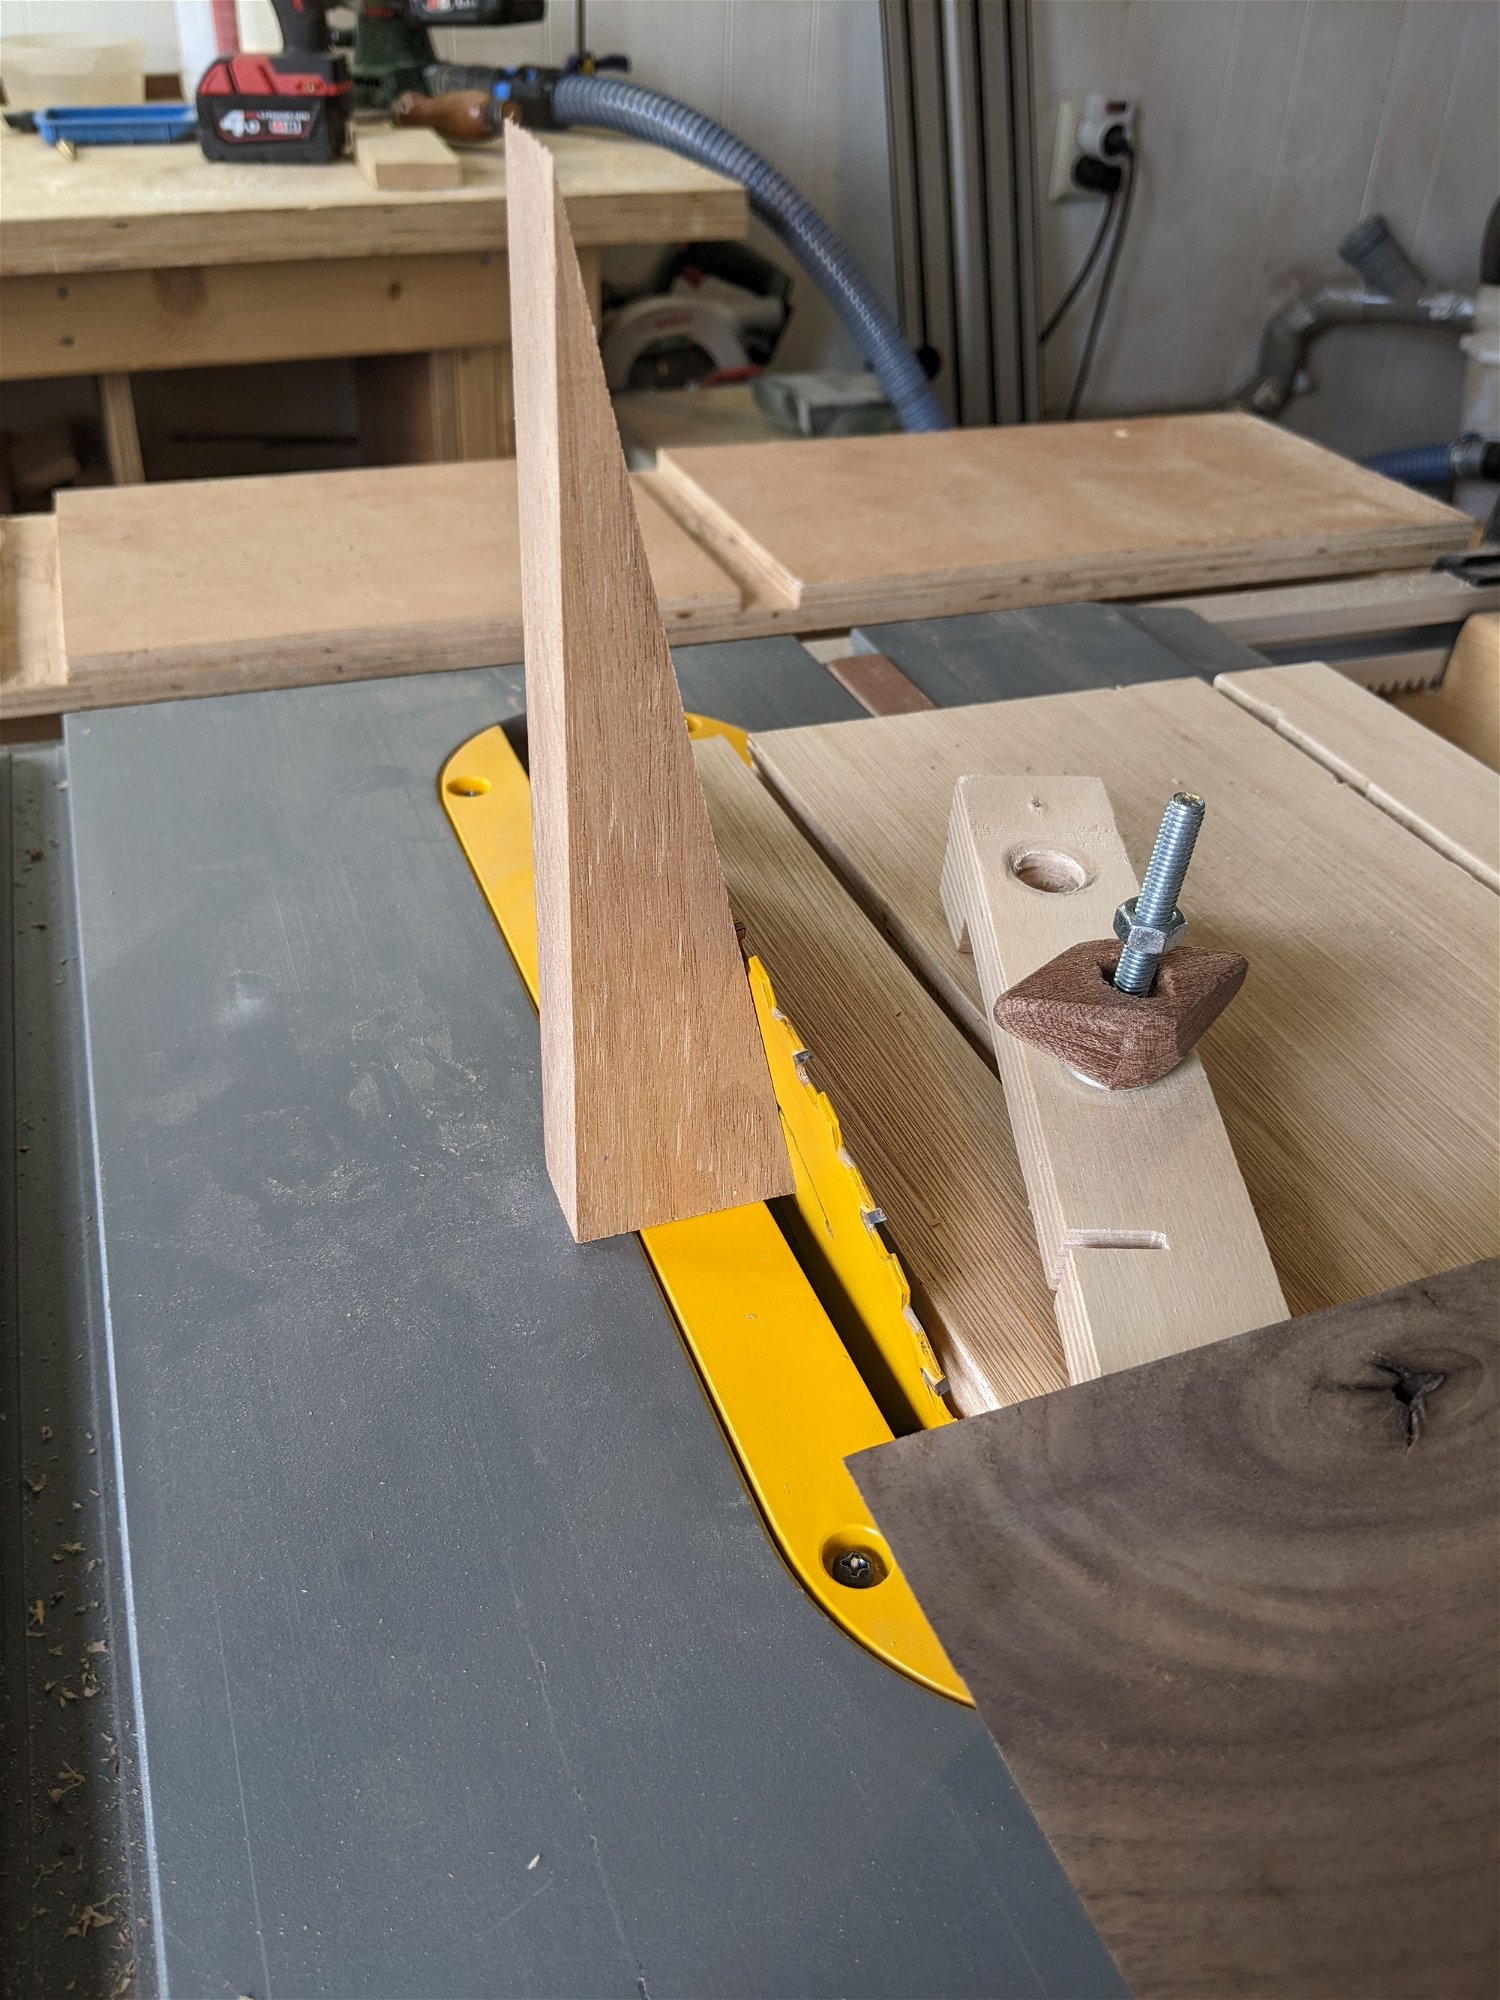
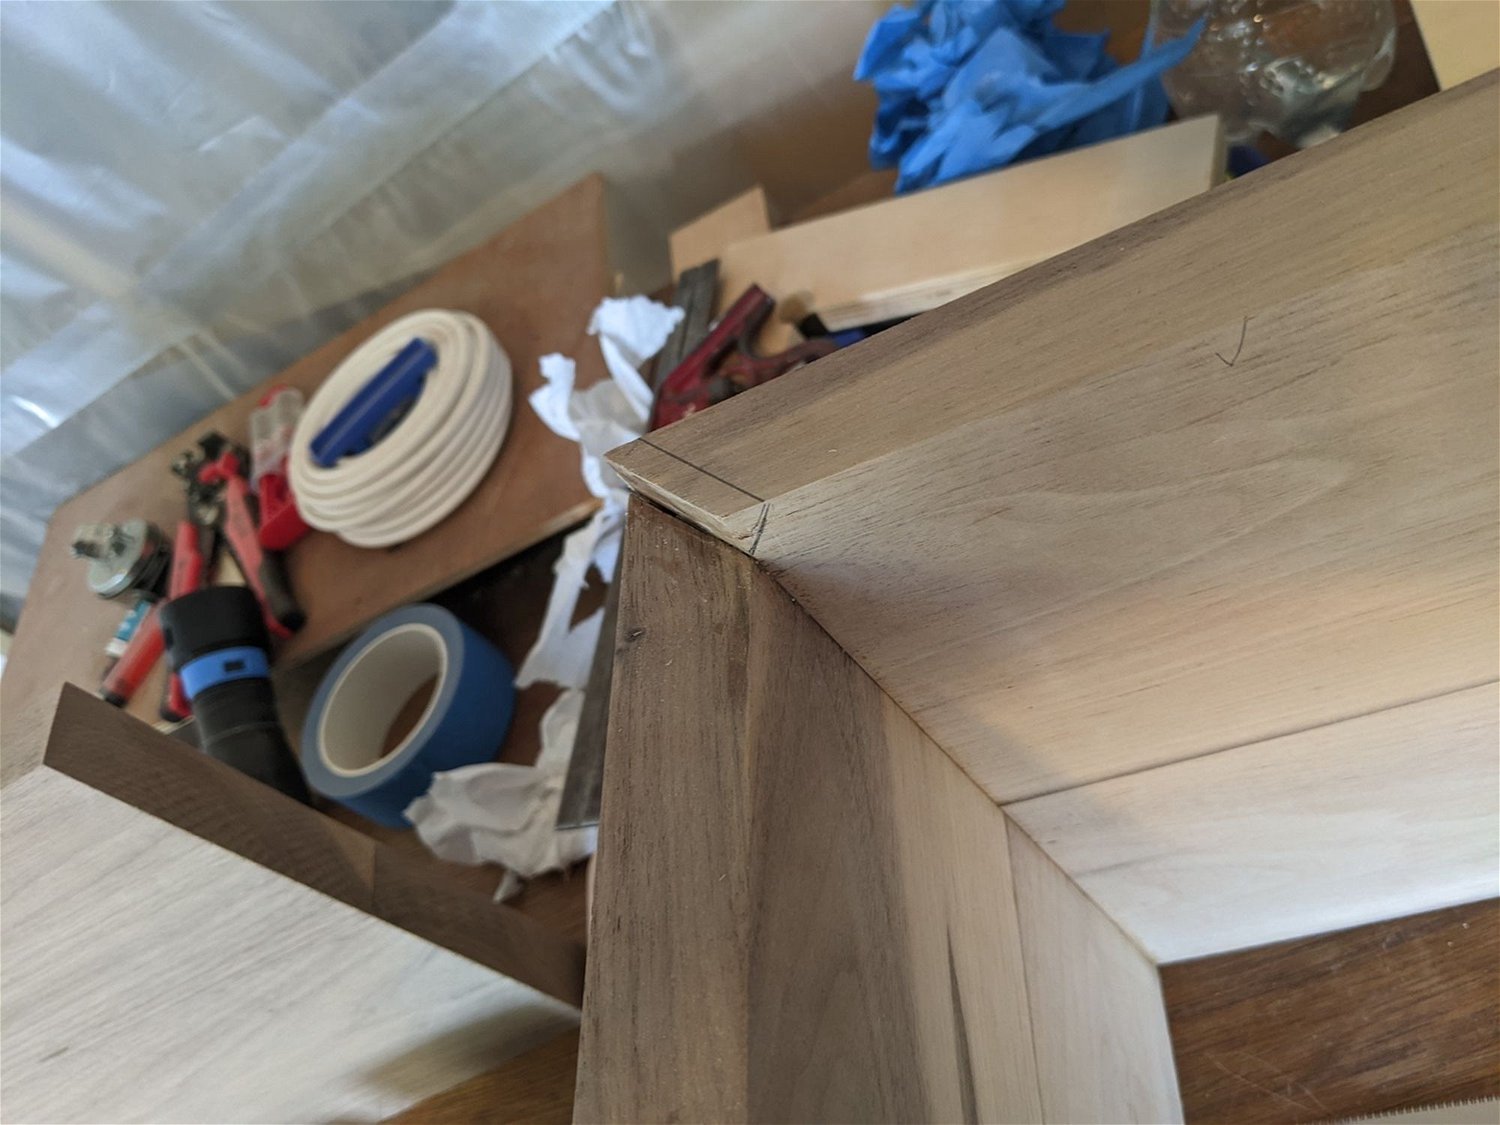
Now lets deal with this corner.
I decided to just add an angle to this corner and soften it. I thought this would fit nicely since i also had some other odd angles on the other side of the bottom shelf. I used an off cut here again to help guide a hand saw and cut it off at 45 degrees.
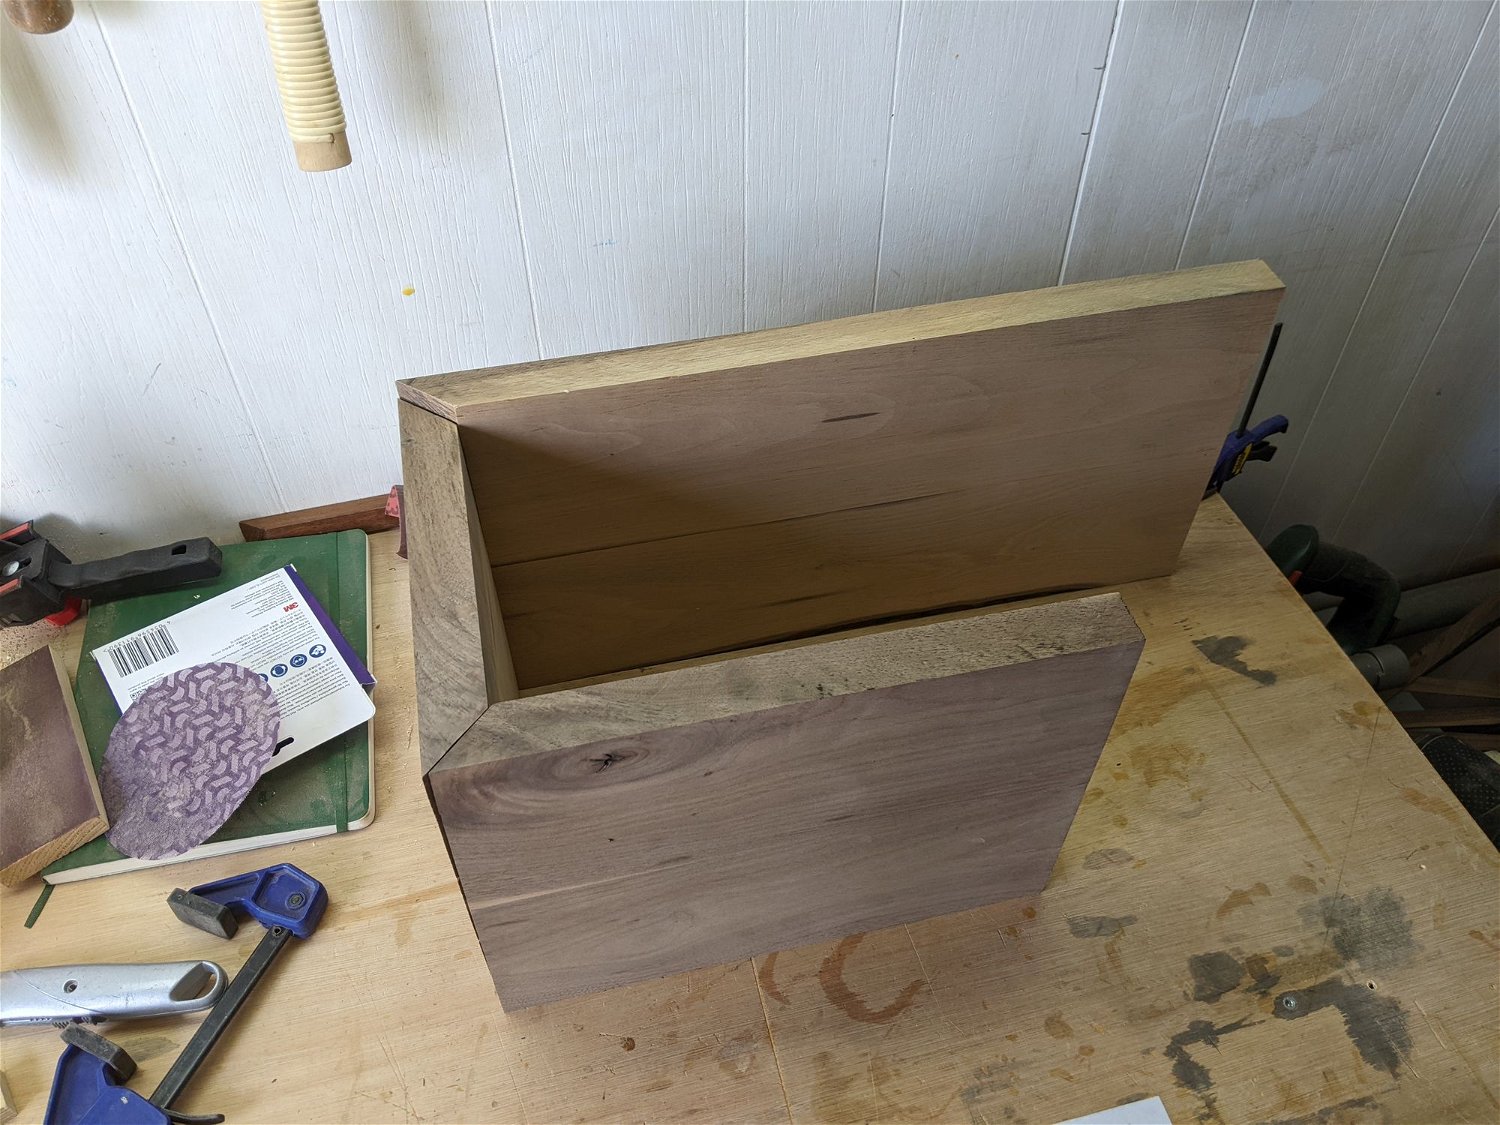
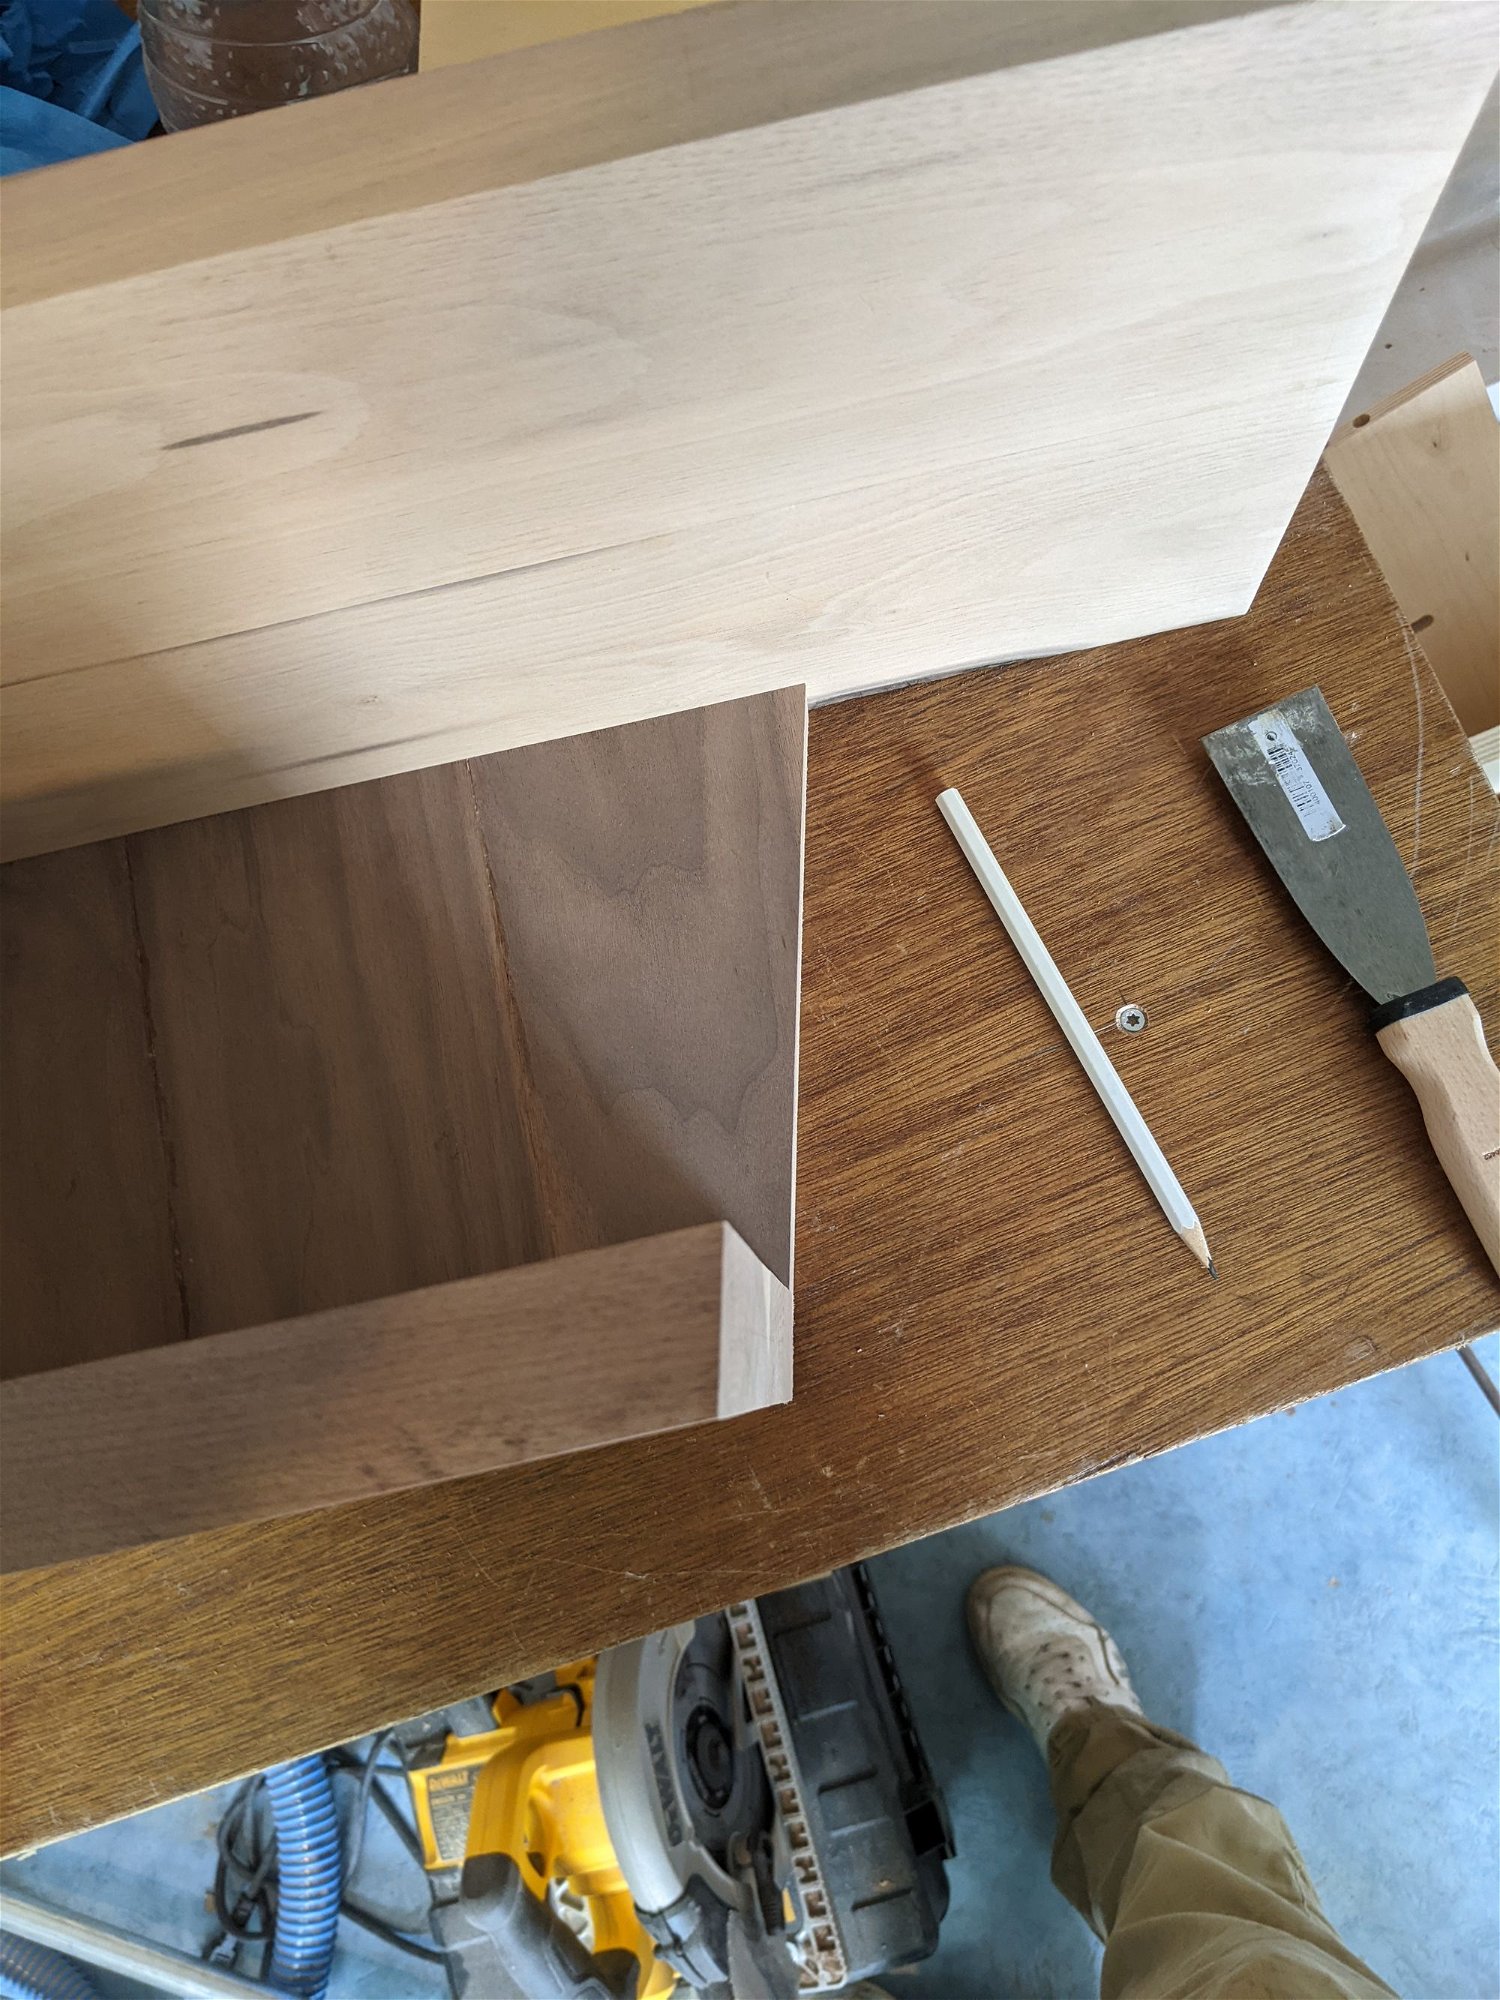
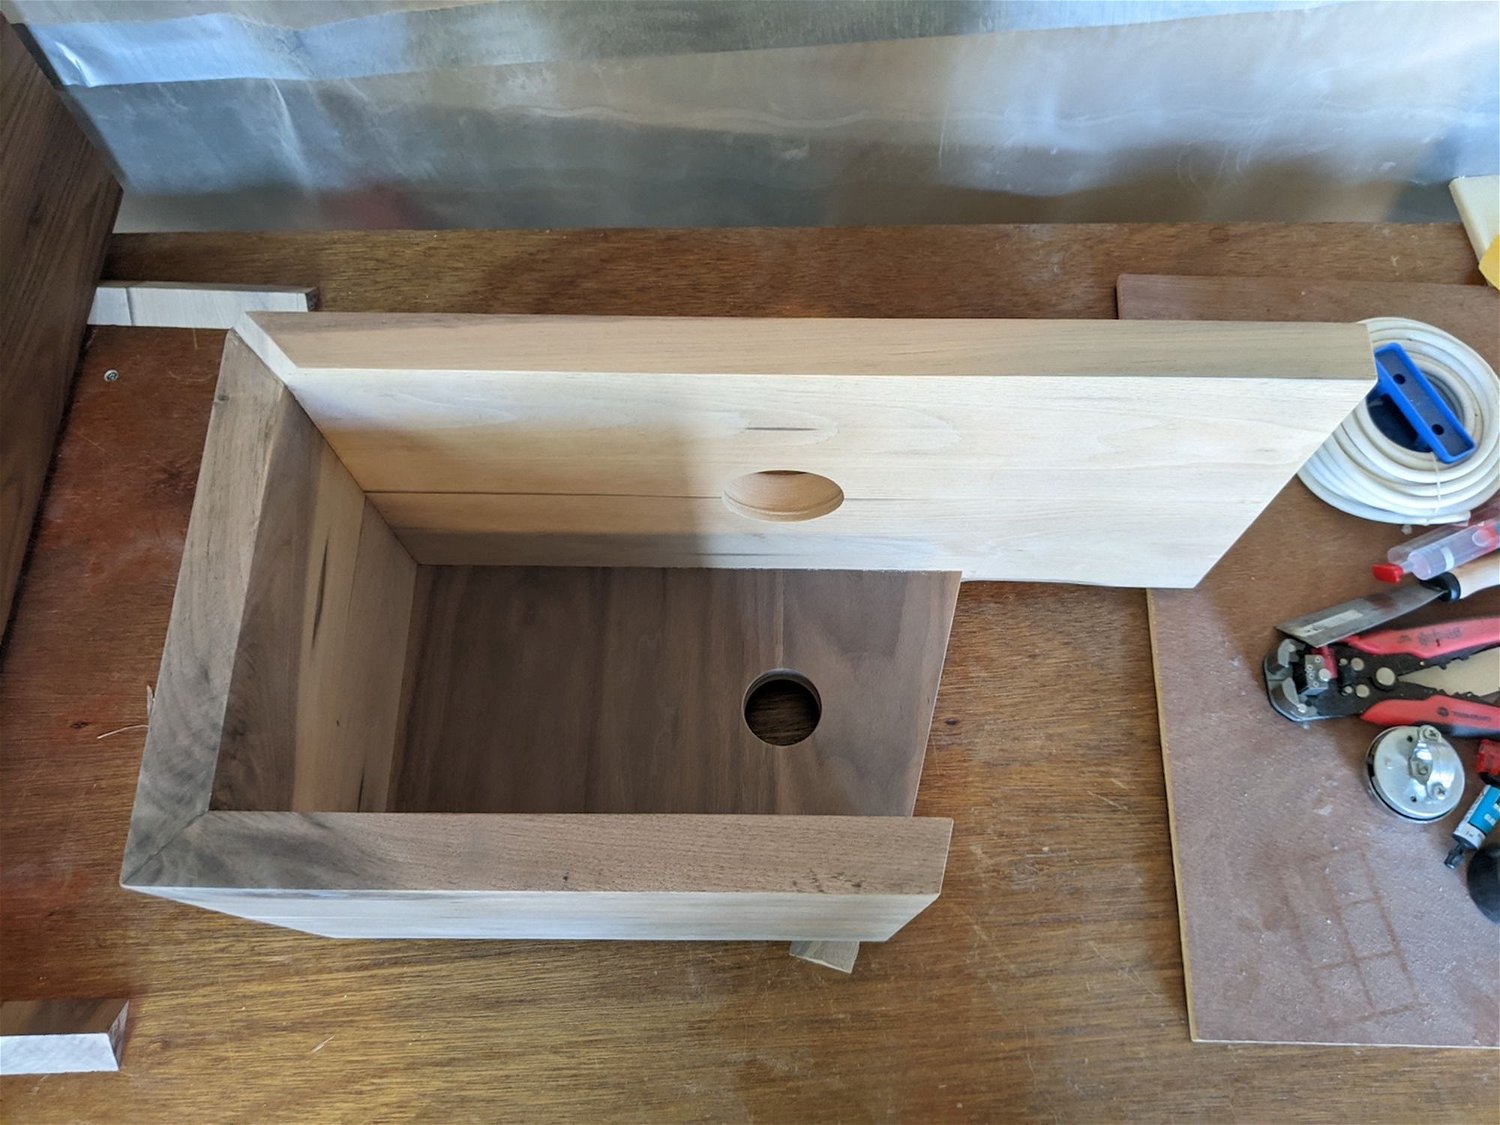
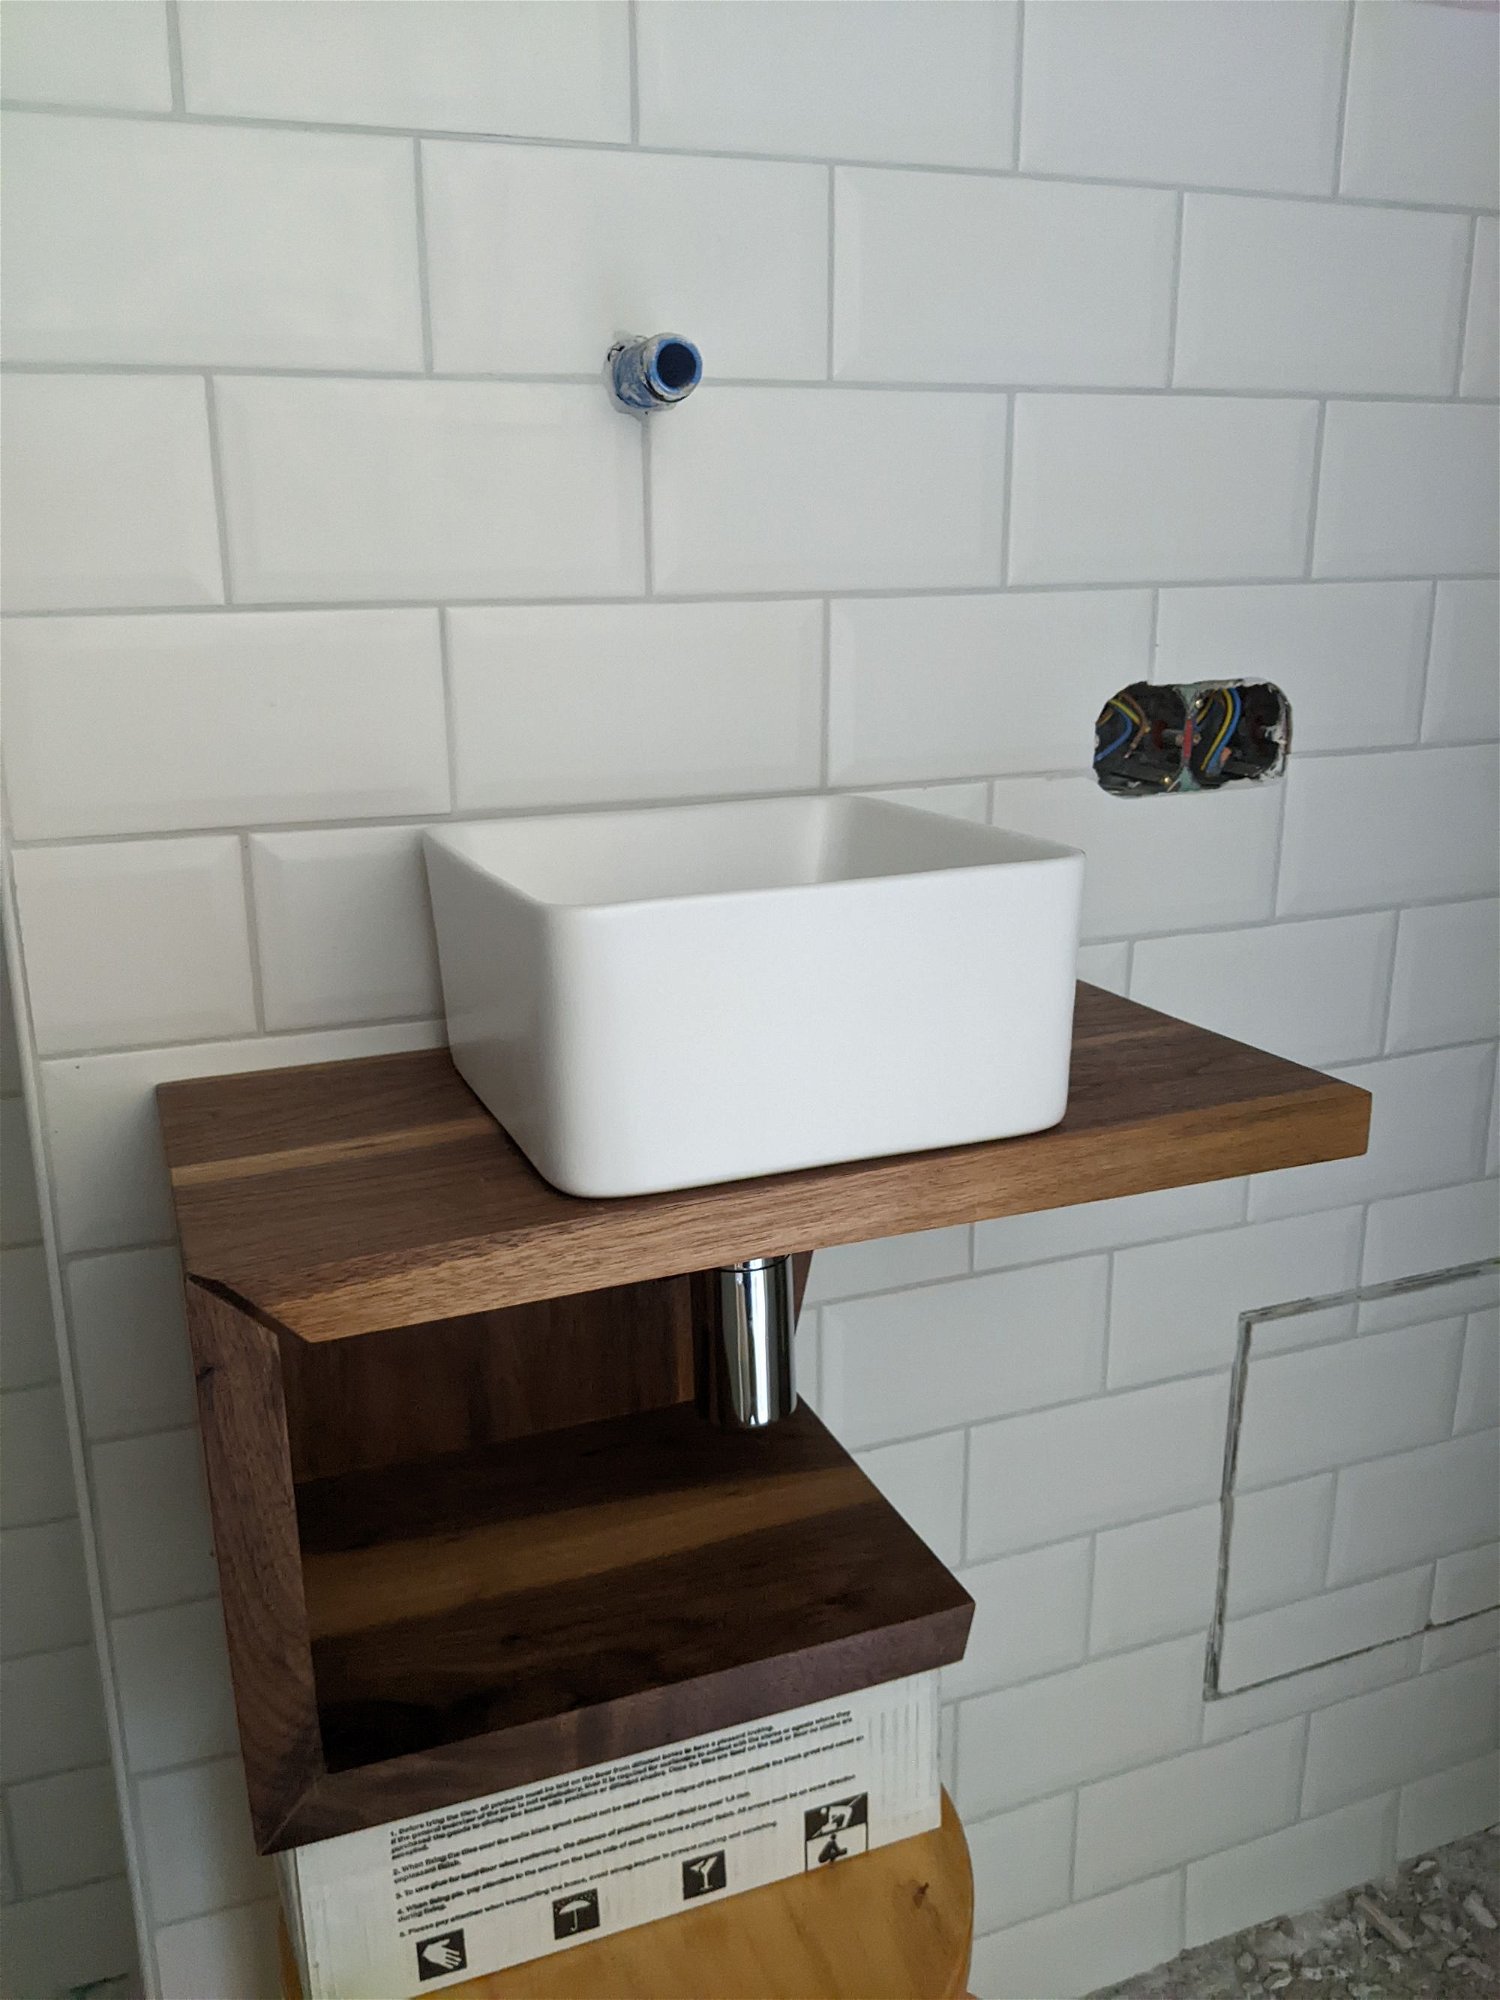
All sanded and ready for finish!
Oh no, it needs holes for the water basin and plumbing first.
Before finish.
Before finish.
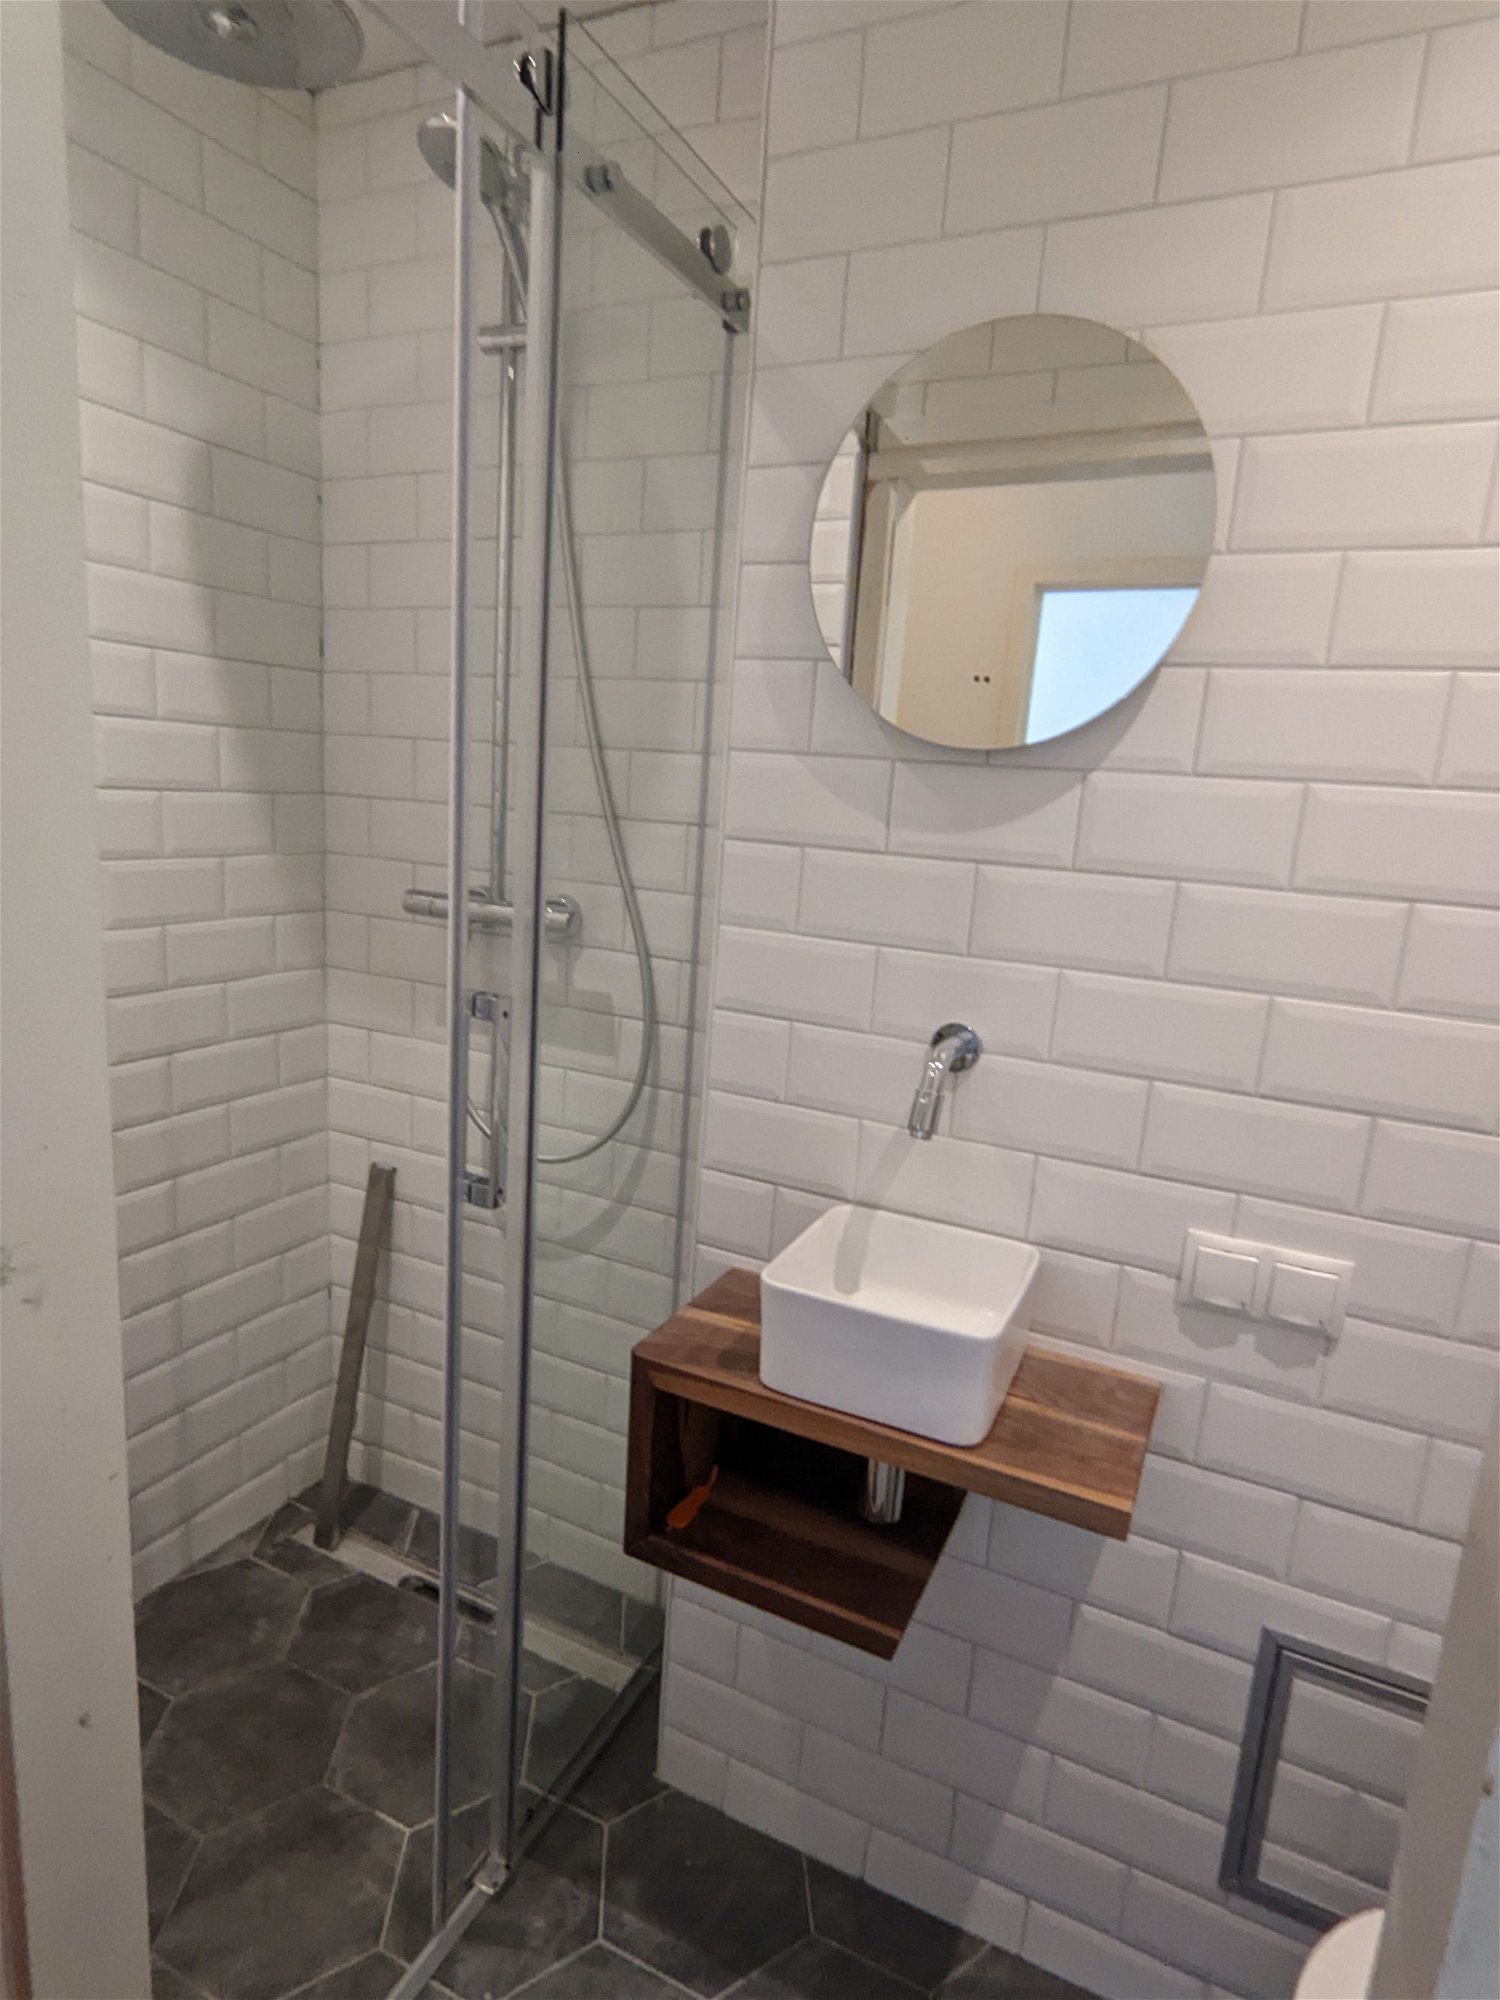
After finish. I used 2 coats of Osmo hardwax oil
Test fit for height in the bathroom before finishing the renovation.
Finished product in my tiny bathroom 🙂
 
badge