I just wanted to replace the knife block i had in the kitchen because it was way too bulky for my liking. I did not want to create any drawings or plans for this one, so i just got right to it.
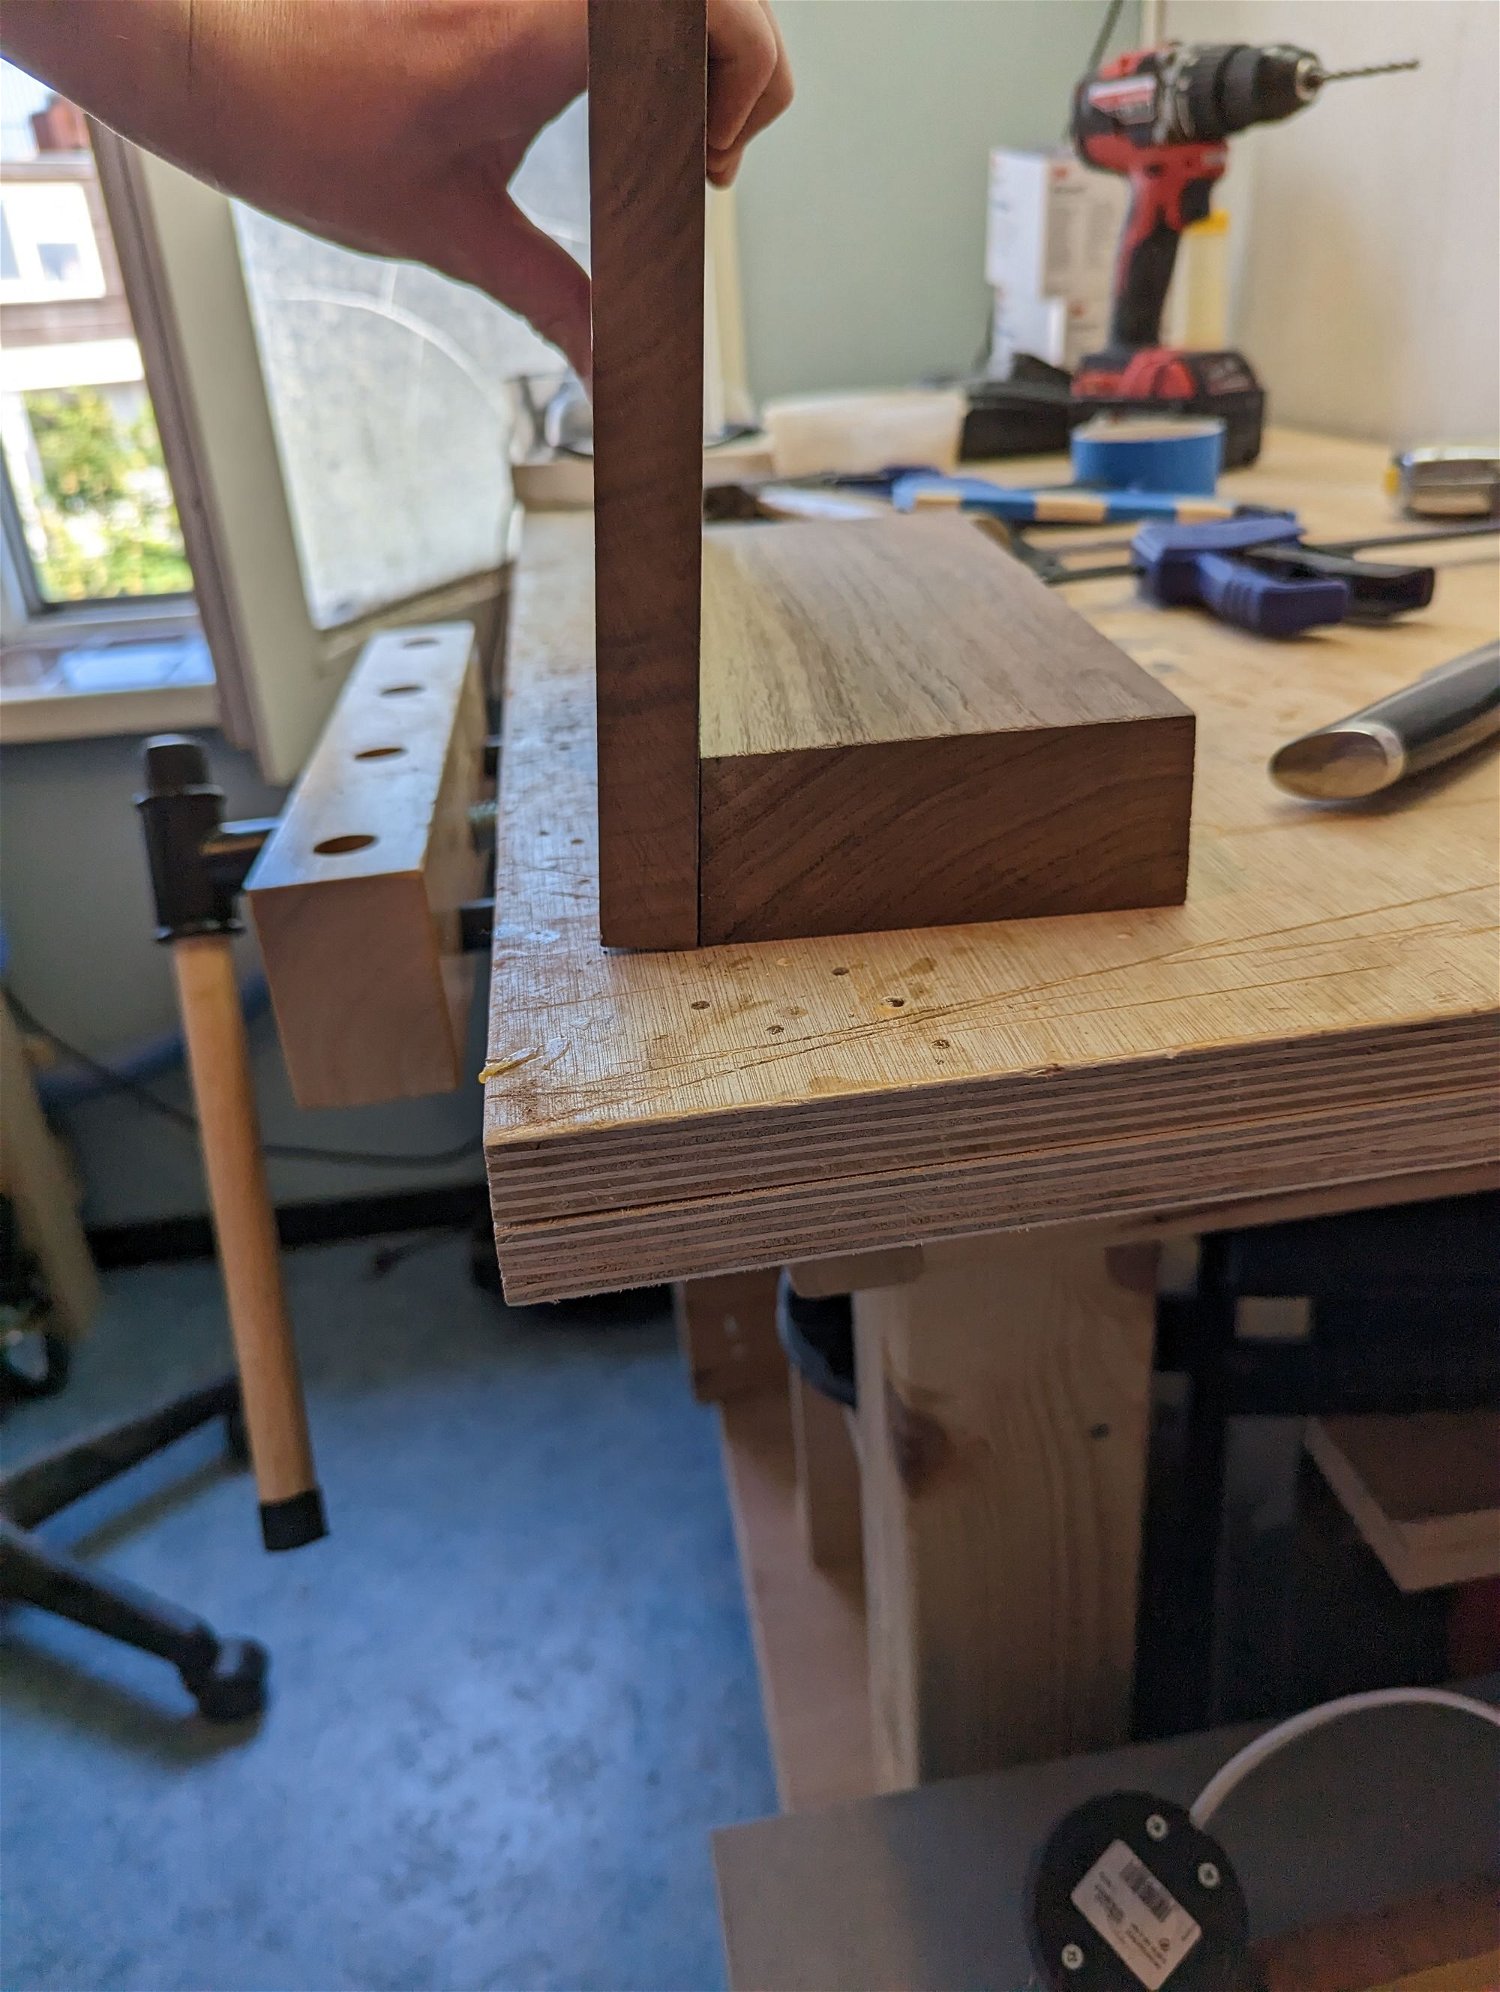
Selected to pieces of walnut; I had the board left over from another project and bought the block for the base. The plan is to recess magnets in the back of the board so the knives are held in place.
I wanted to add a slight angle to the top so the knives would have a little more friction, it would be a nice challenge and i thought it would be more aesthetically pleasing.
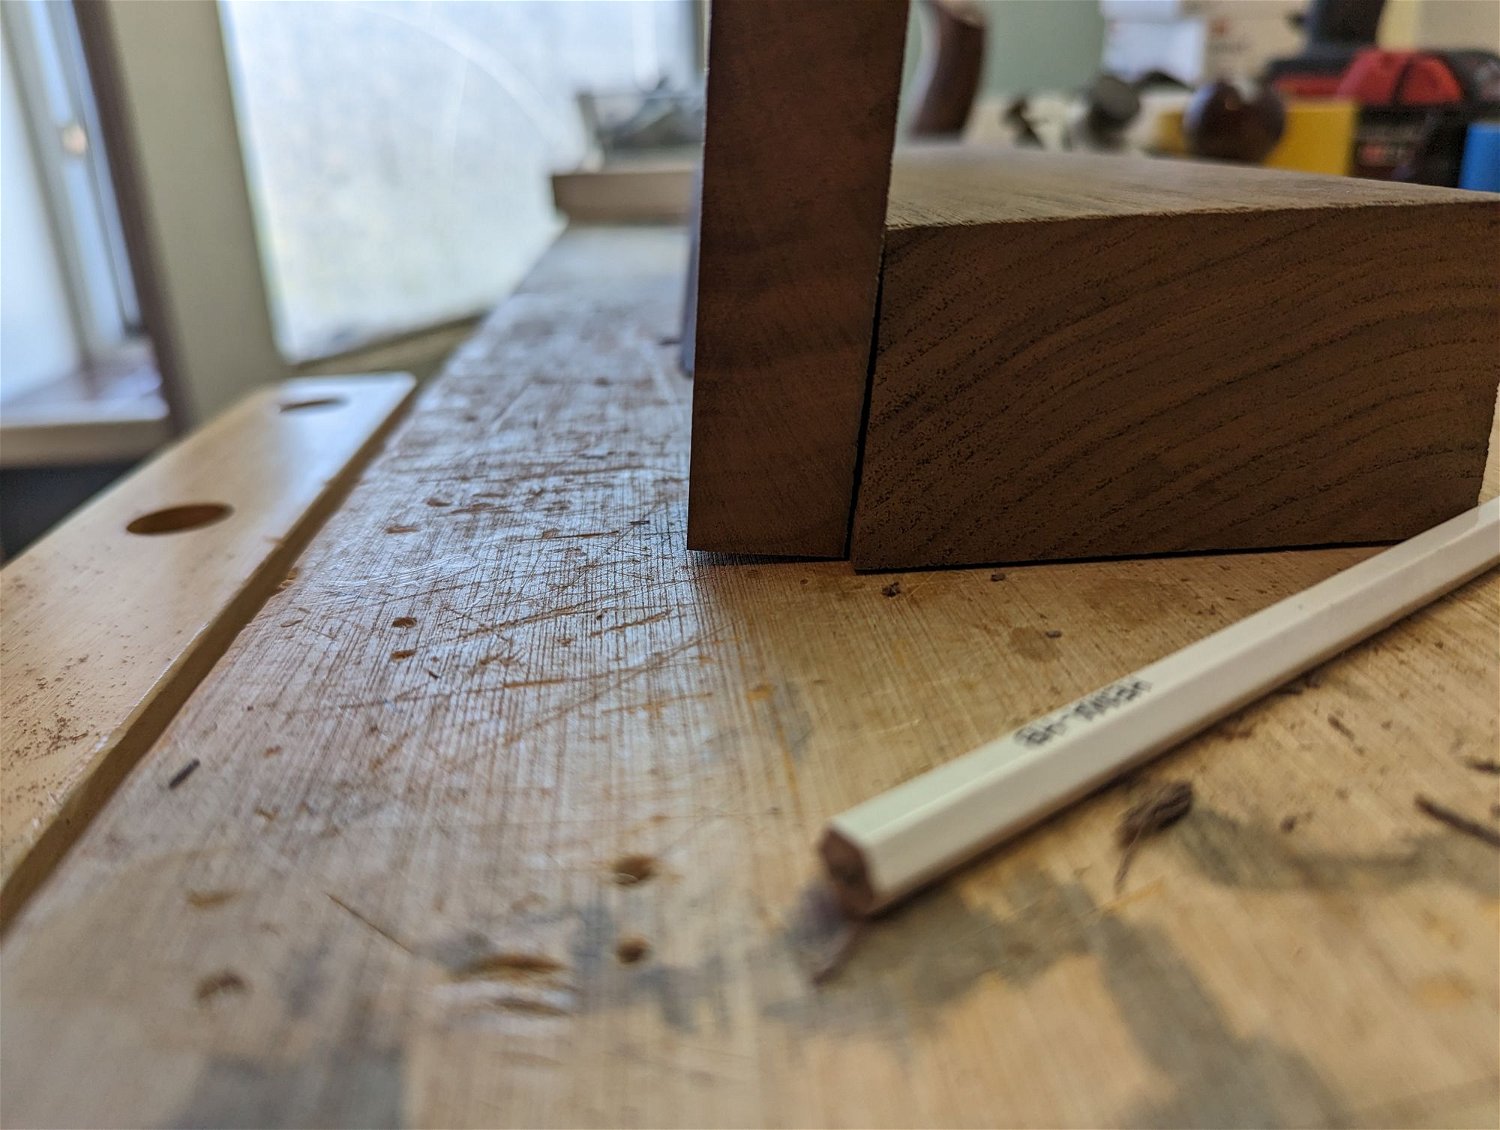
With the slight angle the board side also needs a tiny angle cut on it which I forgot. Learning as we go!
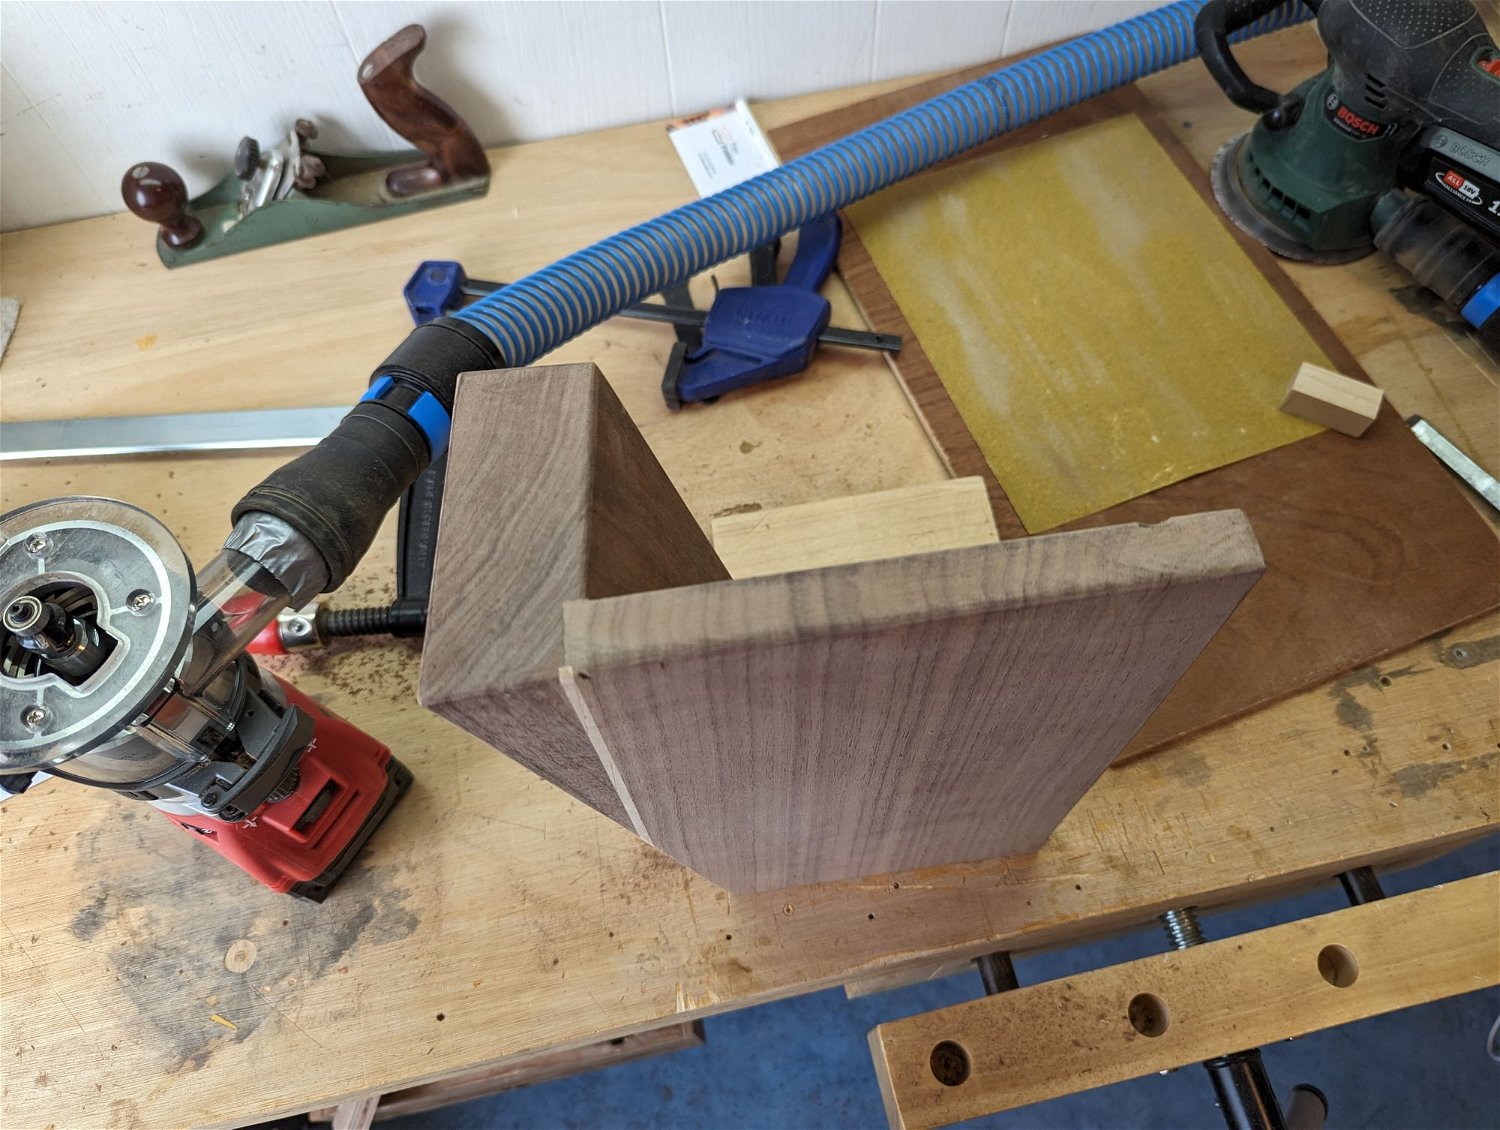
Wanted to add another angle to the piece by setting the board at an angle. Used a pull saw for for the angle and slowly chipped out the rest with the table saw.
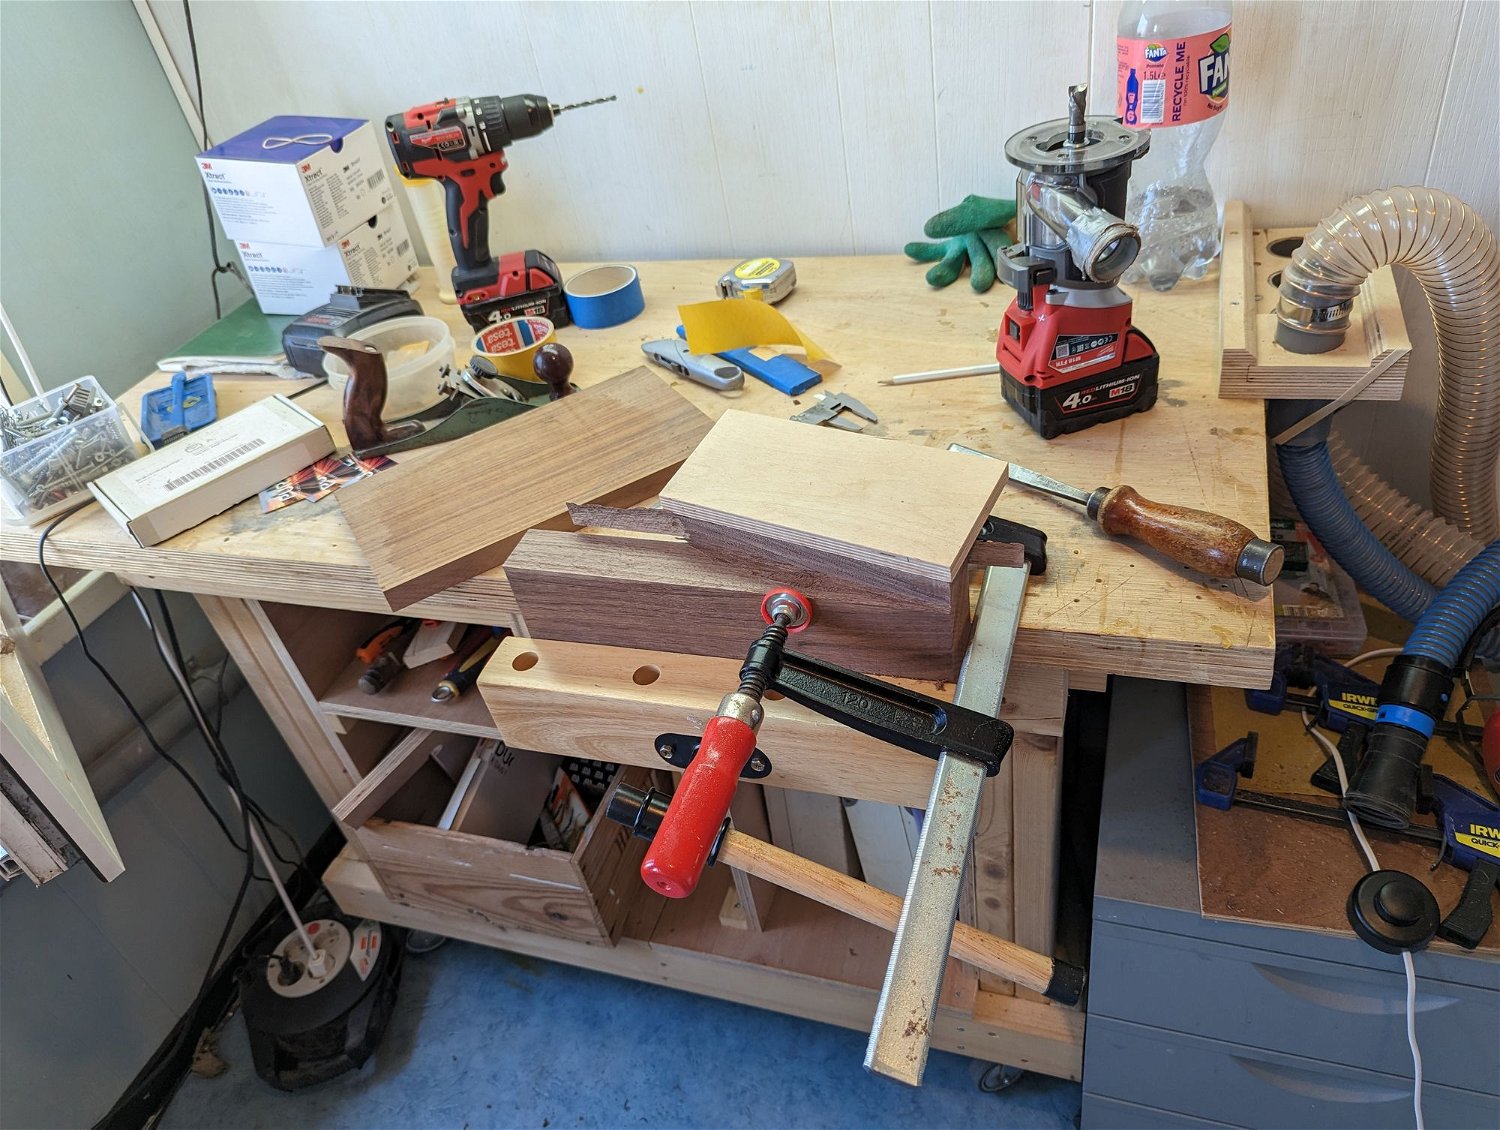
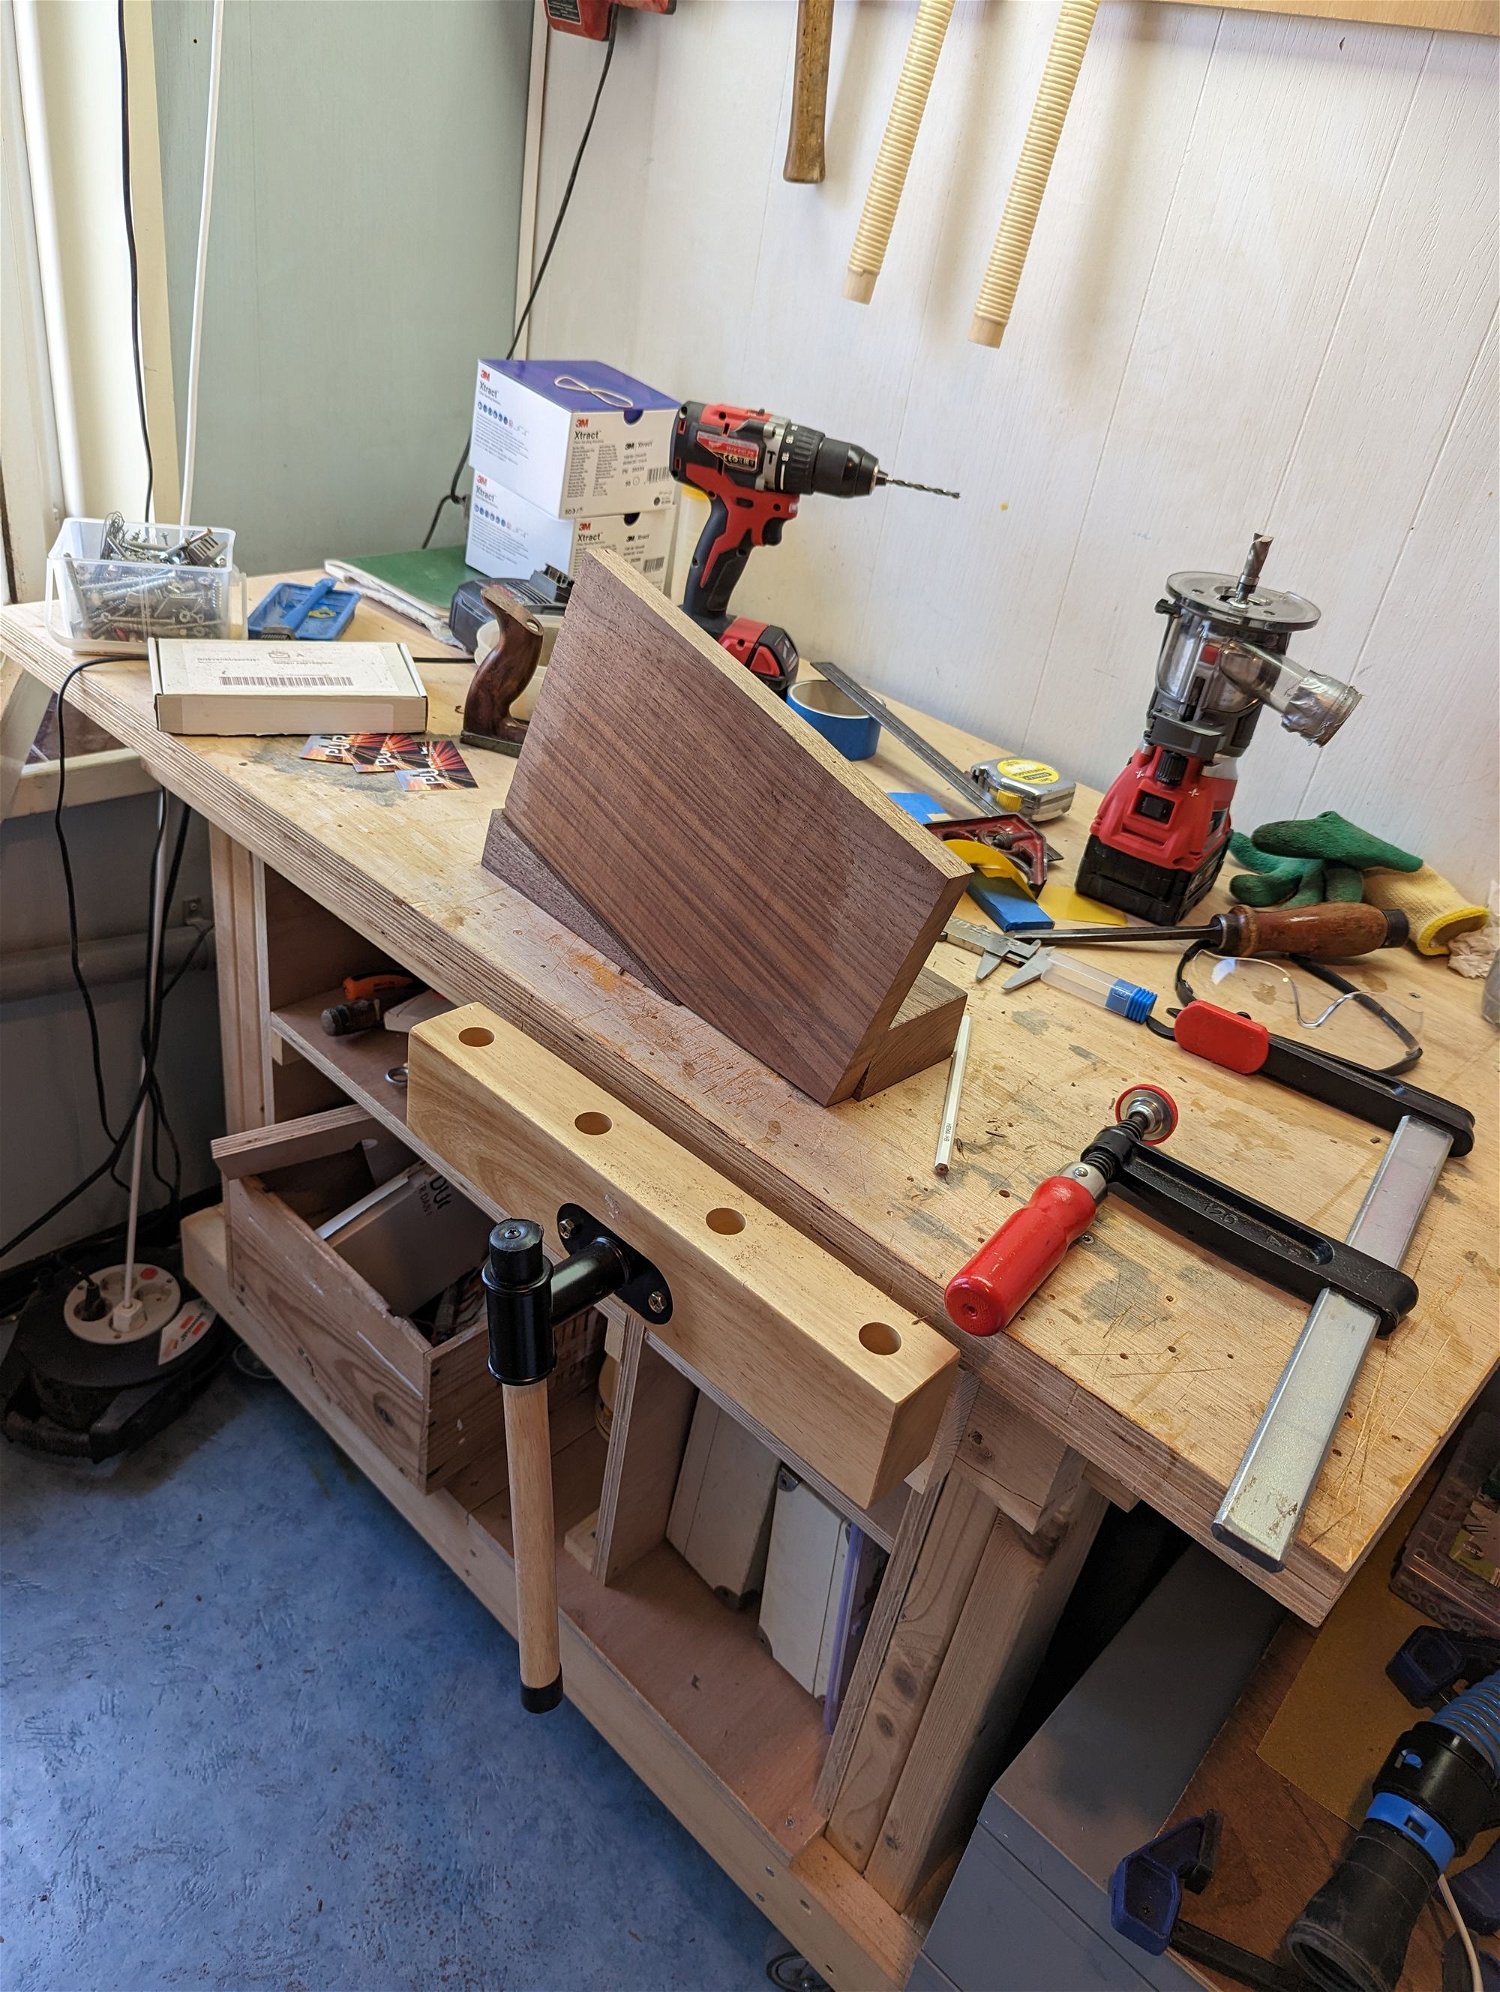
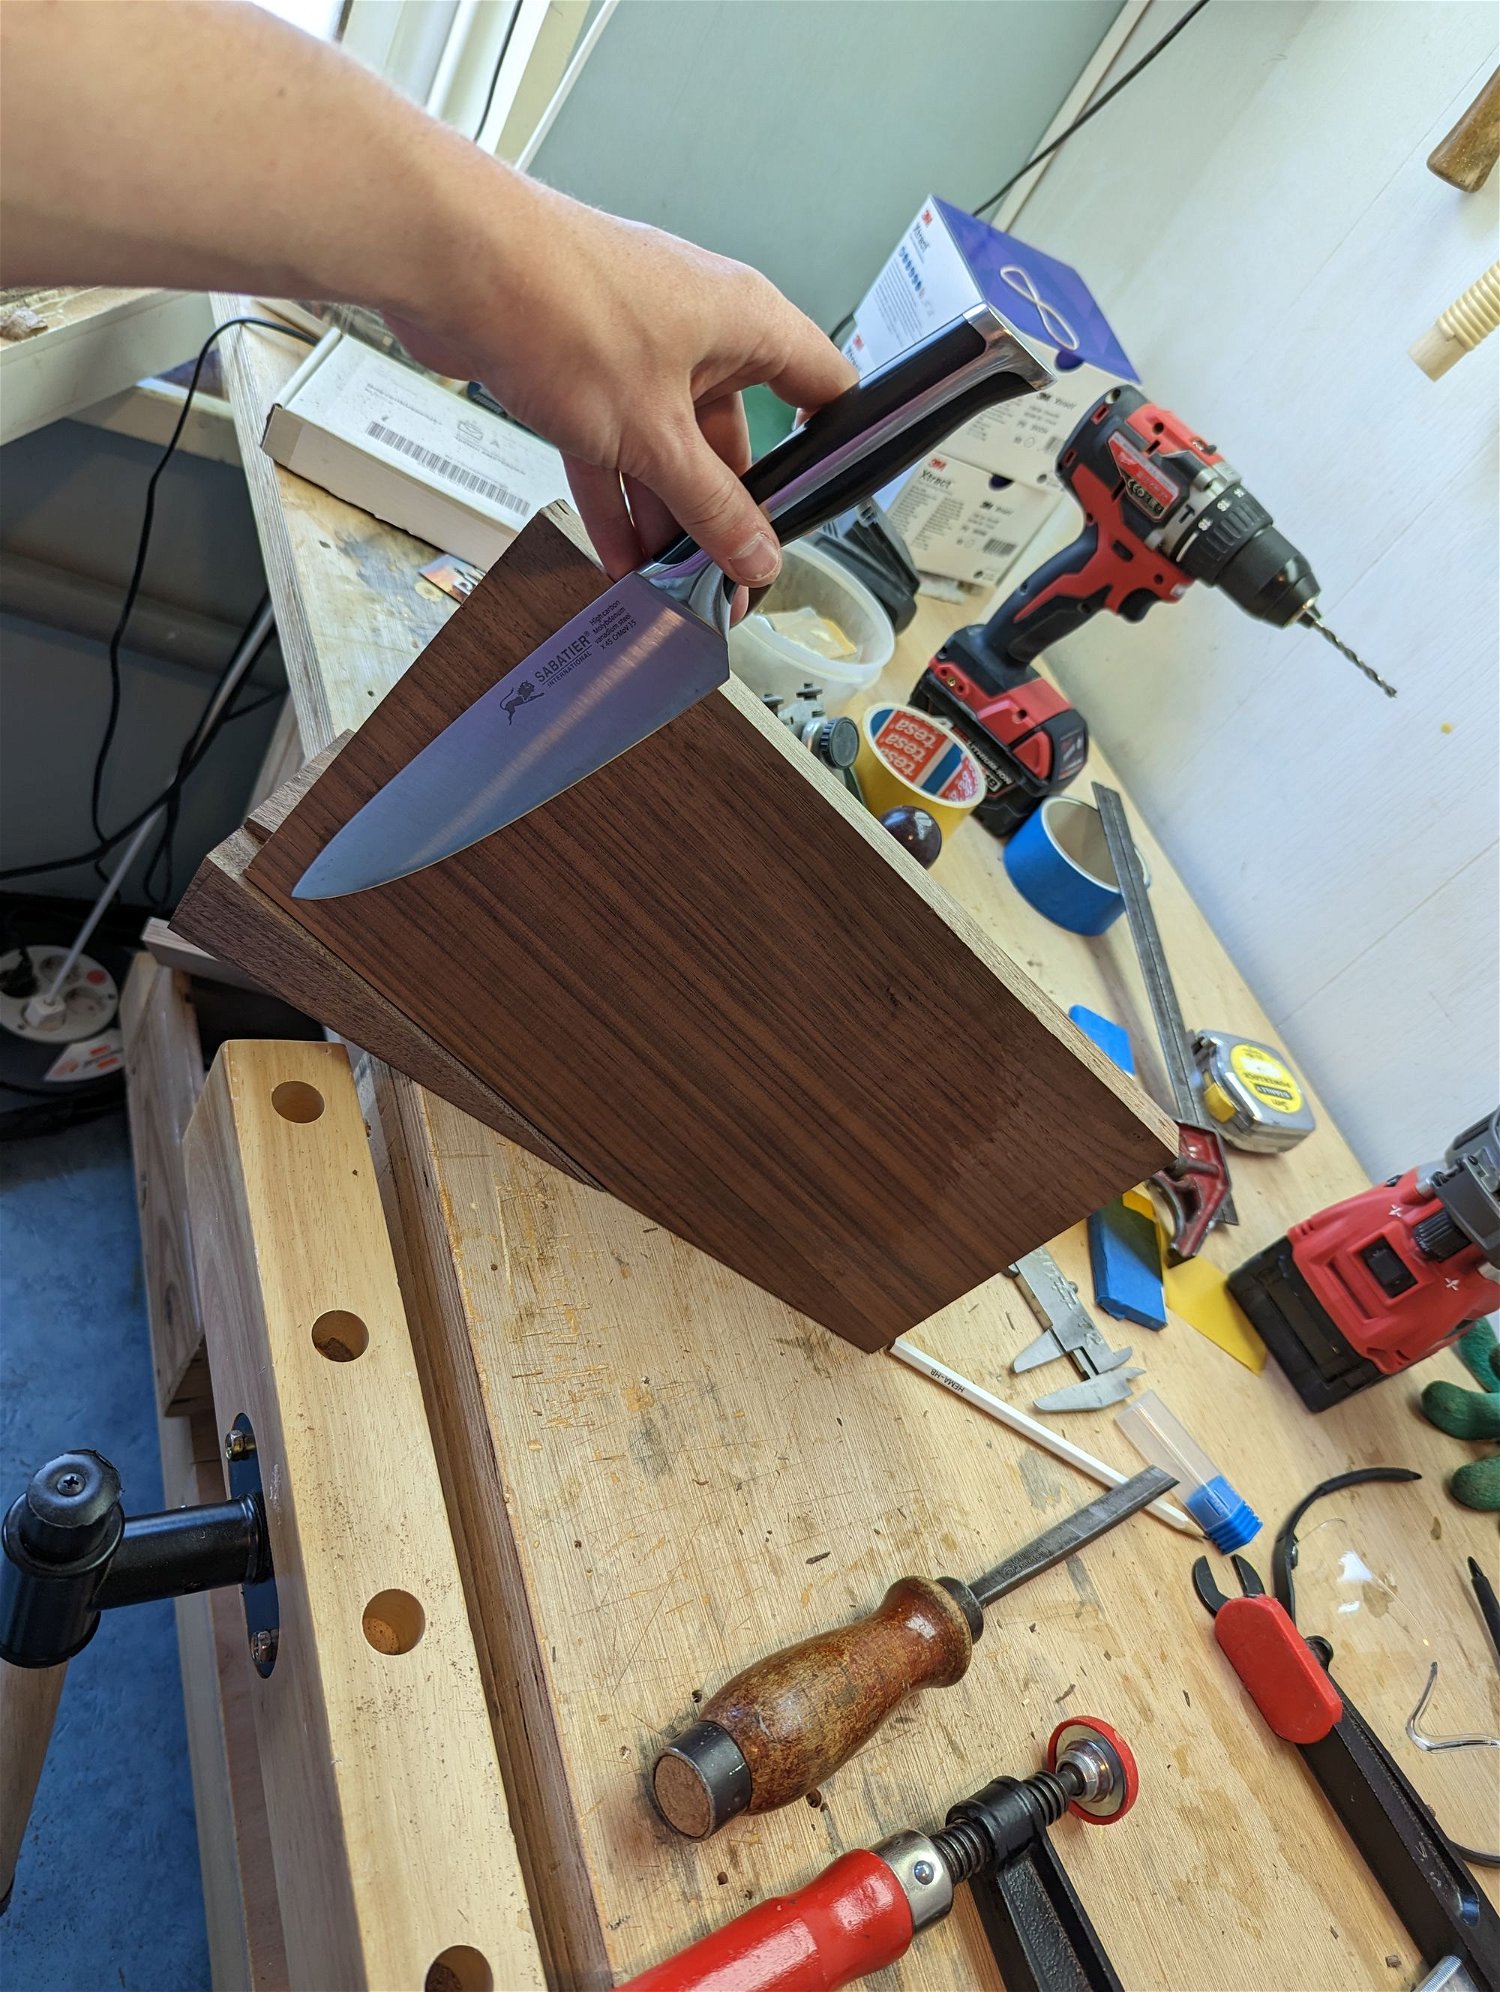
Quick test fit.
Routed out a recess for the magnets that will be holding the knives. As you can see on the left hand side i made a mistake with setting the guides for the router as one piece moved and the router bit into it. Luckily i avoided it breaking the side of the panel as this is just the back piece. And yes, that’s a broken magnet ont he right. These magnets were particularly strong!
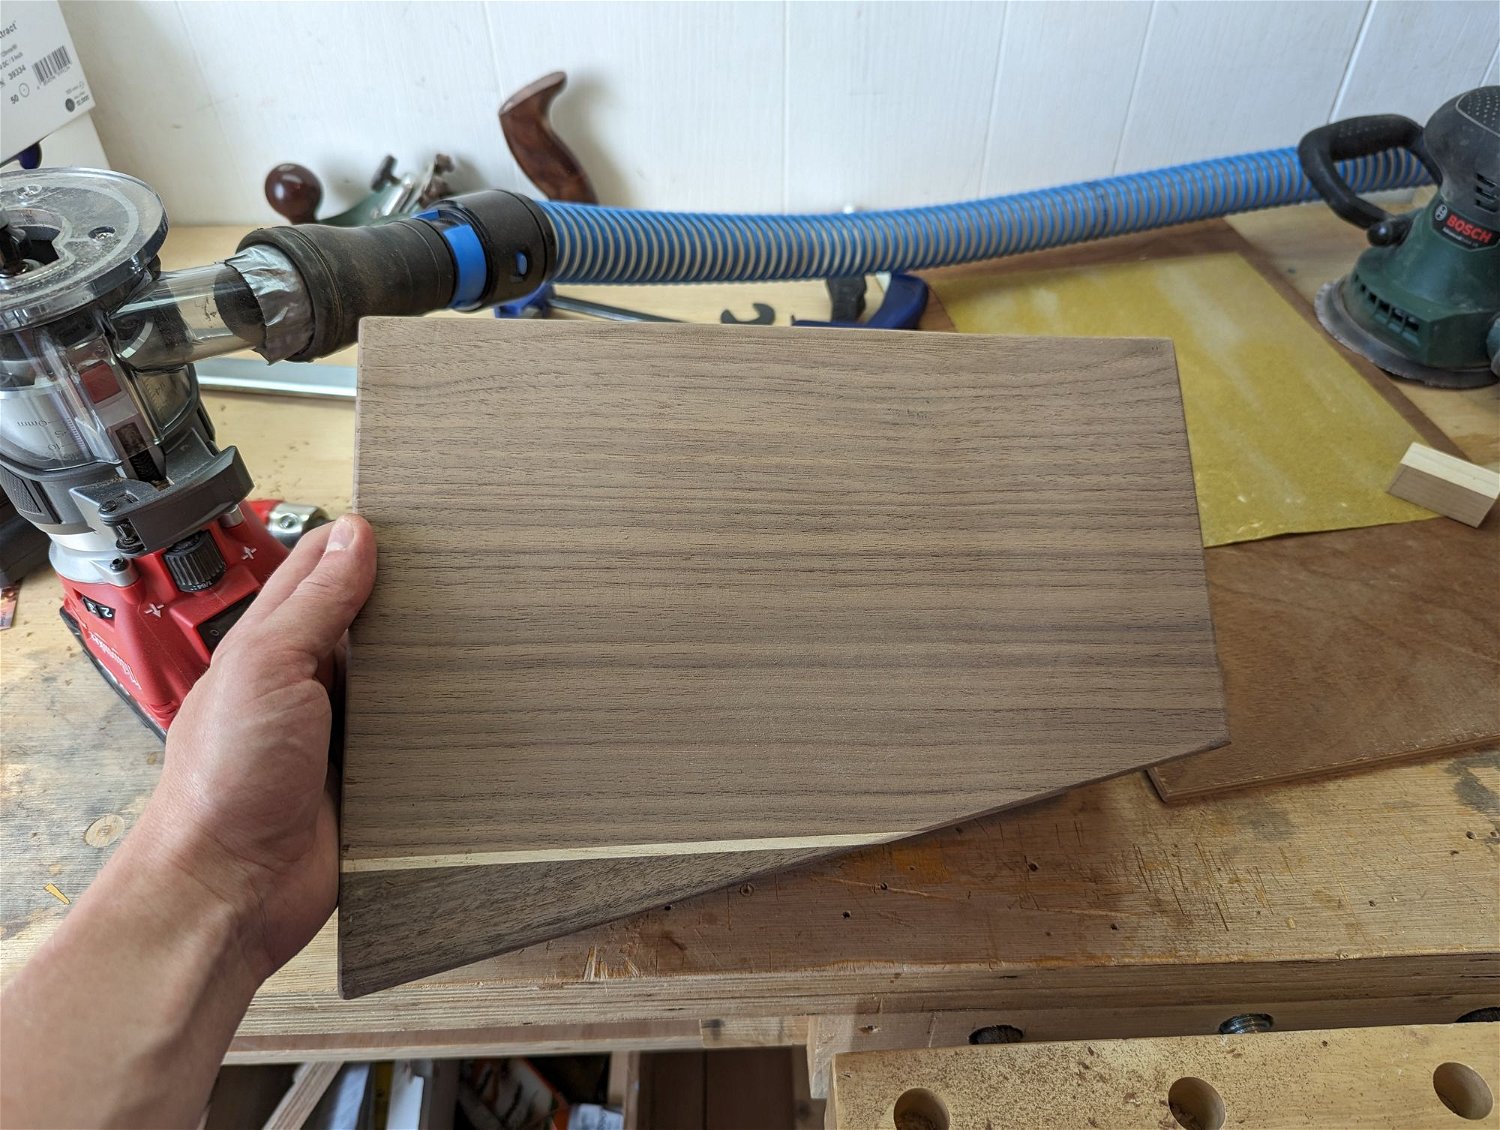
I filled the back piece with some scraps had laying around. I actually like the contrast as i also added this to the front.
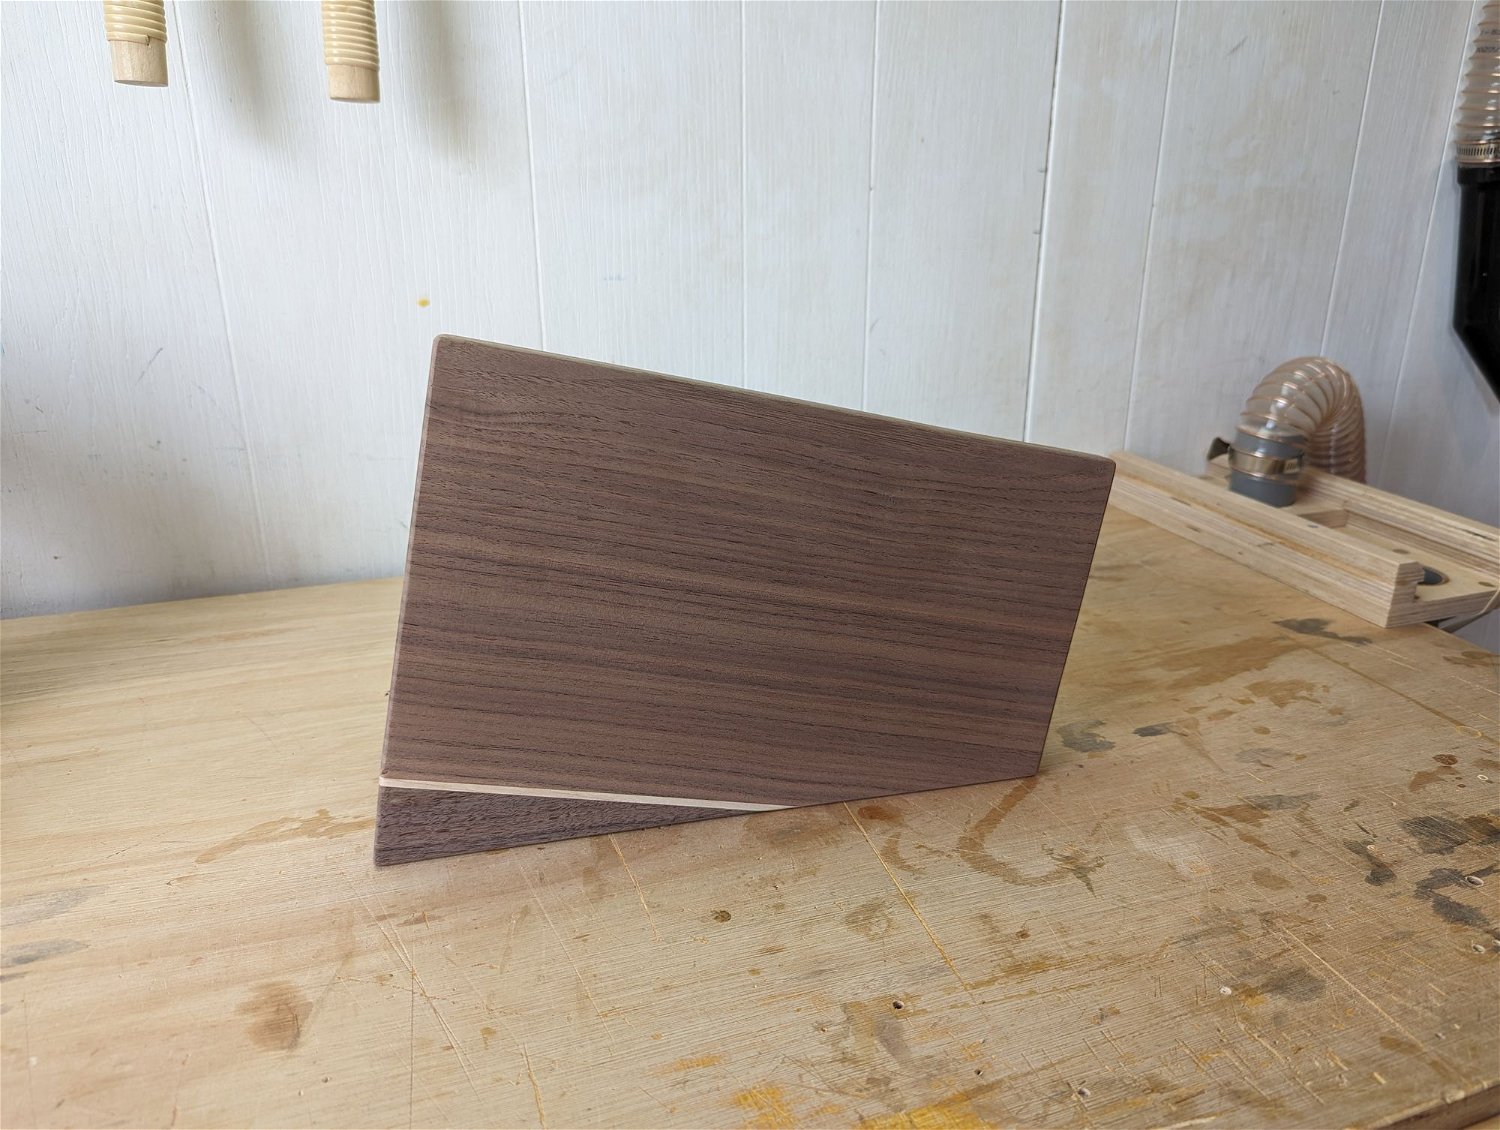
All the edges were rounded with a 3mm roundover bit.
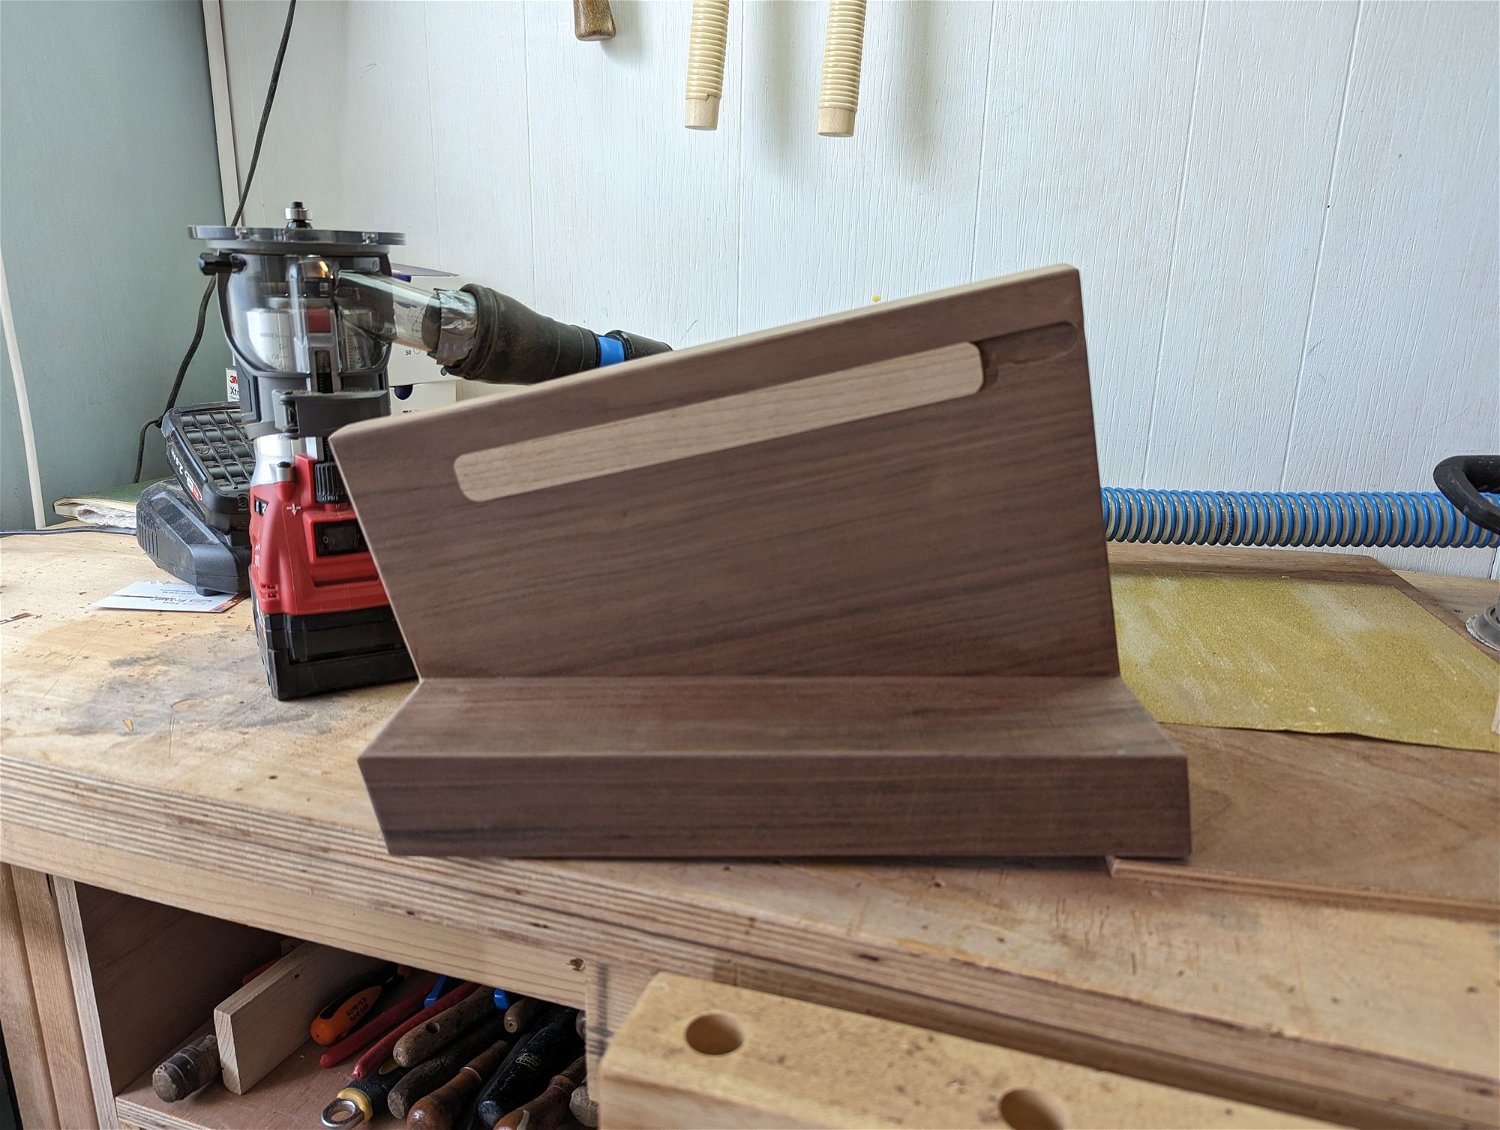
Here you can see the inlay of the contrasting wood.
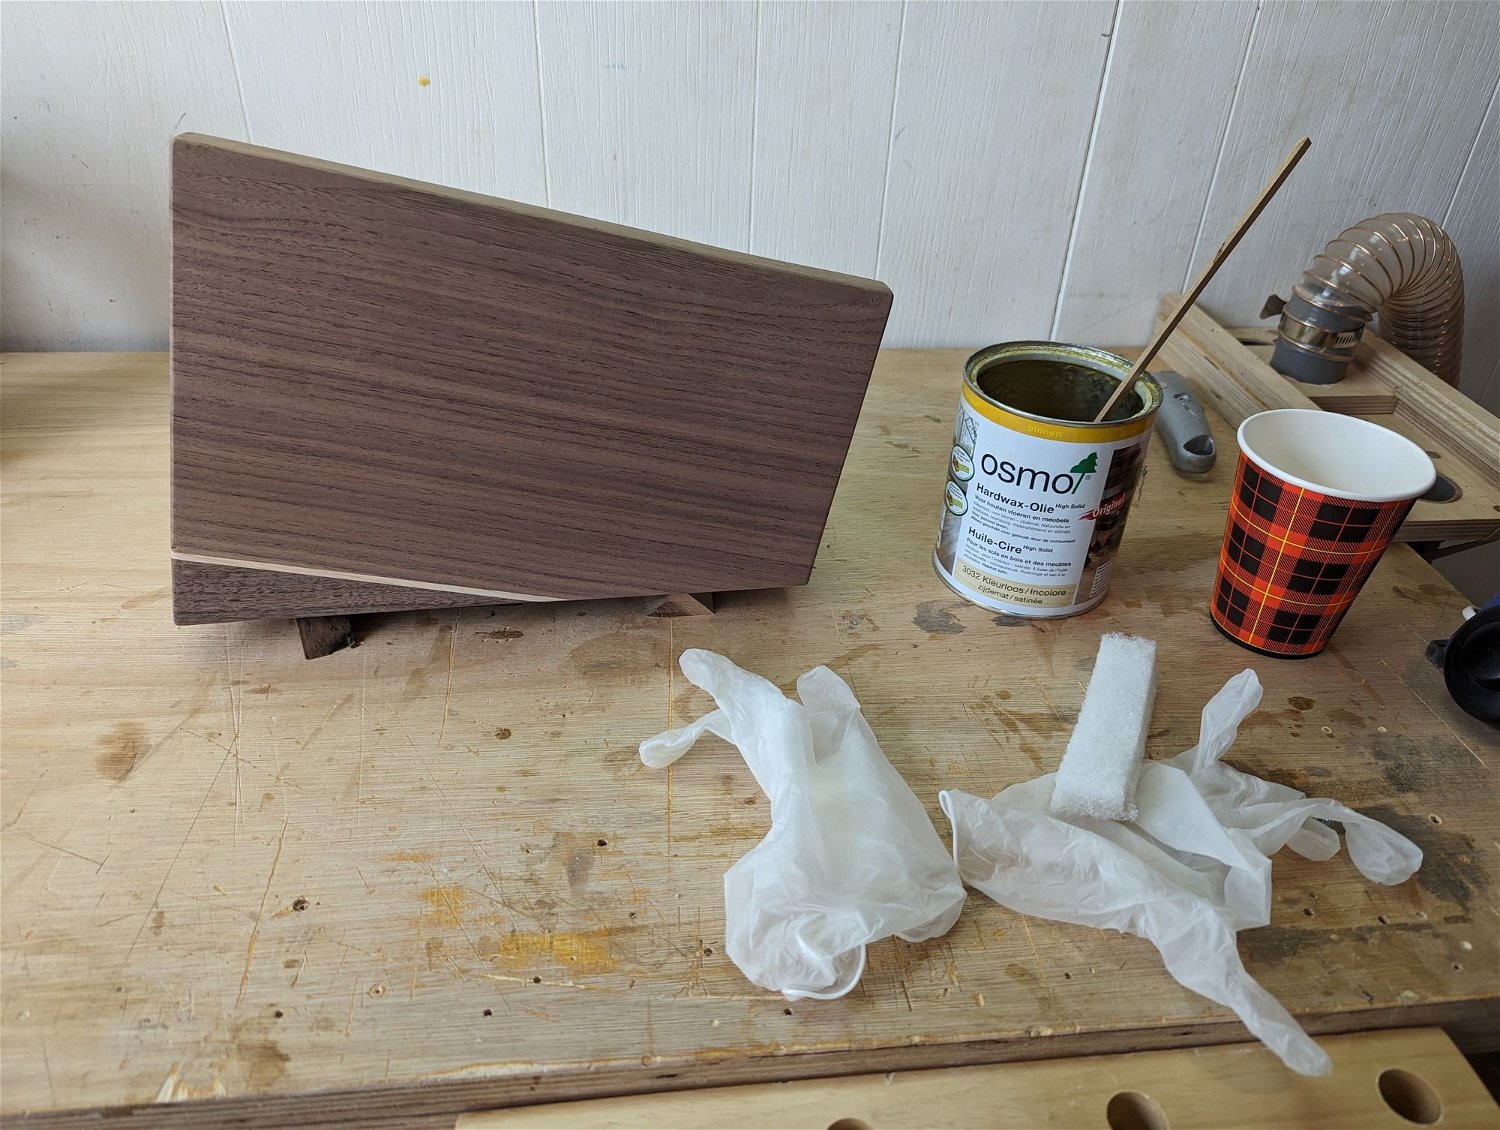
All sanded and ready to go. I sanded up from 80 > 120 > 180. Finish with Osmo hardwax oil. I ended up doing just 1 layer.
Before finish.
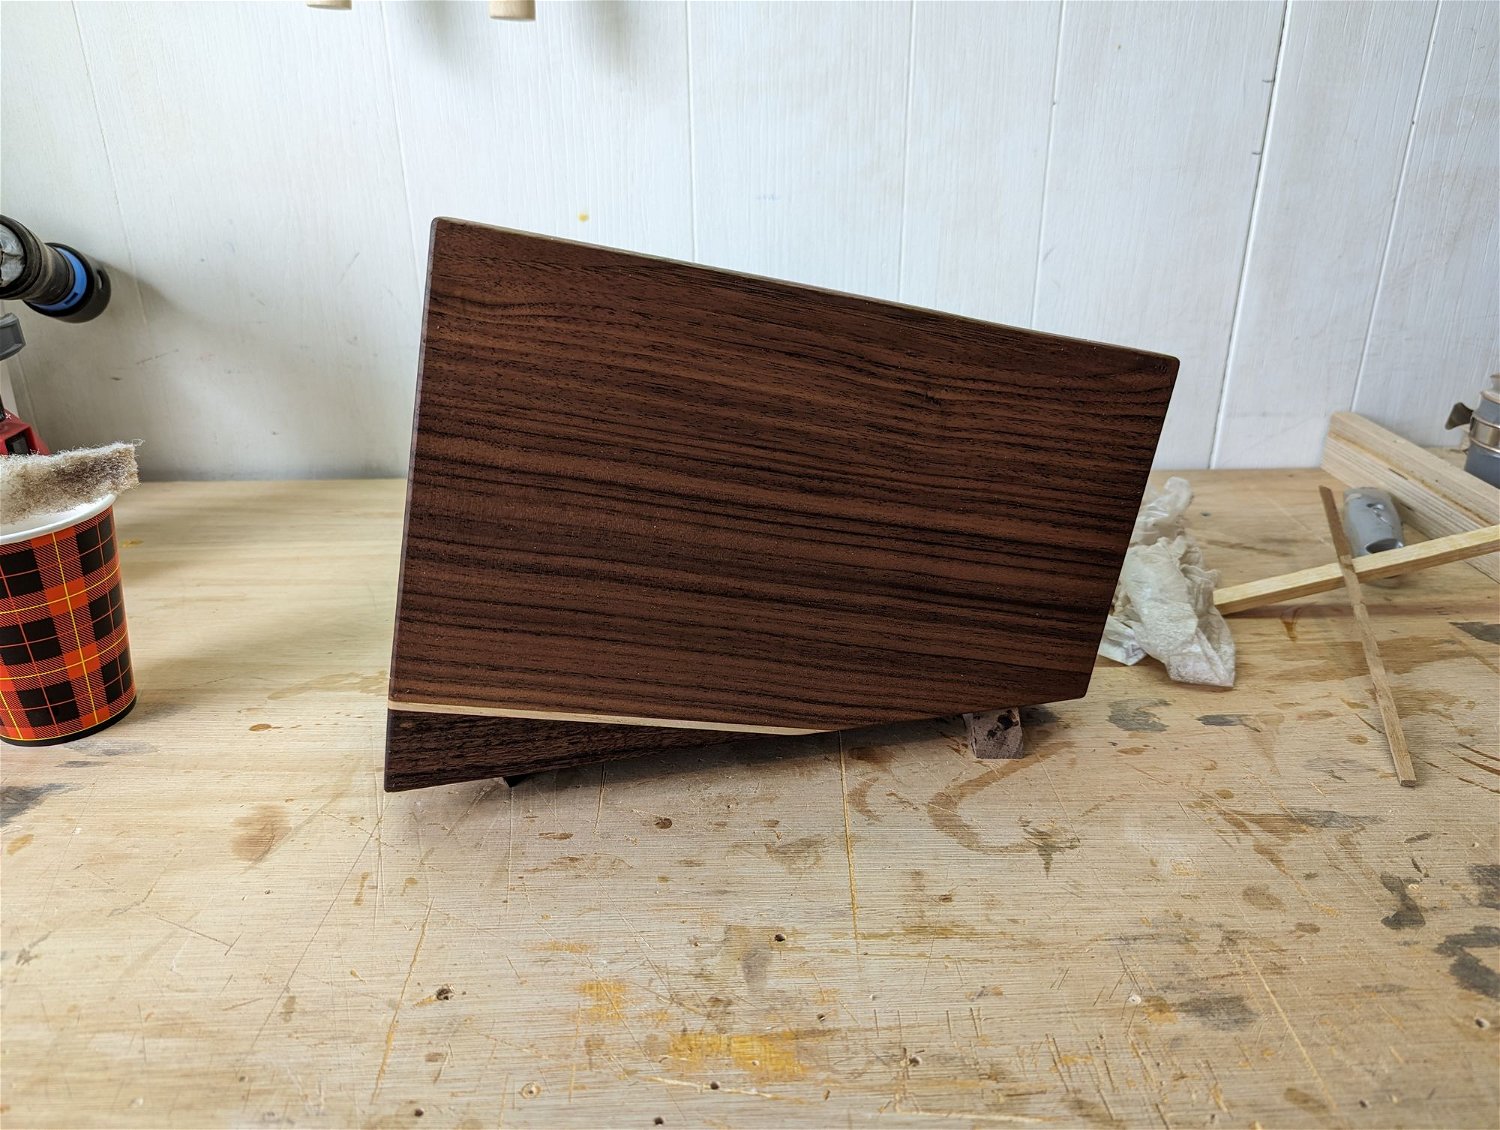
After finish.
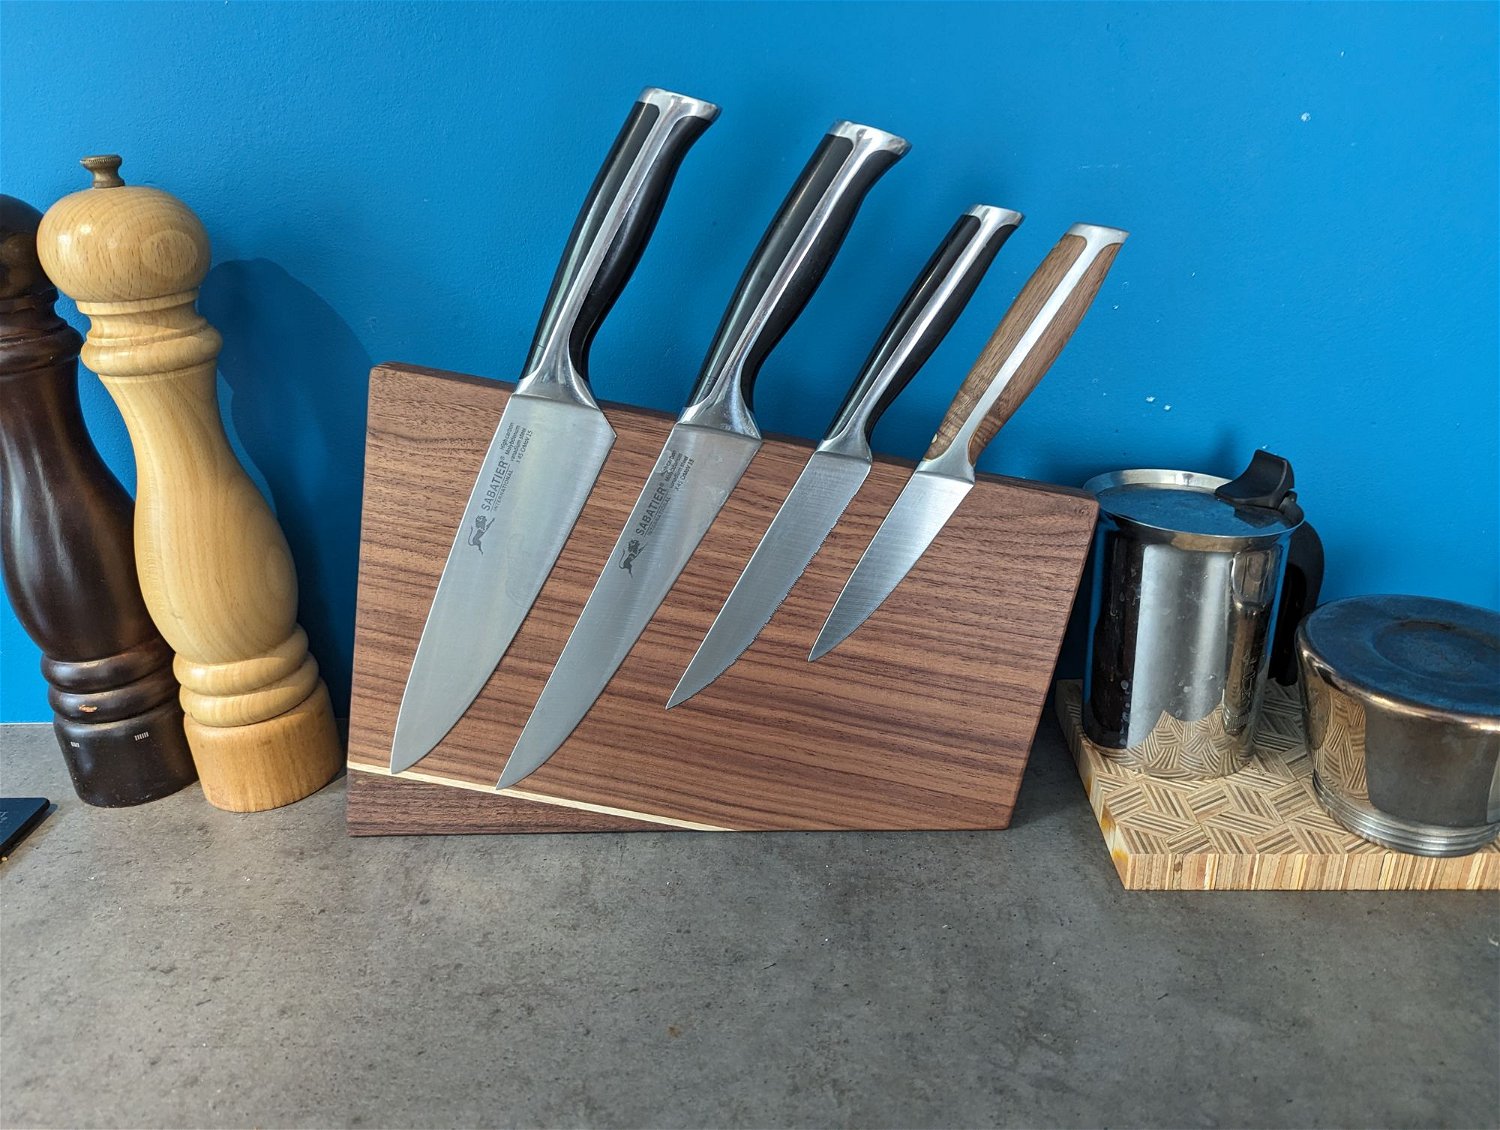
And here it sits in my kitchen. As you can see one of the knives has a walnut handle to match. That’s the only one I’ve done but I plan to redo all the other handles as well. Sometime 🤓