For this project I needed a simple & relatively small TV dresser that could house some books, devices and other little knick knacks. With the size of my apartment and where my TV is, I need it to be quite shallow so it would not protrude too much into my living area.
Dimensions(WxHxD): 90x40x24
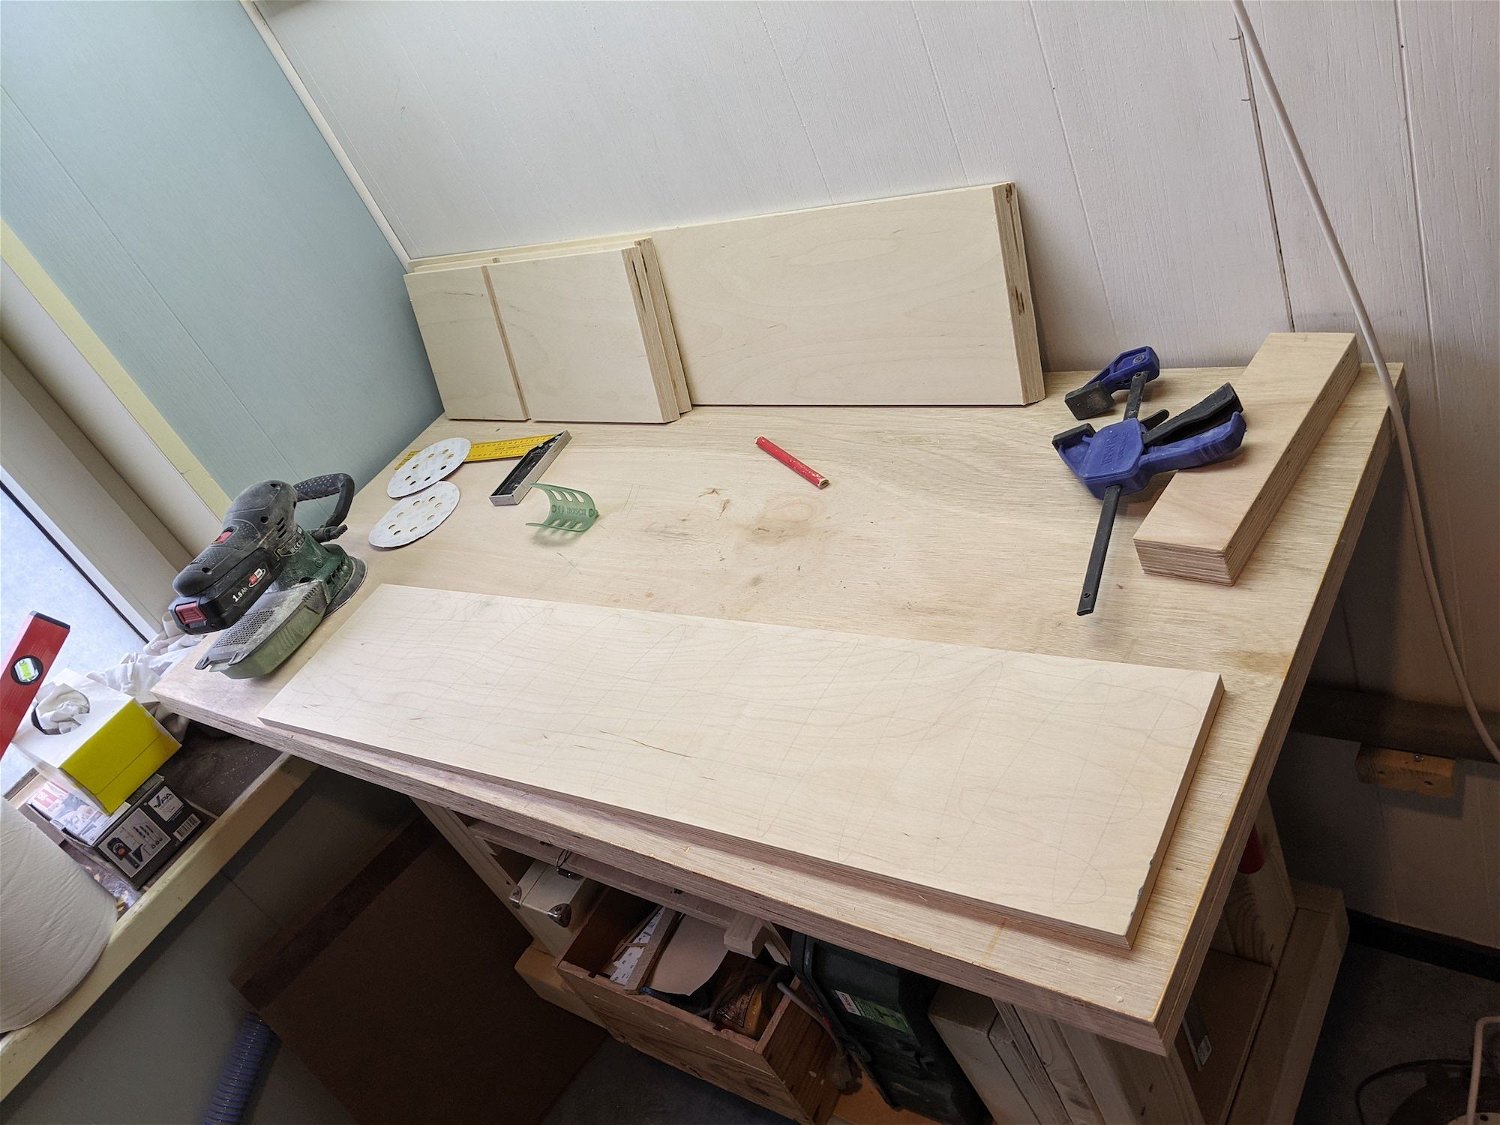
Made a cut list and cut all pieces from some 15mm birch plywood
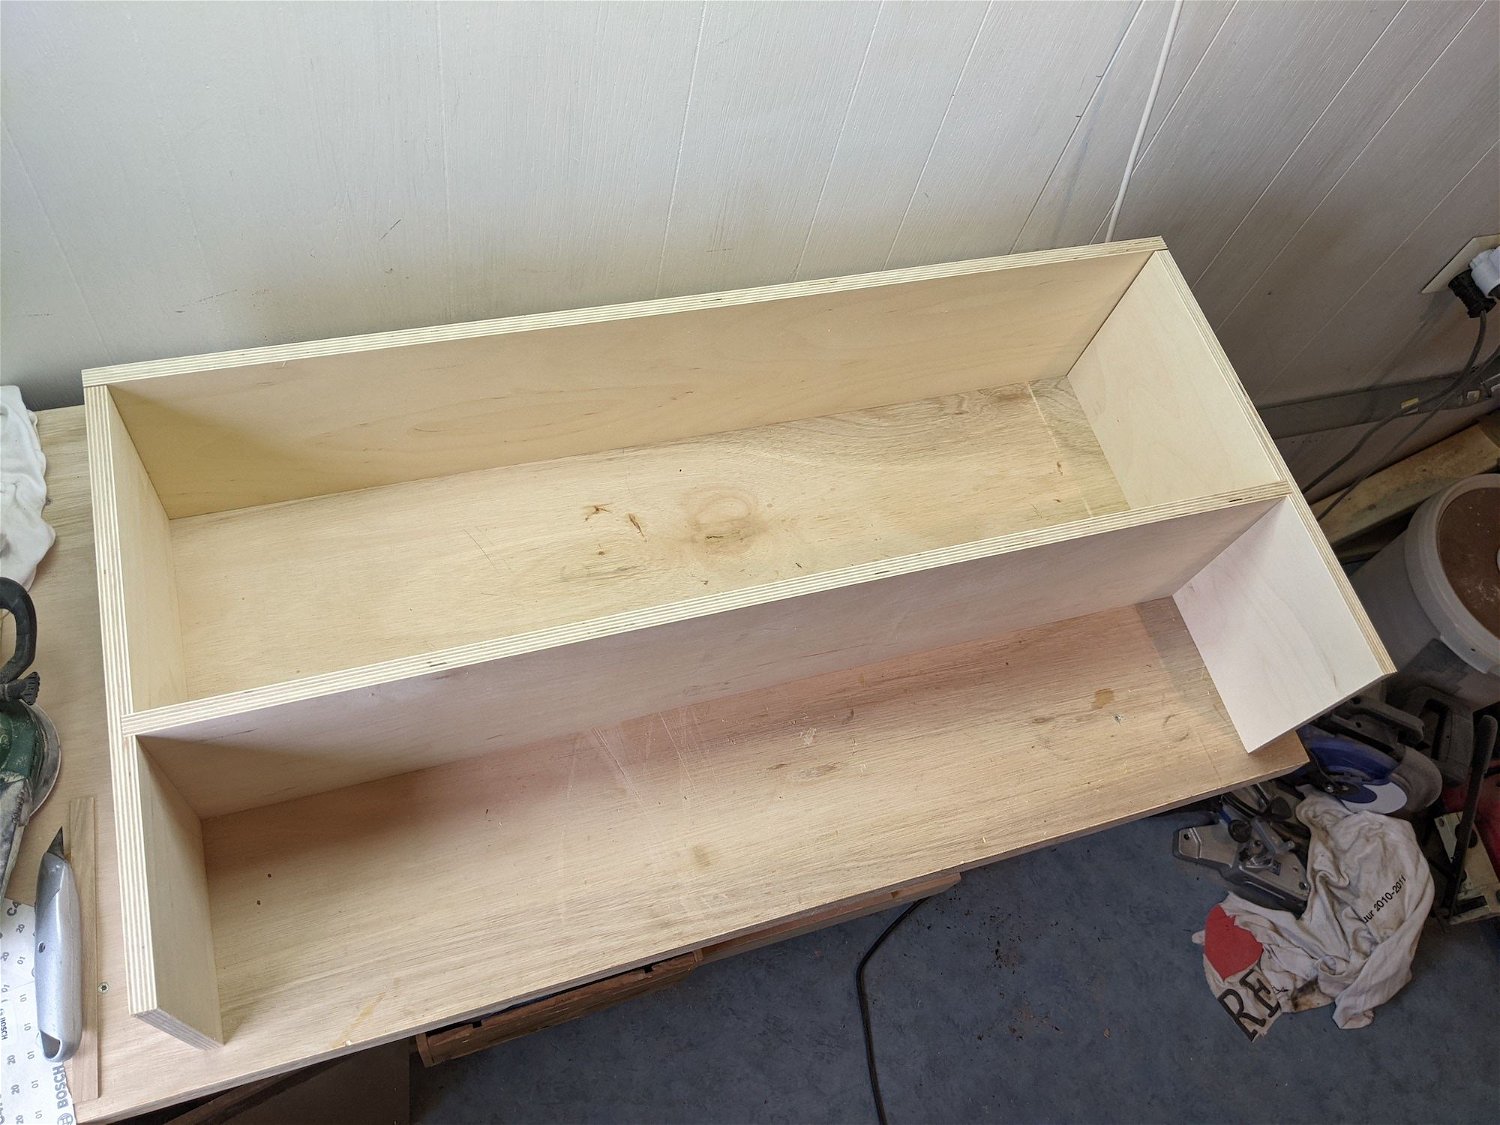
Dry fitting the pieces. I opted to make the top corners a miter joint as i didn't really like the boxed look of this butt joint
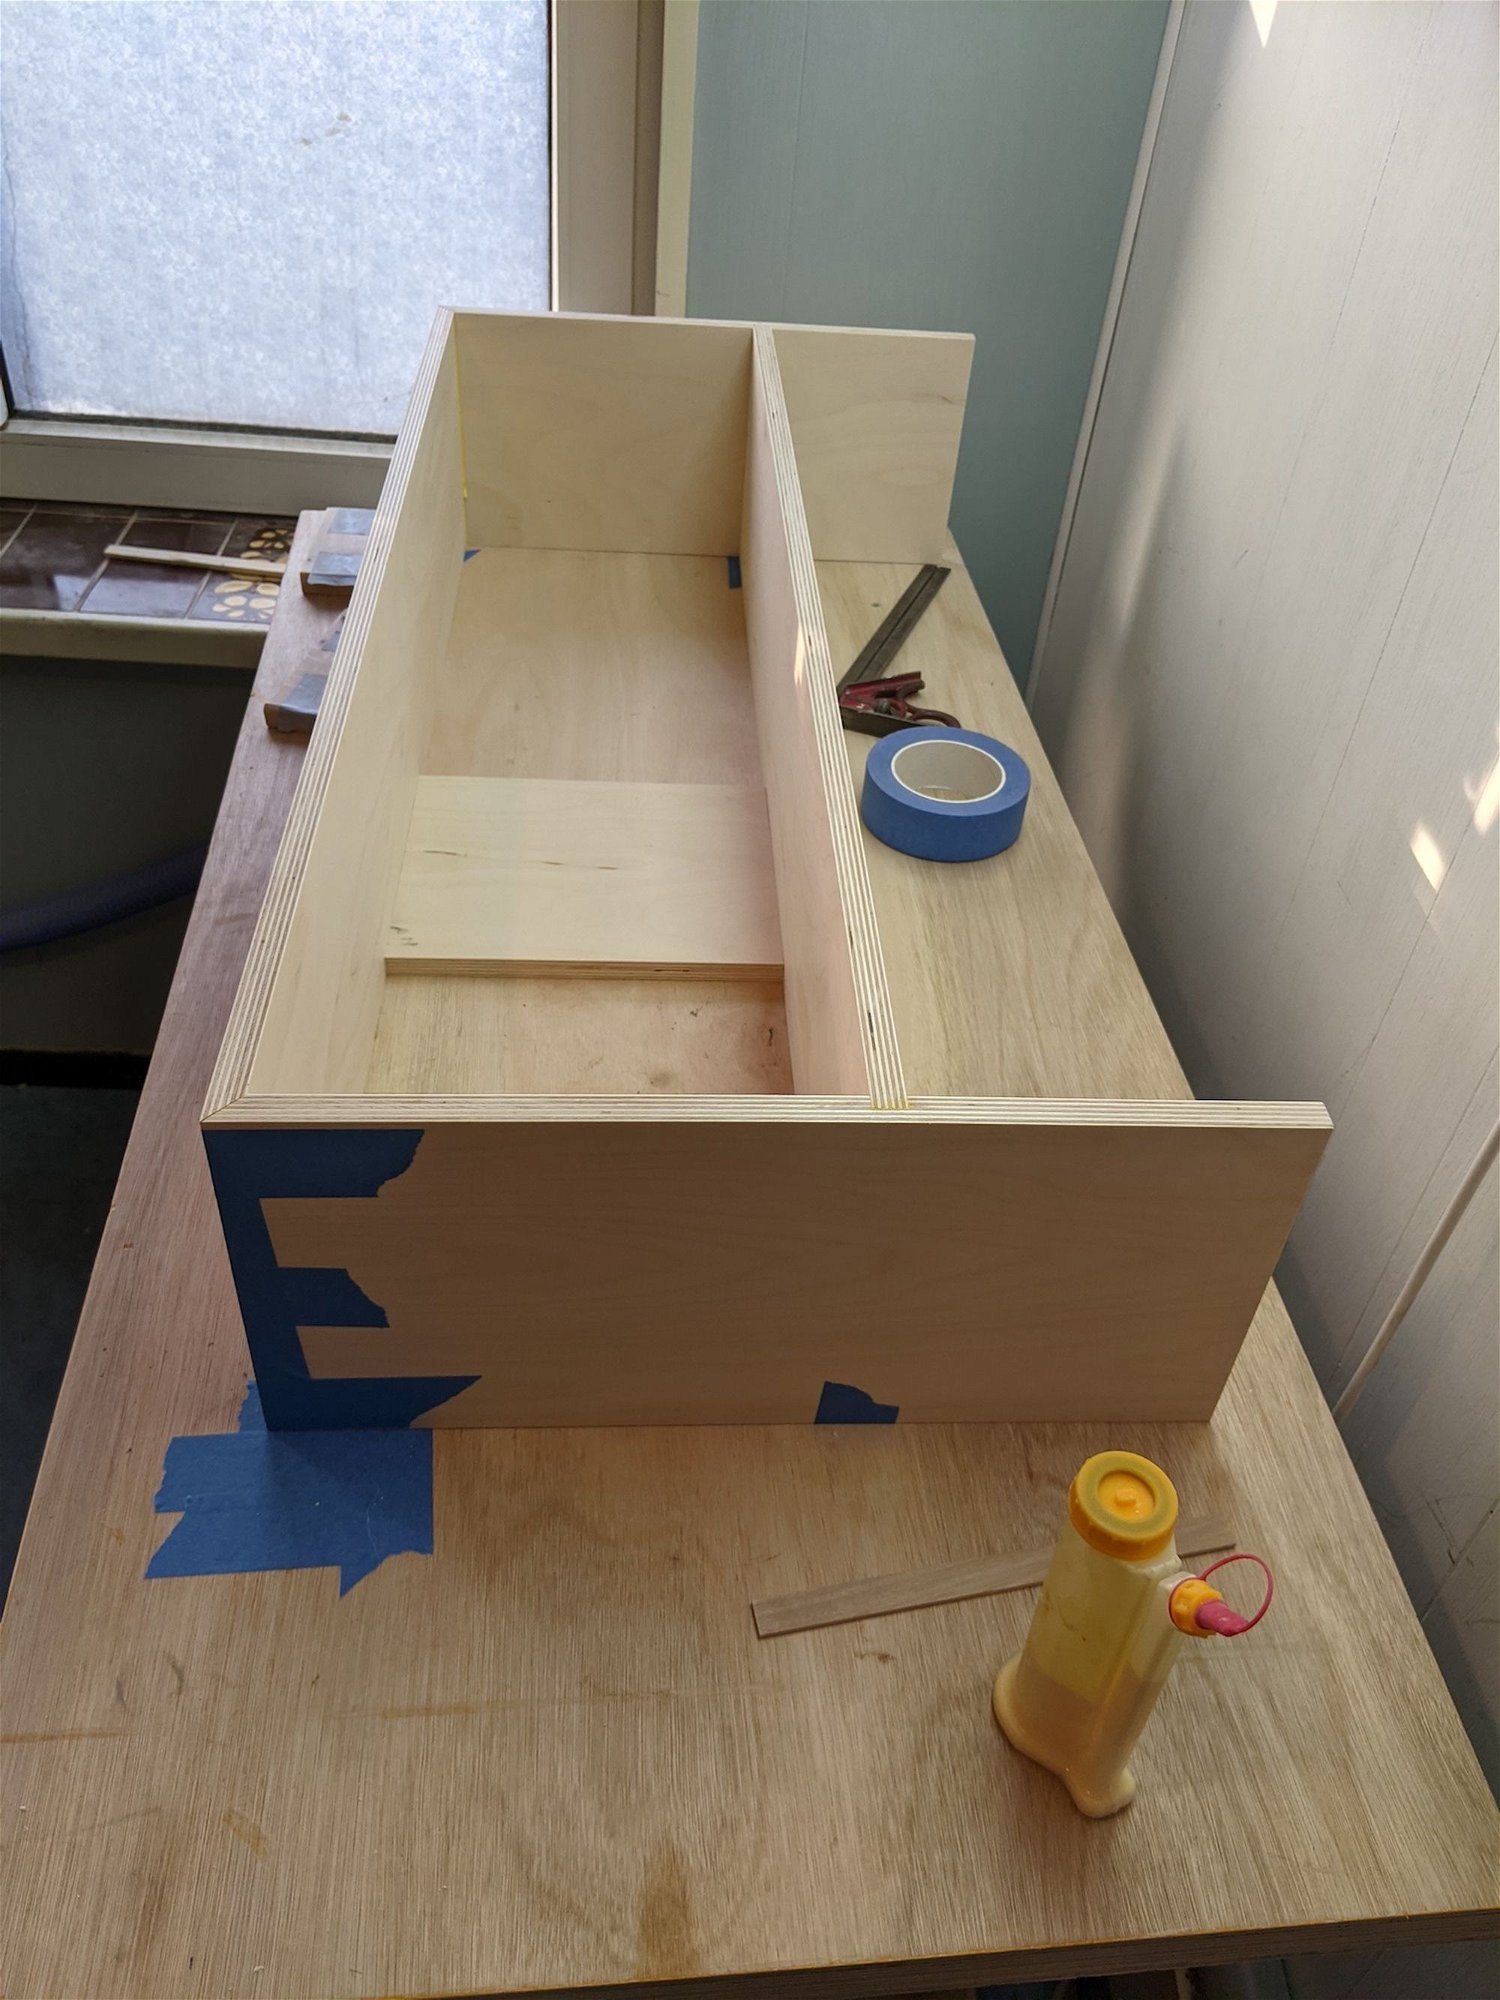
Glued up with some blue tape. I didn't have clamps big enough to fit the width but the fit was snug enough so I figured it was enough for the glue.
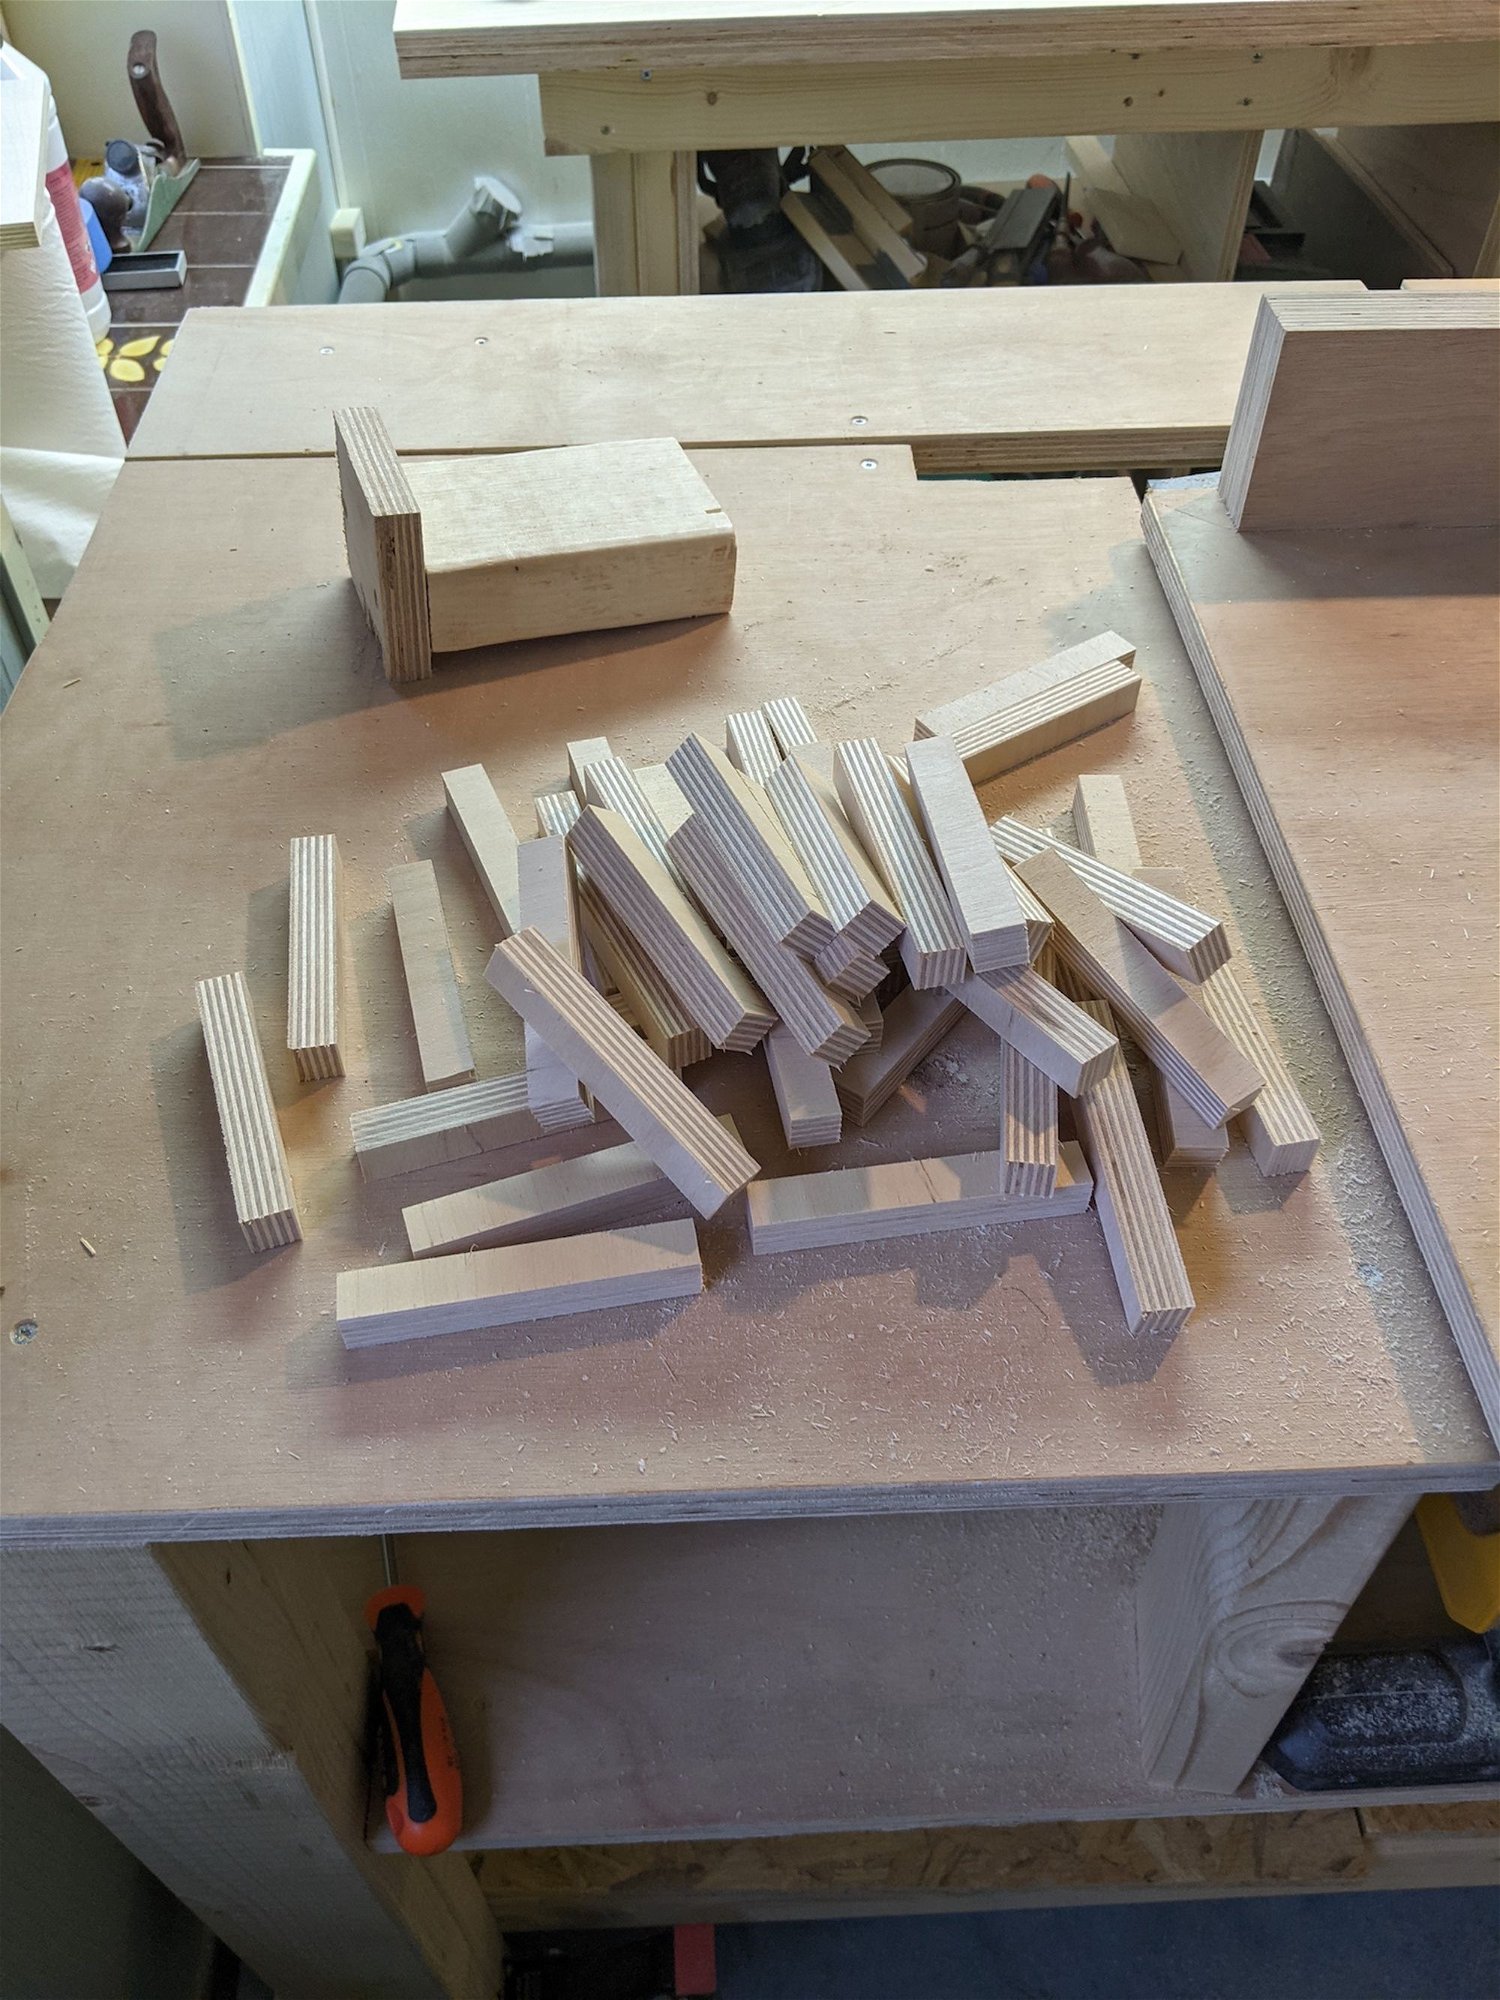
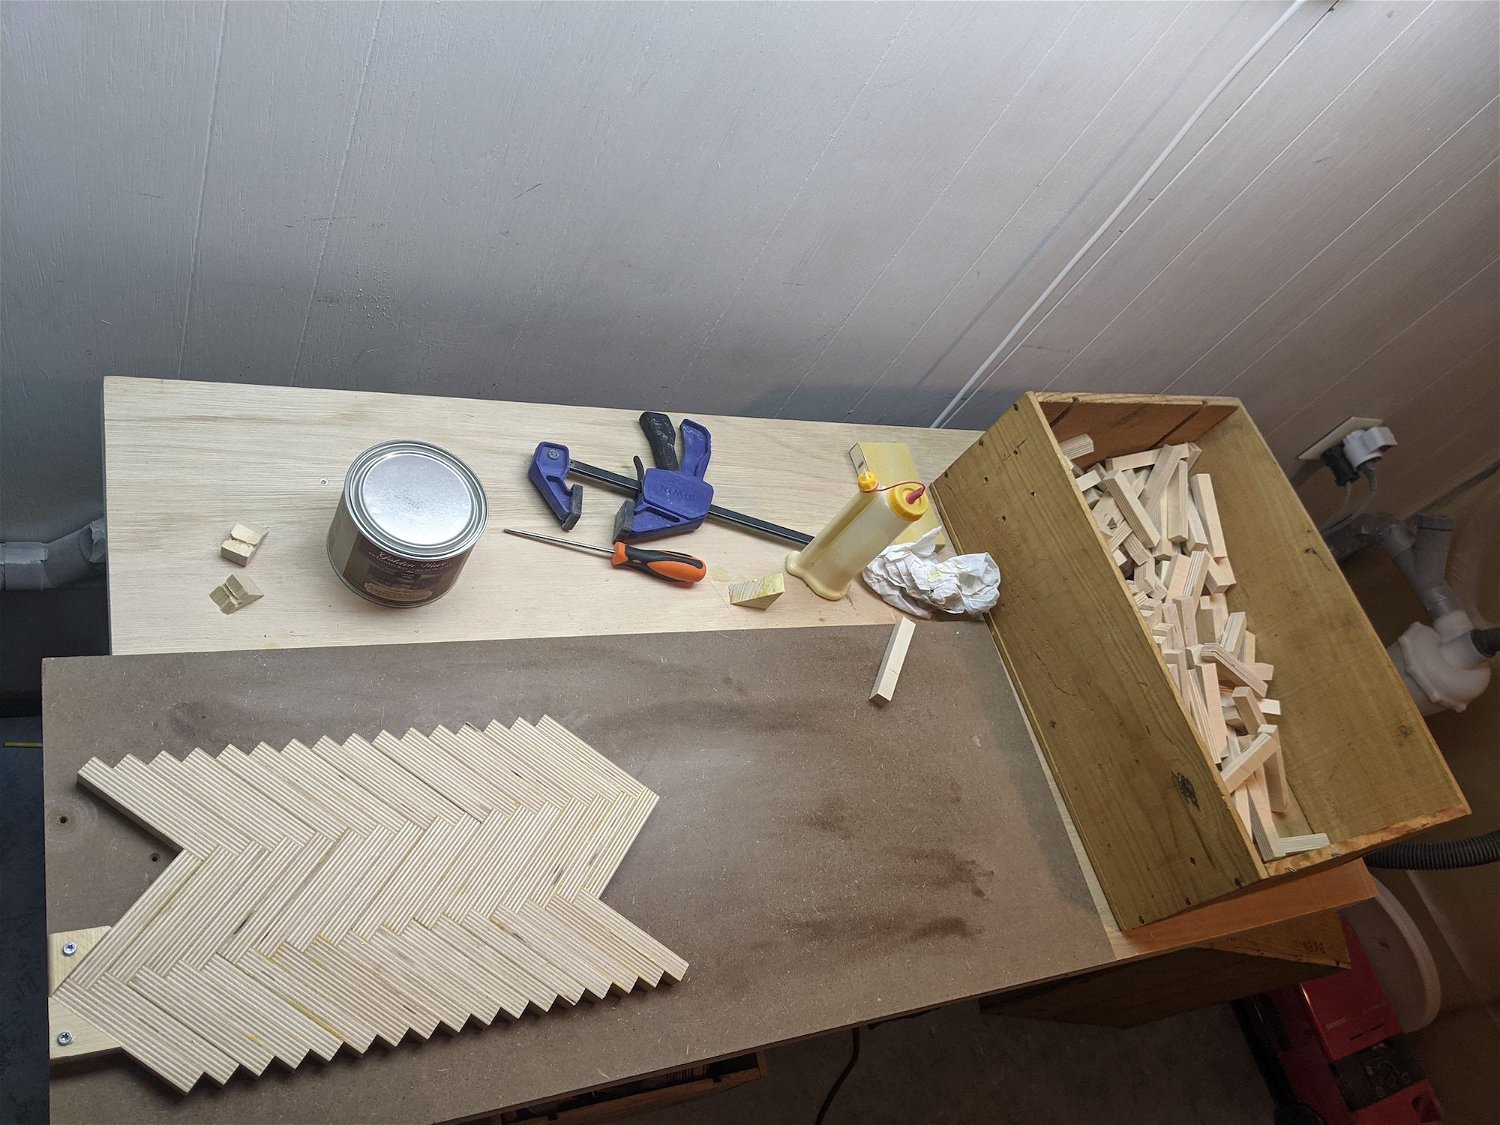
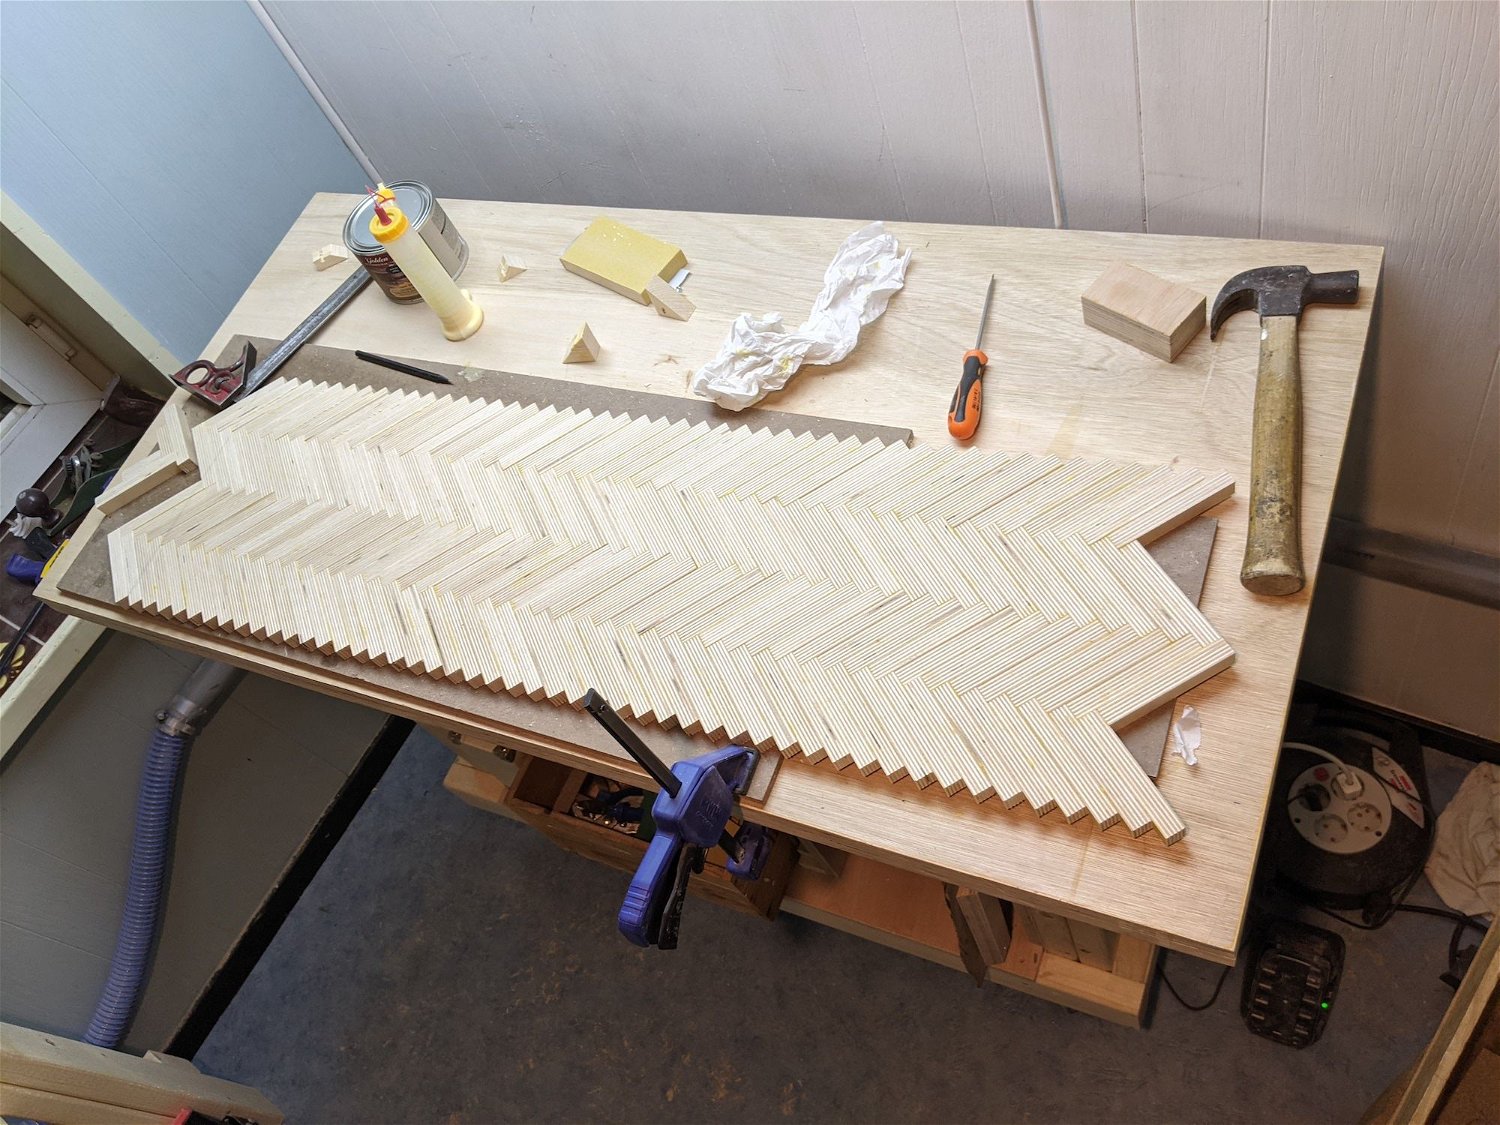
Here is started on the panels for the doors. I've been inspired by a lot of patterned plywood works and i love geometric designs and shapes so i decided to go ahead and create 2 doors to fit the dresser. Here i've cut pieces of plywood to ±10cm strips with a width of around 16mm which would match the thickness of the plywood(after sanding).
I ended up making a little jig that would hold the pieces at 90 degrees. This helped being able to put some pressure all the pieces once I started to glue.
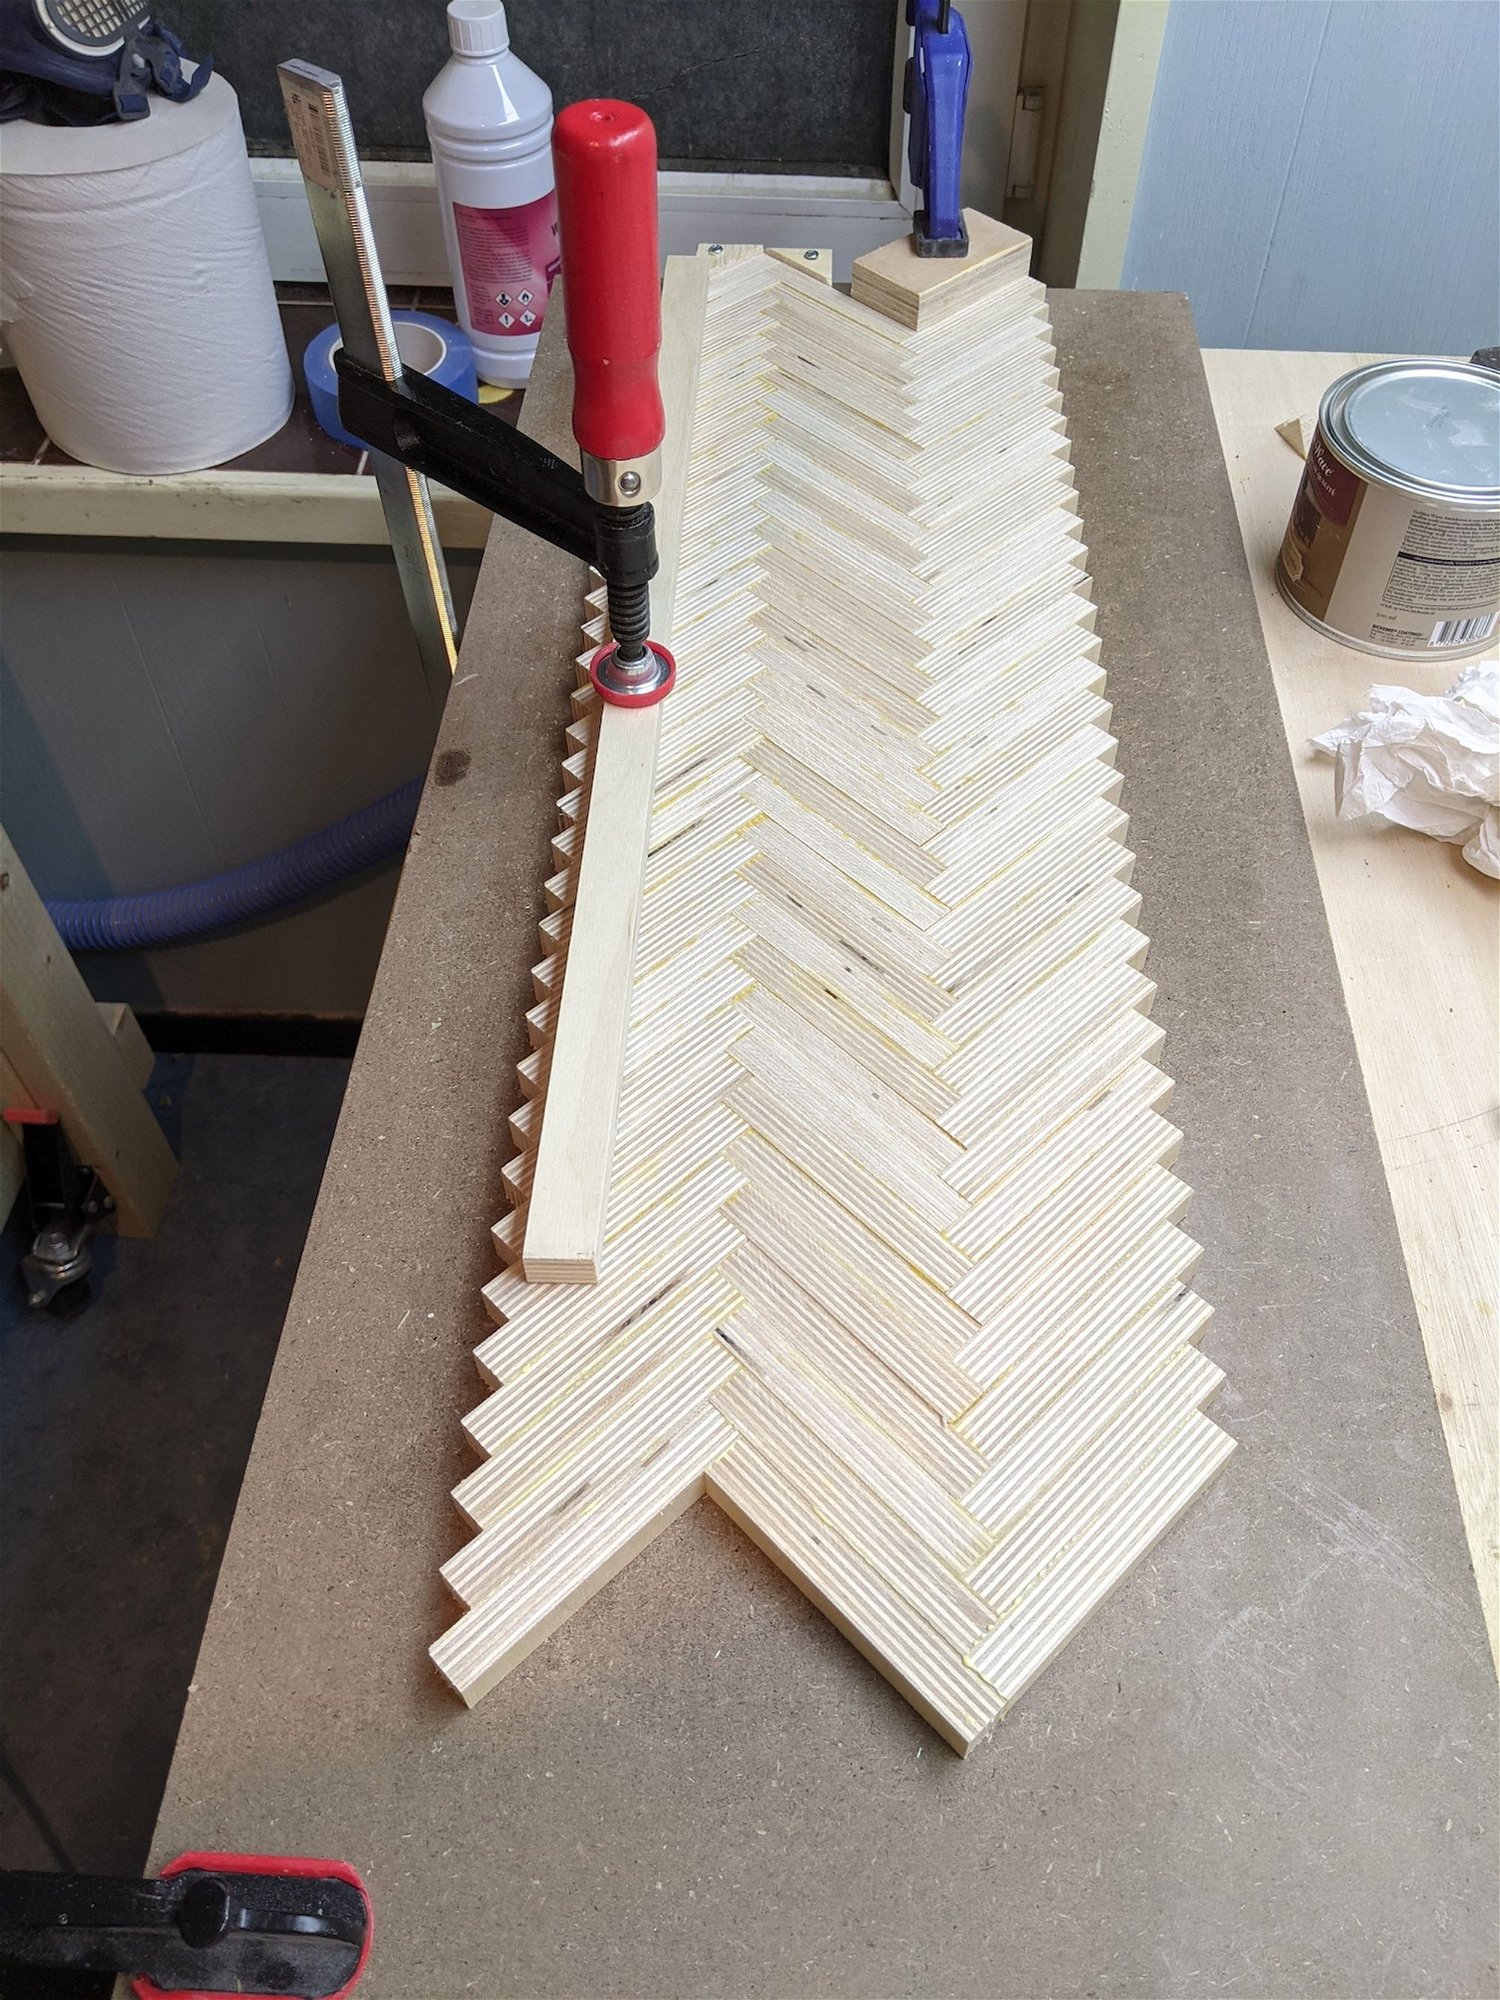
The supporting board i was using was too small so i decided to get a bigger one in the end. I used some wax and covered the supporting board so once the glue has dried the piece would let go of it easily.
All glued up!
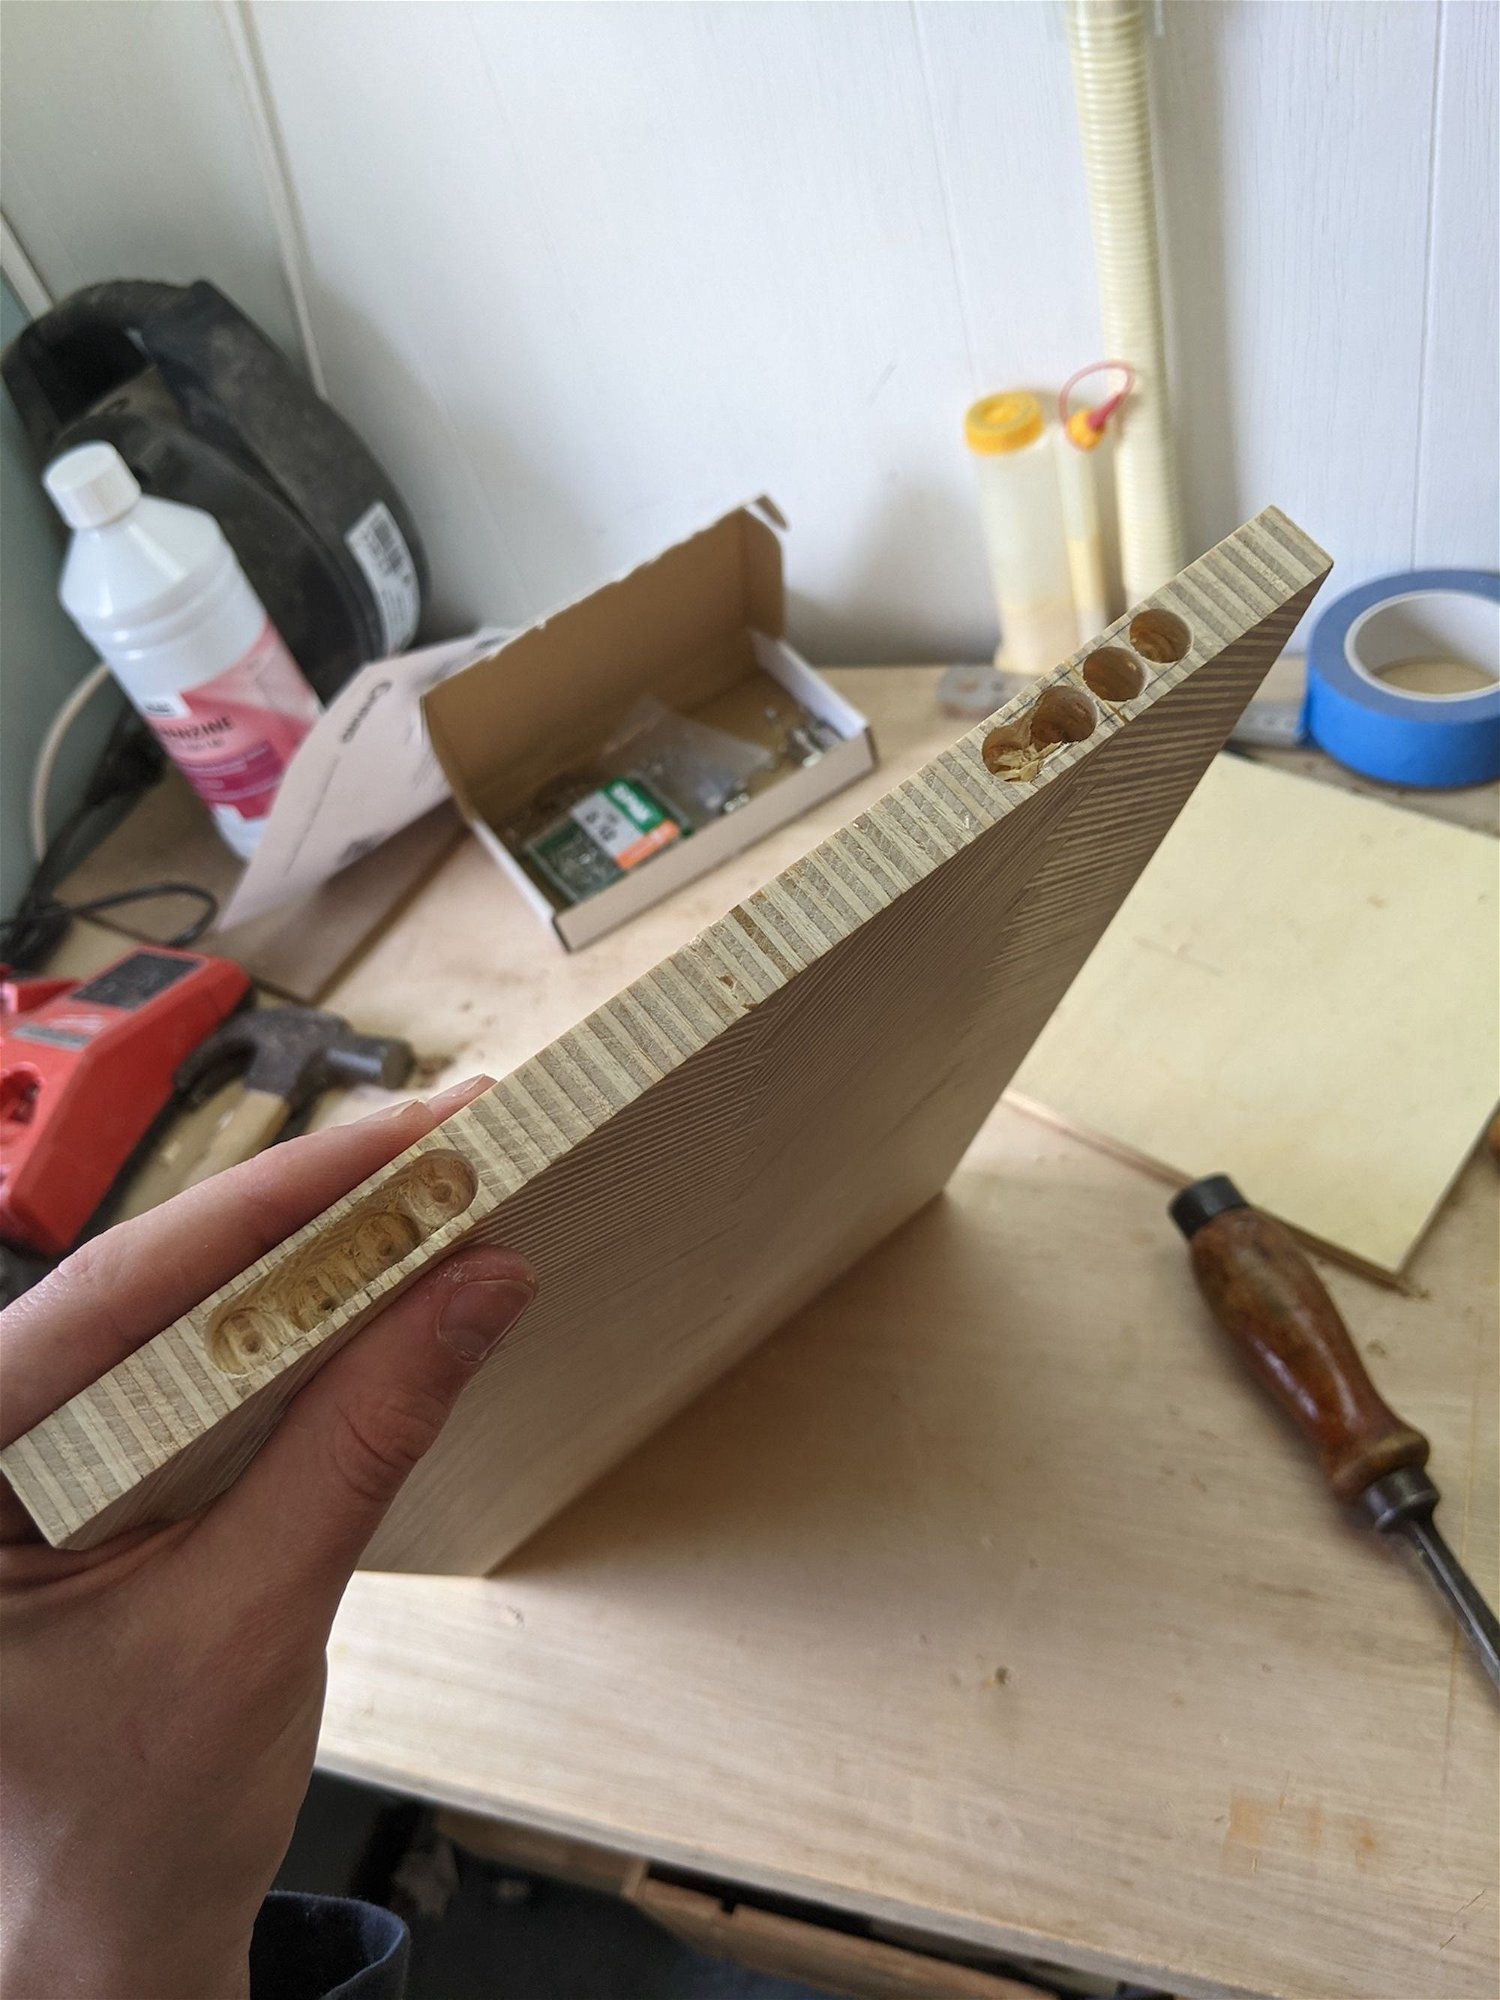
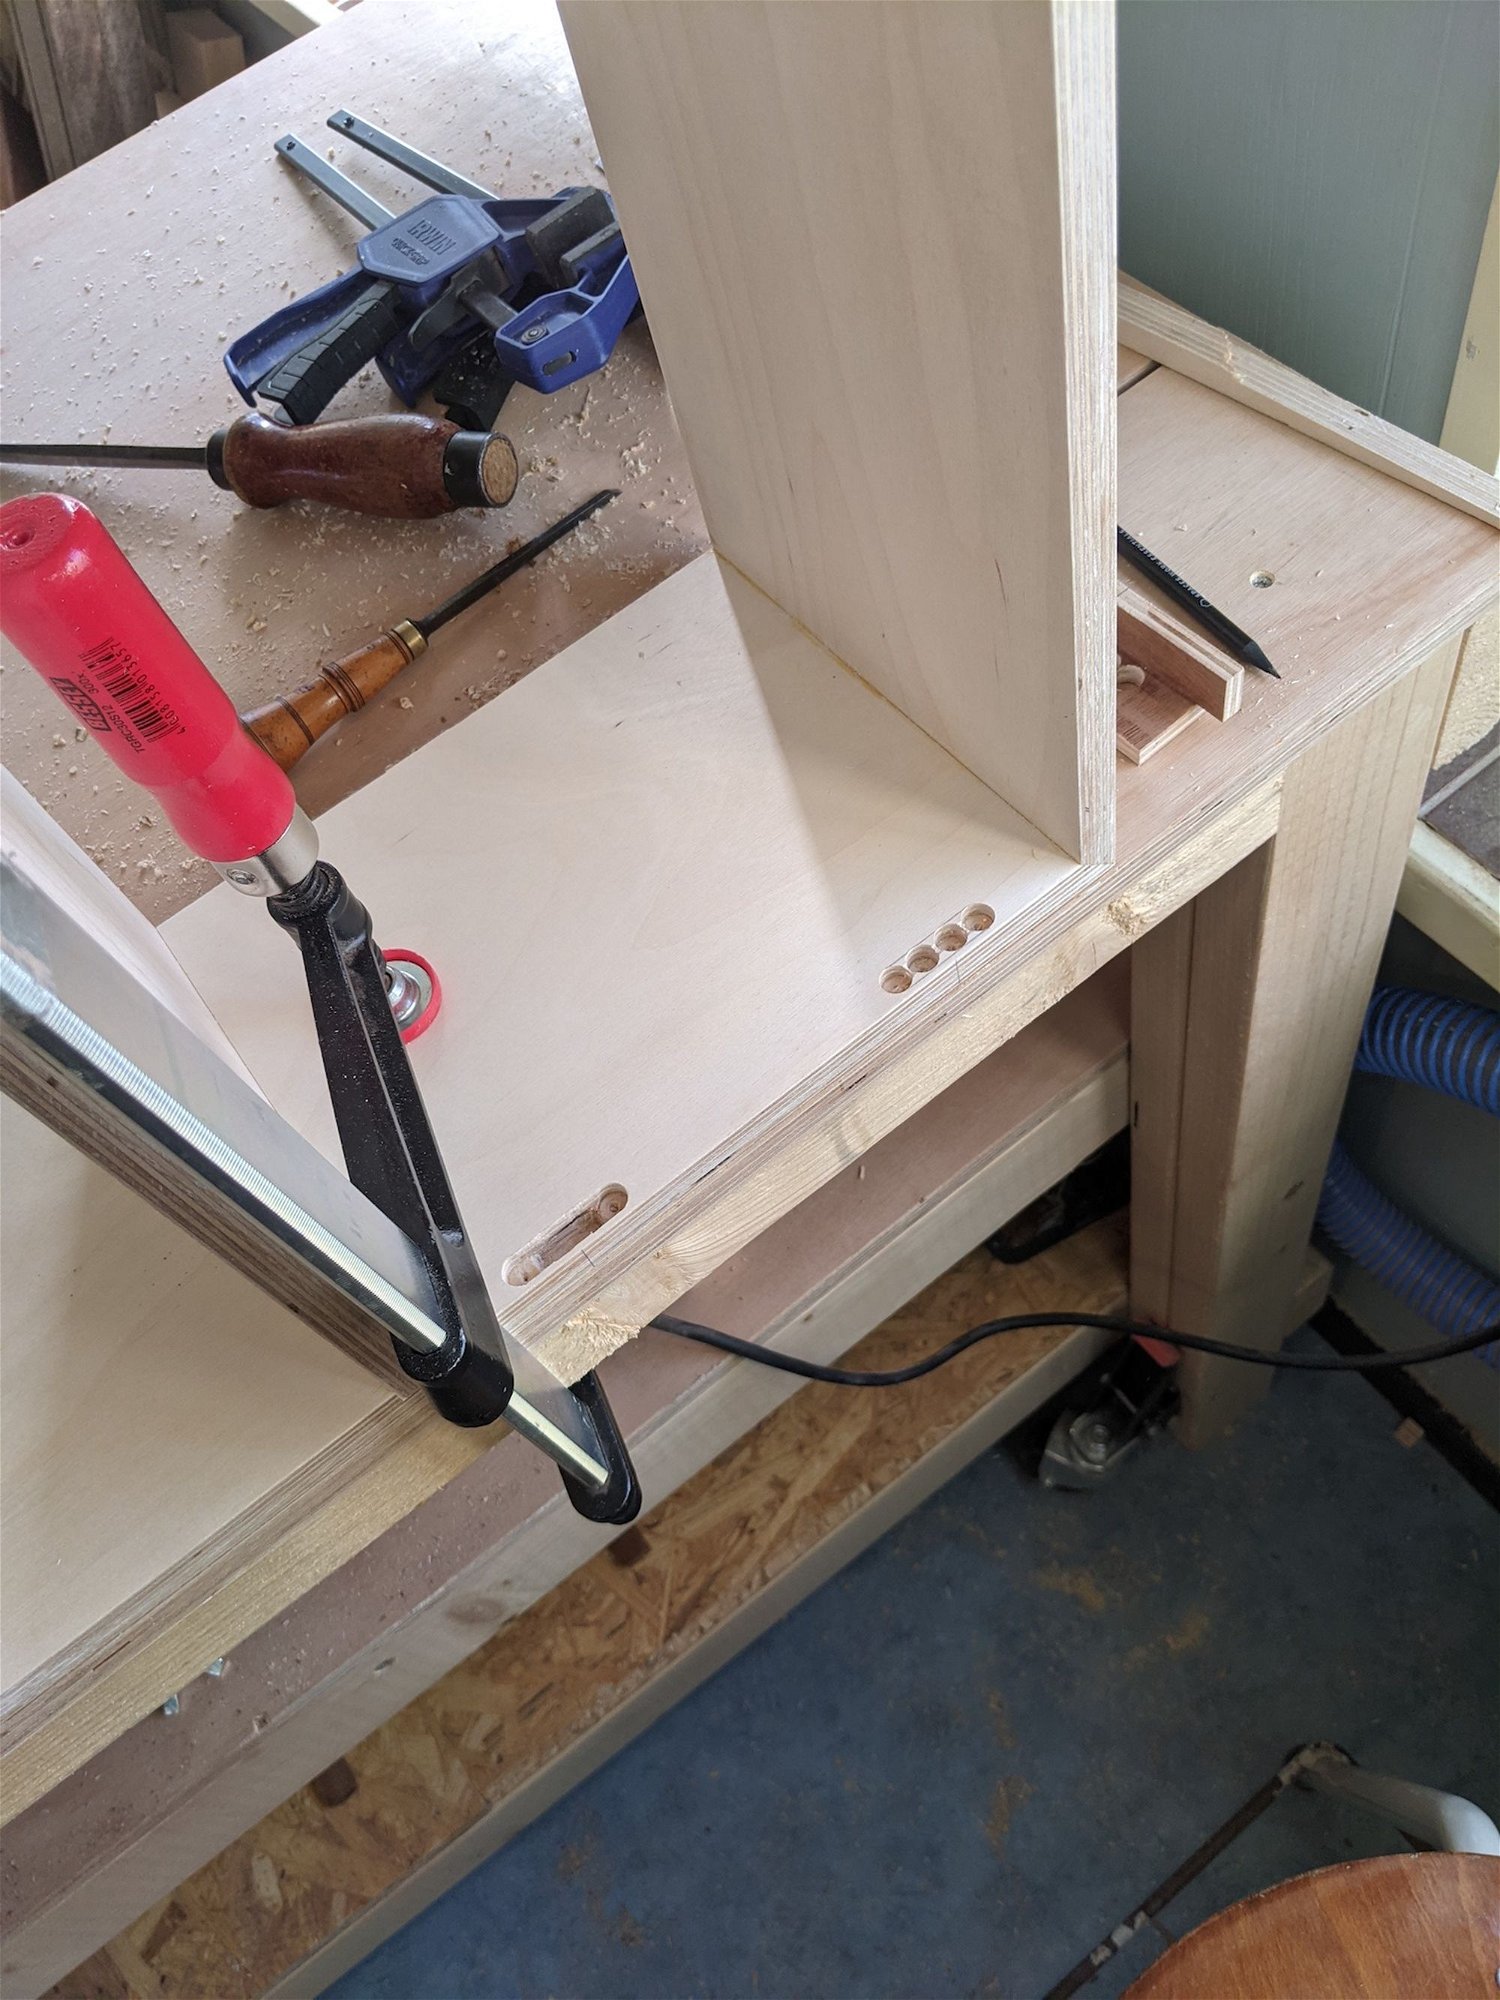
I squared off the piece and started to work on the hinges. I really challenged myself here using invisible soss 101 hinges. With the plywood being so thin on the sides, i had to be really careful using the drill chisel.
Next time i will probably create a jig for my router to do these recessed holes. They will probably end up much cleaner and precise.
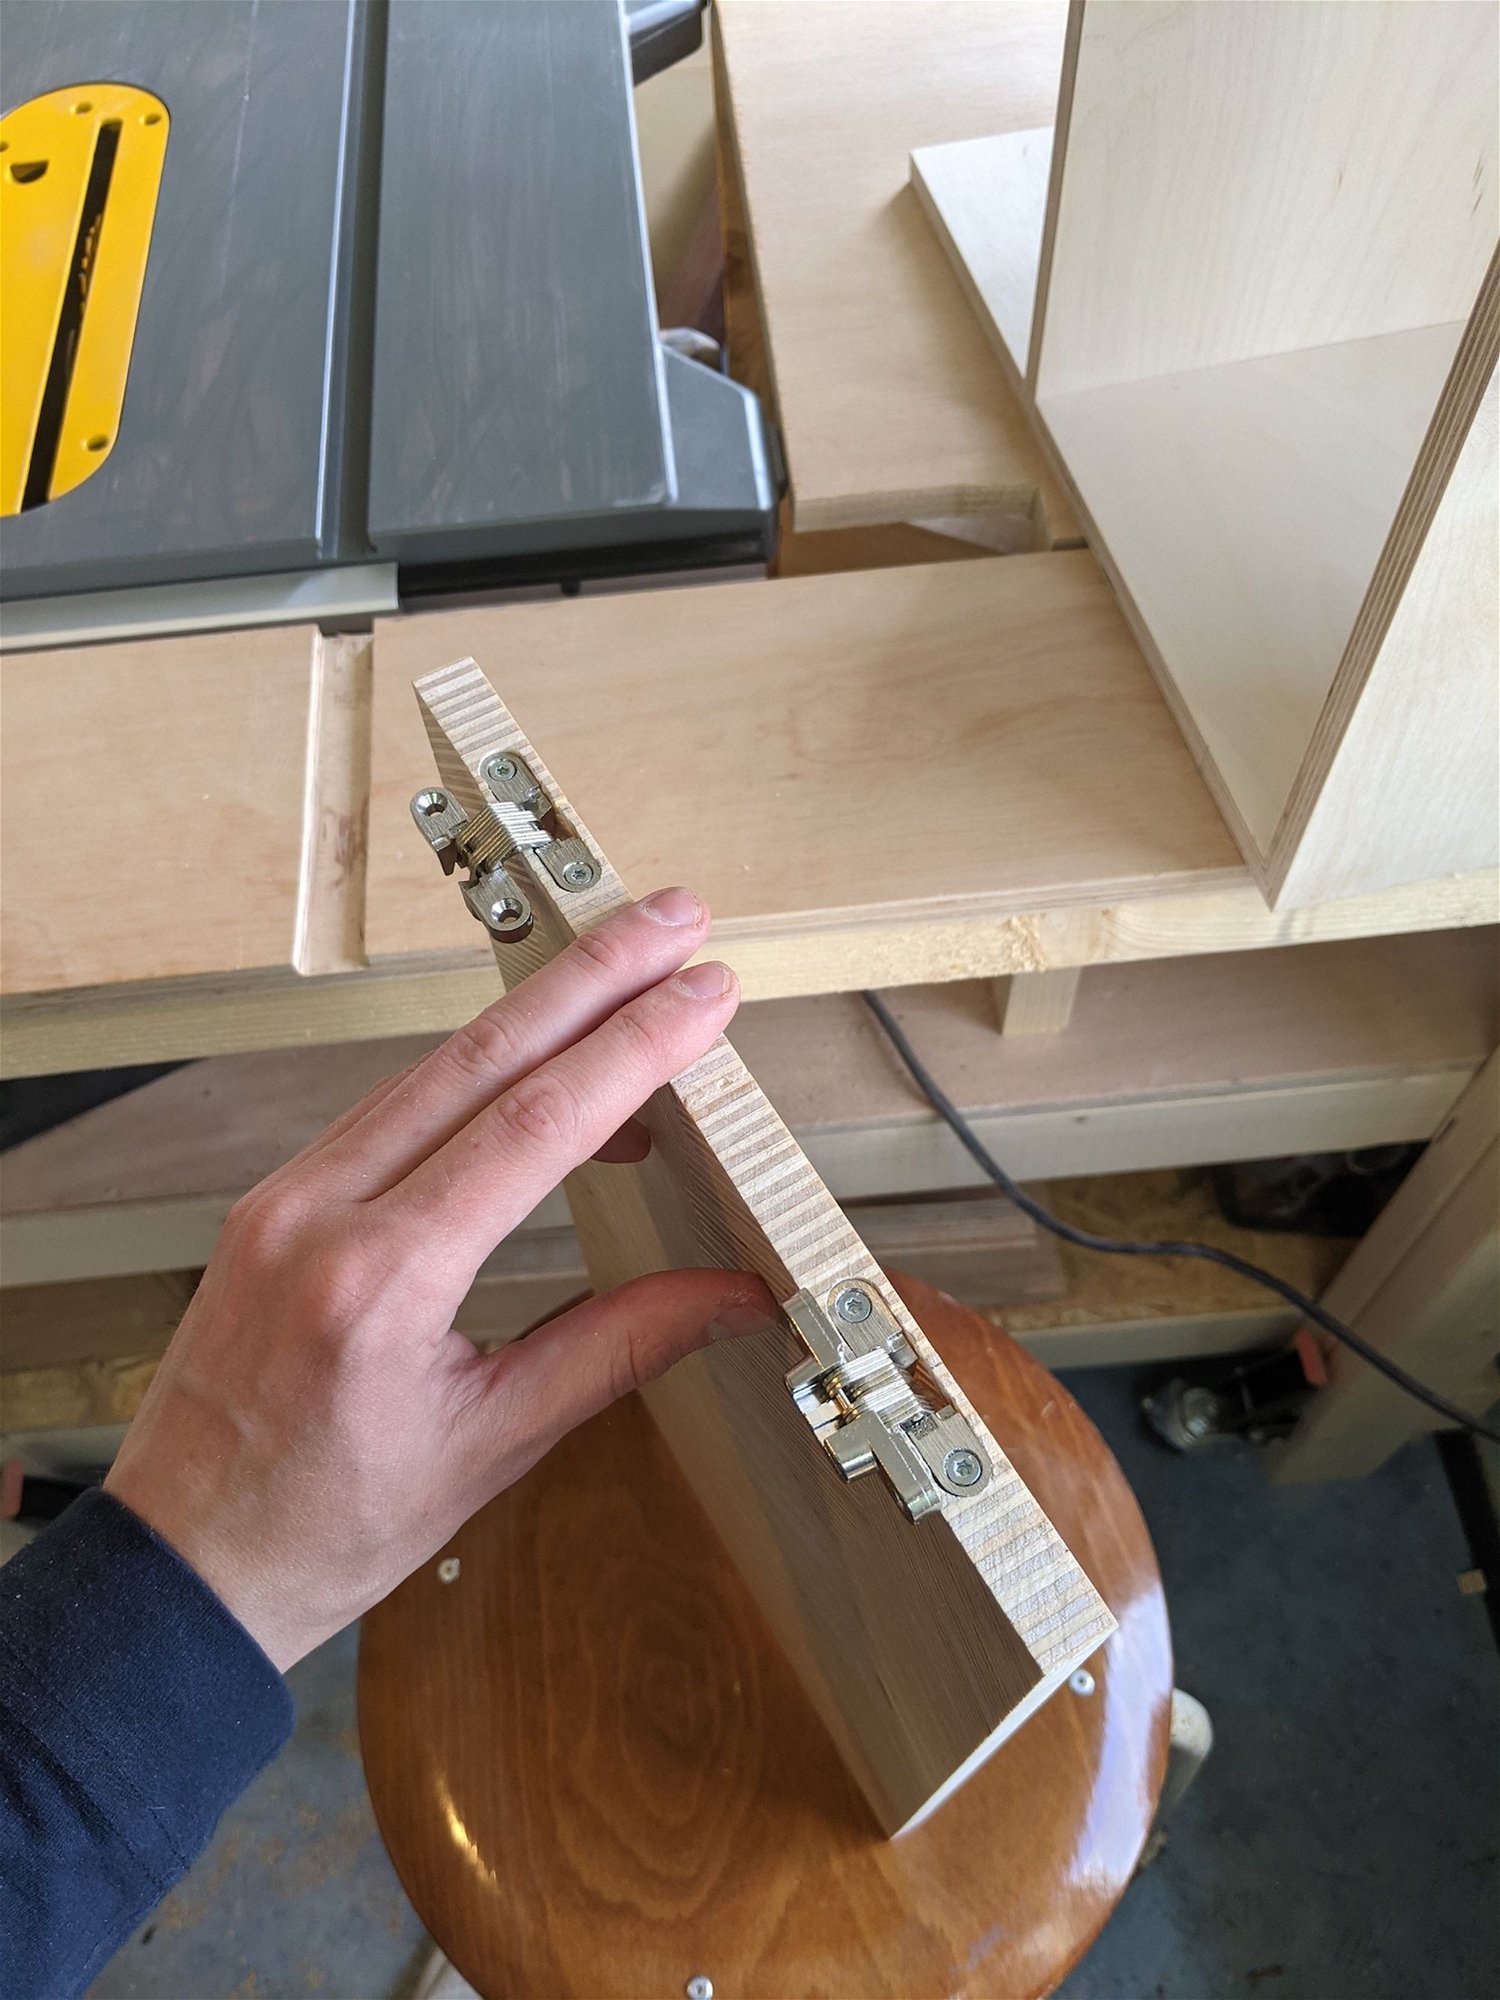
Quite some hours later I have both the door hinge slots ready!
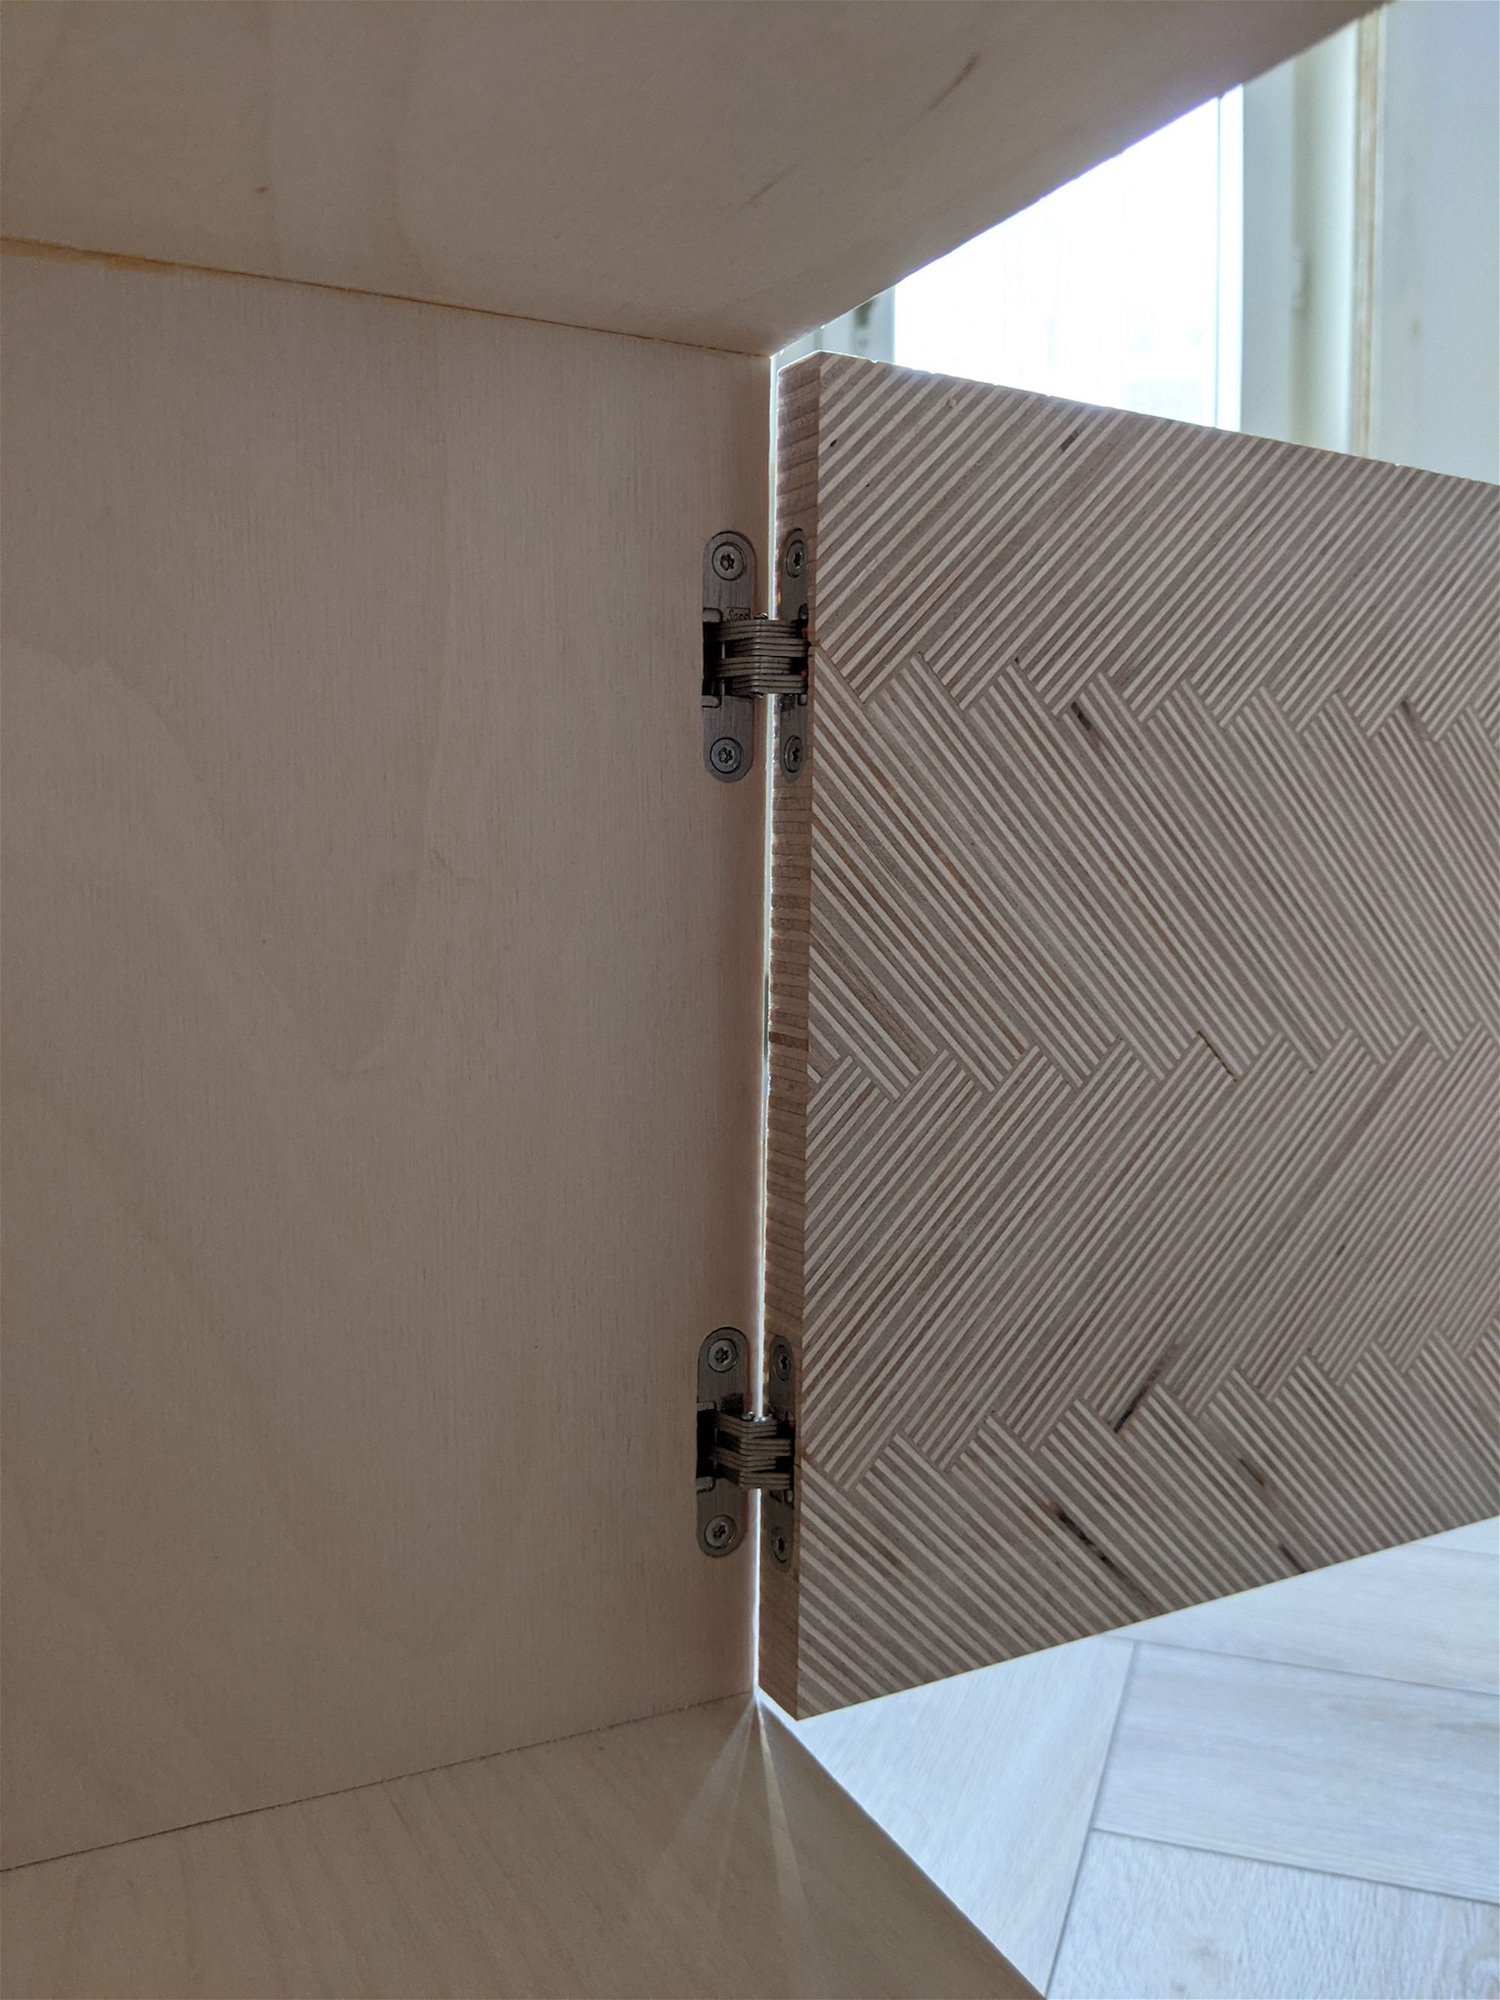
Door mounted to the dresser.
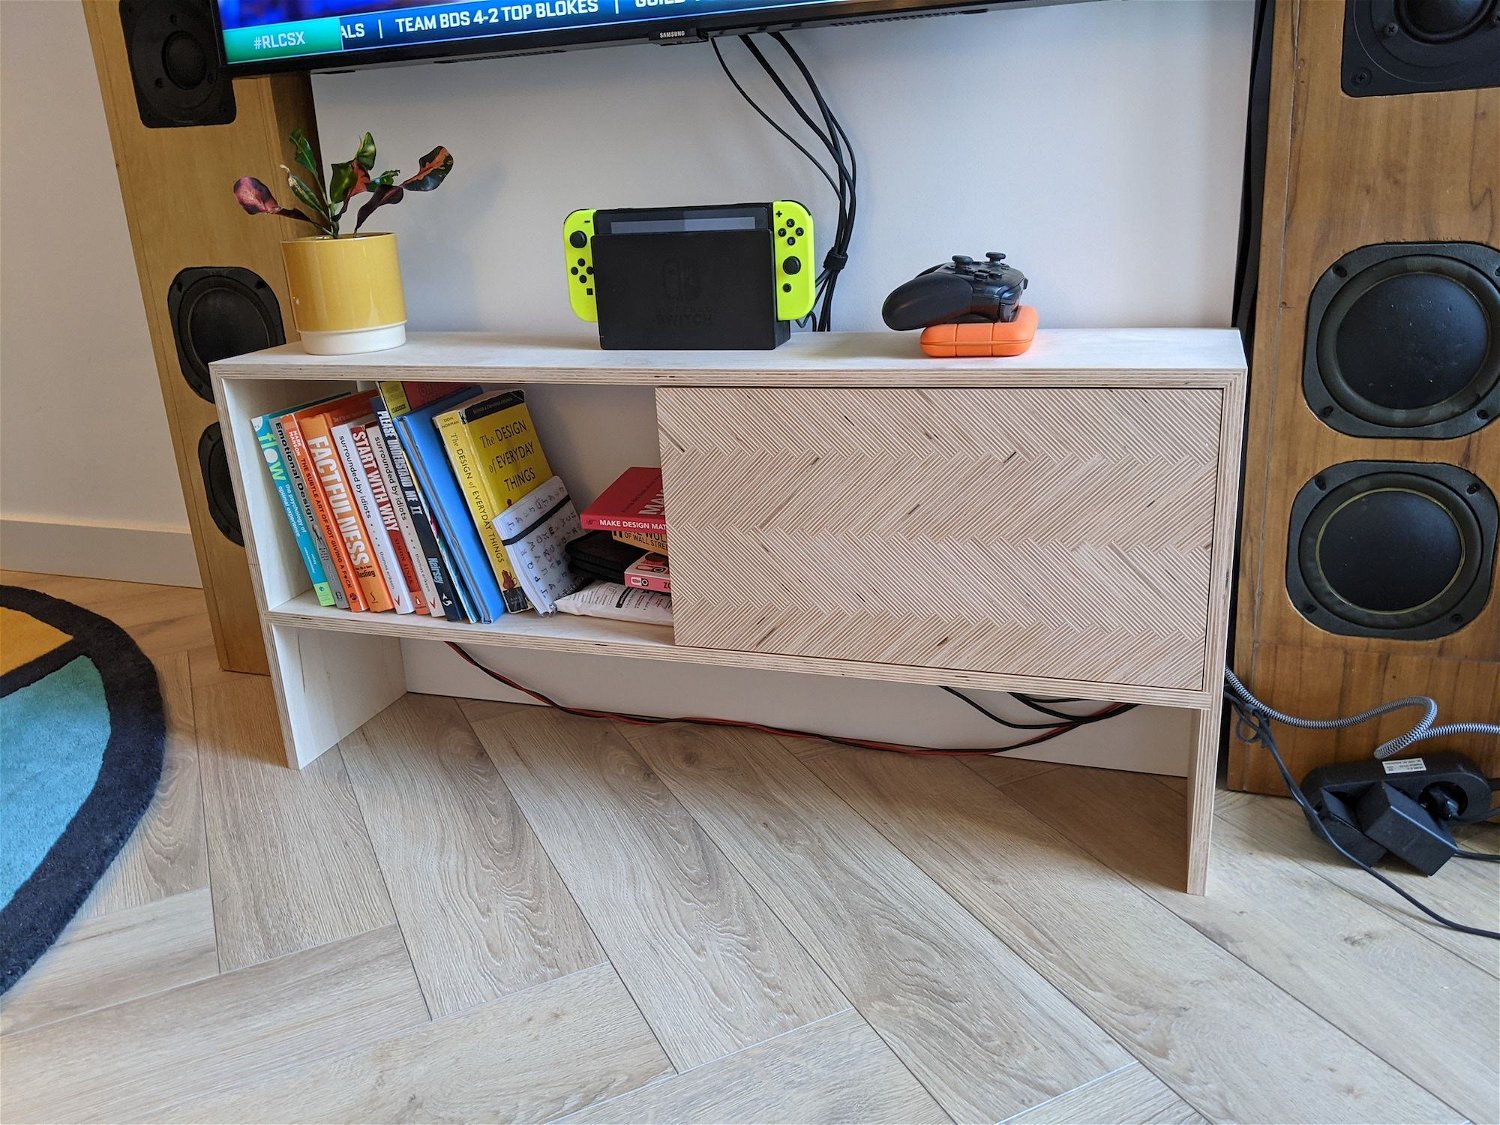
Final result. The second door still needs to be done. I haven't found the energy to create the jig for my router, but probably something I'll do in the near future. I did not finish this piece with anything but I'm contemplating on using some Osmo finish that I recently bought which is lovely to work with.